Pick warp‑free pallet boards, strip nails and clean them, then level each board by sanding or planing. Build a sturdy frame with 2×4s, add cross‑supports and 45‑degree corner joints, and reinforce with glue and finish nails. Install a modular leg system that bolts securely and fits the desktop footprint. Stain with a pickling solution, then oil with a Danish‑oil blend, sanding lightly between coats. Drill a cable hole, add grommets and an ergonomic tray, and finally load test the desk for wobble and stability—more details await if you keep going.
Select Quality Pallet Boards for a Sturdy Pallet Desk

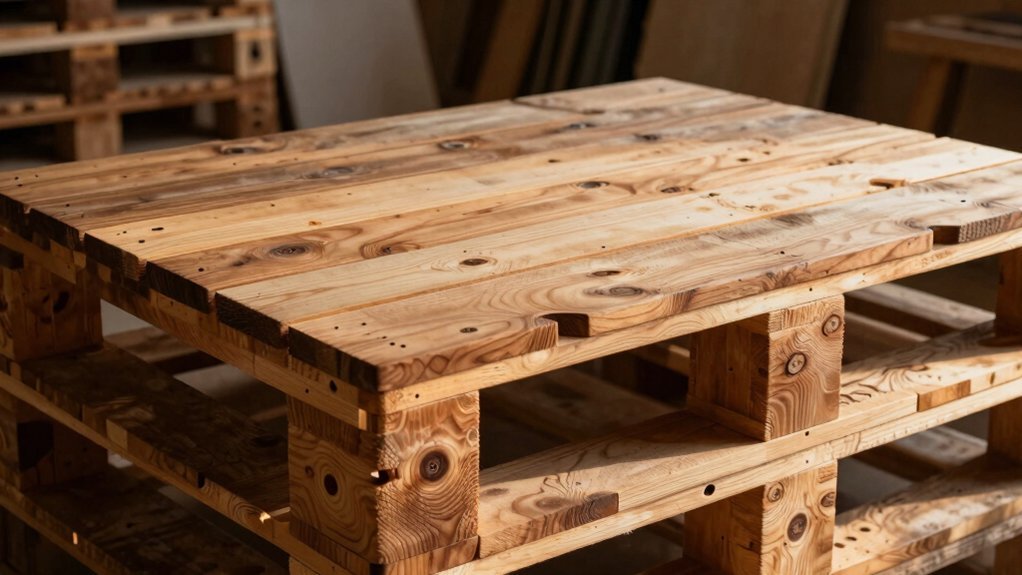
How do you pick boards that will keep your desk sturdy and looking great? First, examine each pallet board for warp‑free surfaces; even a slight bend can compromise stability. During board selection, discard any that are split, rotted, or heavily rusted, because those defects erode durability. Look for boards with consistent grain and thickness, and prioritize newer pallets when you can, though recycled boards often still offer solid strength if they’re clean and intact. Pay attention to color variations—mixing hues can add character, but it also signals differing ages or treatments. Batteries and power sources By focusing on minimal warp, solid construction, and overall condition, you’ll assemble a desk top that’s both robust and visually appealing.
Strip, Clean, and Level Pallet Boards Before Assembly
Before you start assembling the desk, strip each pallet board of nails and staples using a hammer, pliers, and a crowbar, wearing gloves to keep your hands safe. As you work, pull out every fastener, then wipe away dirt, rust, and splinters. Inspect each board for warping; discard any that are severely damaged. Finally, level the remaining pallet boards so they sit flat before you assemble the top.
- Remove all nails and staples – use a hammer and pliers, then a crowbar for stubborn bits.
- Clean the surface – scrub with a stiff brush and wipe with a damp cloth.
- Check for warps – lay boards on a flat surface; set aside any that bow.
- Level the boards – sand low spots and plane high spots to create an even plane. leveling knowledge
Build a Simple Pallet Desk Frame With Cross‑Supports

Ready to turn those cleaned pallet boards into a sturdy desk? Start by laying out your pallet desk frame on a flat surface. Snap together 2×4 framing pieces for the length and width, then secure each corner with 45‑degree corner joints and clamps. Slide cross beams between the long sides to lock the width; these cross beams prevent wobble and add rigidity. Glue the joints, then reinforce with a finish nailer, driving nails through the 2x4s into the cross beams. After the glue dries, double‑check that every corner joint sits flush and that the cross beams sit evenly. This simple, reinforced skeleton will hold the desktop planks firmly and keep the desk stable during use. A durable, non‑slip base may also help prevent movement on various floor types Carpet vs. Hard Floor Usability.
Install a Modular Leg System for Portability
Ever need a desk that packs down for a road trip? A pallet desk with a modular leg system gives you the portability you crave while staying sturdy. The leg assembly breaks into a left pair, a right pair, and a removable long cross bar, fitting neatly inside the desktop footprint. Precise measurements keep everything snug in a Toyota Camry, and two 3/8‑inch bolts secure each leg to the top, ensuring alignment during reassembly. Sand the legs with a planer or electric sander for a smooth finish before you bolt them together. Measure leg dimensions against the desktop. Drill clearance holes for the 3/8‑inch bolts. Attach left and right leg pairs with bolts. Insert the cross bar, tighten, and test stability. Fire-resistant materials can offer added durability for a compact, portable setup.
Stain and Oil Your Pallet Desk for Scratch‑Resistant Finish
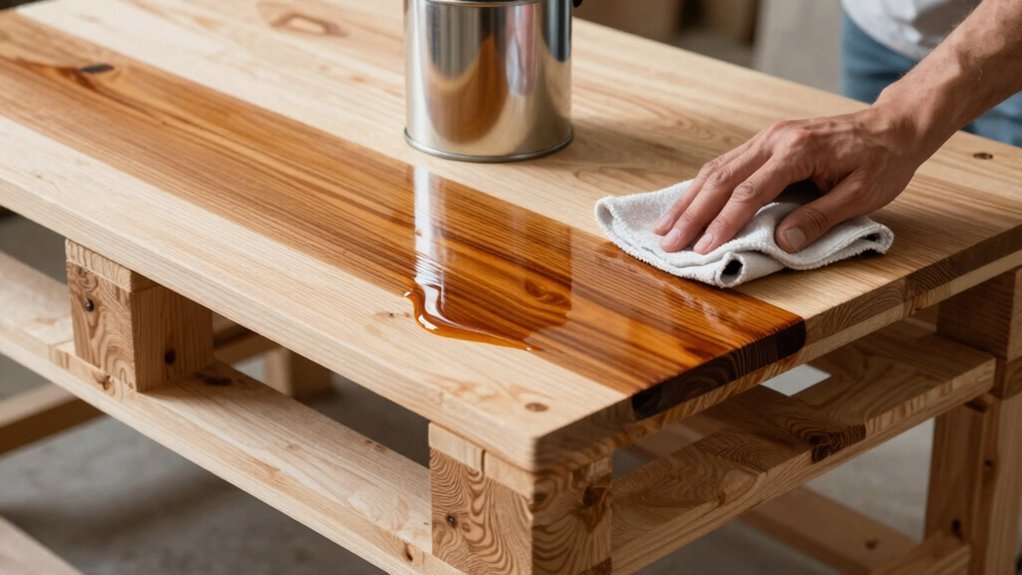
Want a finish that shows off the wood’s character while resisting scratches? Start by sanding the pallet wood with 220‑grit paper, then wipe away dust. Mix a custom pickling stain—vinegar, steel wool, and tea—to deepen patina, and apply with a brush, letting it soak for 10‑minutes before wiping excess. After the stain dries, prepare a Danish‑oil blend: equal parts boiled linseed oil, polyurethane, and mineral spirits. Flood the surface, let it sit 30 minutes, then wipe off surplus. Lightly sand each coat with 0000 steel wool or 320‑grit paper, and repeat the oil‑polyurethane cycle two more times for a uniform, scratch‑resistant finish. Ventilate well, and allow at least one day for the final polyurethane to cure before using your desk. For extra durability, consider following recommended ventilation and curing times to ensure the finish sets properly with proper surface protection open shelves.
Add Cable‑Management and Ergonomic Accessories to Your Pallet Desk
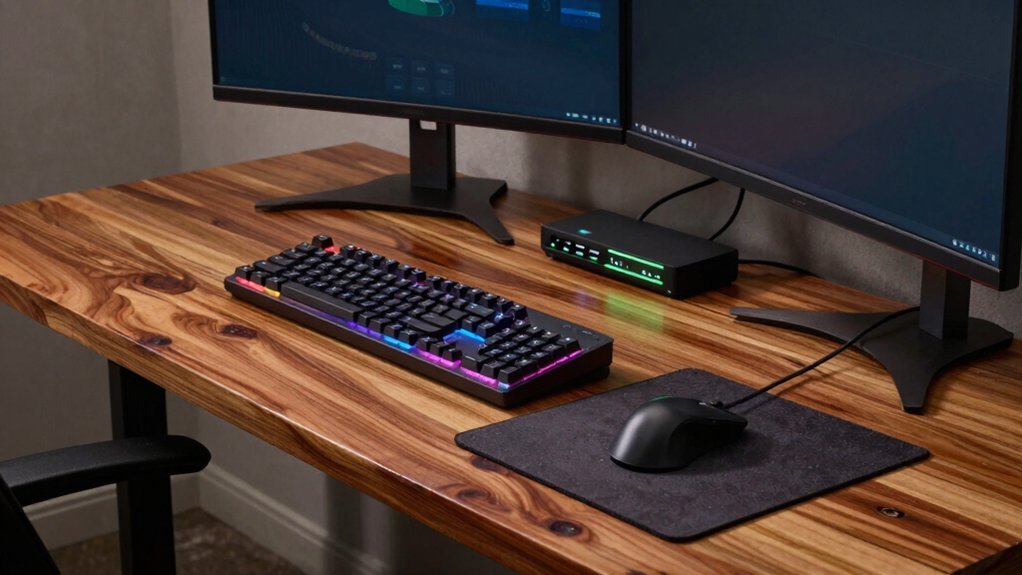
You’ll want to drill a cable‑hole near the back edge so cords slip through cleanly, then add grommets or clips to guide them. Pair that with an ergonomic keyboard tray that sits at a comfortable height and angle, reducing strain and keeping cables out of the way. This combo gives you a tidy workspace and a smoother workflow. Cable Size Compatibility Across Clips supports choosing the right clips for USB, Ethernet, HDMI, and charging cables, ensuring secure and tidy management.
Cable‑Hole Placement
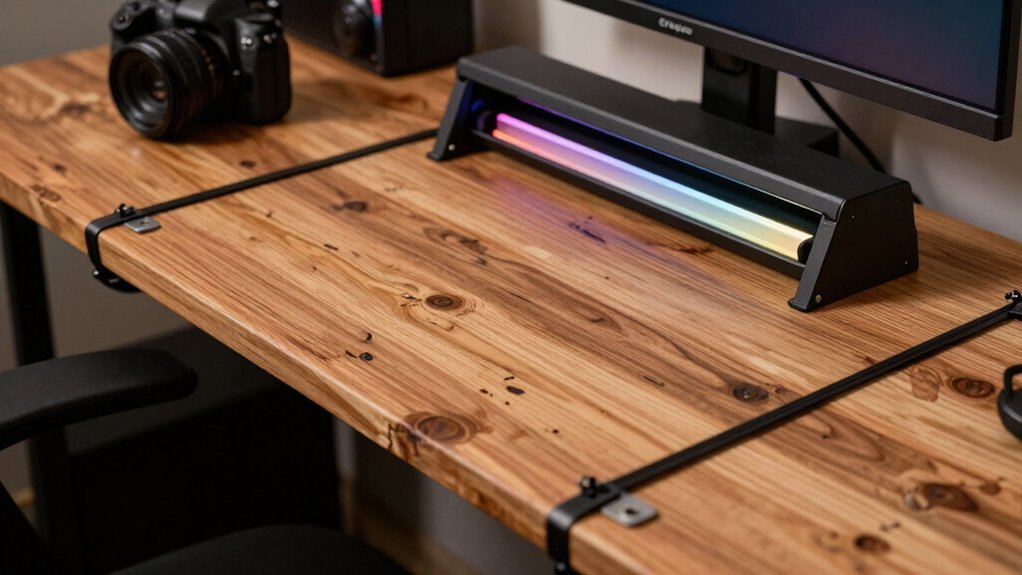
When you drill a knot hole near the back edge or a leg, the cables thread cleanly through the desk, keeping the work surface tidy and preventing snagging. For a pallet desk, plan cable hole placement so power strips and chargers disappear under the tabletop. Smooth the epoxy around each opening to avoid wear, and consider adding a Kensington lock or other security hardware at the edge to keep peripherals safe. This approach streamlines cable management and protects insulation over time. Also, select a privacy screen option for monitors to reduce on-screen visibility from side angles when sharing space, such as a 24-inch or 27-inch privacy screen with a ±28° to ±30° viewing angle privacy screen features for better confidentiality.
Ergonomic Keyboard Tray
How can you turn a simple pallet desk into a comfortable, organized workstation? Mount an ergonomic keyboard tray under the pallet desk using L‑brackets and a sliding track, which frees the main surface for tasks. Secure the tray with hinges and a locking mechanism so you can adjust tilt and height for a neutral wrist position. Fit a low‑friction sliding surface or small glides to keep movement smooth without snagging on planks. Drill a knot hole near the tray’s back edge and insert a grommet or cable channel for cable management, ensuring the tray width fits between the 2×4 frame supports, typically 16–20 inches, matching your desk depth for a clean, ergonomic setup.
Check Strength and Fine‑Tune Your Pallet Desk
You’ll want to test the desk’s load capacity by placing a few heavy items and watching for any sag or wobble.
Then, fine‑tune the alignment by checking that the legs, brackets, and top sit flush, tightening any loose screws and adding shims if needed.
This quick check guarantees your pallet desk stays sturdy and level for everyday use.
Test Load Capacity
Ever wonder how much weight your pallet desk can safely support? Start with pallet desk load testing by placing a 5‑kg water jug on the surface, then add more in 5‑kg increments. Perform a deflection check each time; if the top flexes or you hear a creak, stop and note the limit. Tighten all reinforcement screws, especially at the 4×4 leg braces and under the boards, before you resume. Record the highest weight you applied without deflection, then reinforce any weak spots with extra screws or shims. Keep a simple log of the weight capacity and reinforcement steps for future reference.
- Gather known weights (jugs, dumbbells)
- Incrementally load and observe
- Tighten reinforcement screws after each step
- Document max safe load and any fixes
Fine‑Tune Alignment
Need to get the desktop perfectly flush, start by measuring and cutting each board to the exact length using a stopper block on the chop saw—this eliminates re‑measuring and guarantees consistent joints. Record those lengths so every pallet board lines up when you lay the top flush. Install a 1×4 border and, if you like, miter the back edges for a clean perimeter. When you glue the boards, clamp the glue joints in pairs for the wide sections and in threes for the smaller pieces; this keeps the surface level while the adhesive cures. Finally, double‑check leg alignment and make sure the 2×4 supports sit directly under the top, so the pallet boards aren’t bearing undue weight. This fine‑tuning ensures a sturdy, perfectly aligned desk.
Frequently Asked Questions
How to Make a Desk From Pallet Wood?
You’ll dismantle pallets with a crowbar, cut the planks to size, frame the top with 2×4s, sand, apply epoxy, stain with Danish oil, then seal with polyurethane for a sturdy desk.
How to Build the Perfect Pallet?
You’ll start by selecting straight, sturdy boards, then sand and joint them, arrange a tight grain‑aligned pattern, glue and clamp securely, and finish with multiple oil coats for durability and shine.
What Is the Best Wood to Use to Build a Desk?
You’ll get the best desk with hardwood like oak, maple, or walnut—these woods resist warping, hold screws securely, and age beautifully. Avoid soft pine or low‑grade pallet lumber for lasting stability.
How Much Weight Can a Wooden Pallet Support?
You can expect a well‑built pallet desk to hold around 300‑400 pounds, assuming you reinforce it with 2×4 braces, sturdy joinery, and distribute the load across the frame.
In Summary
Now you’ve got a sturdy, stylish pallet desk that’s both portable and personalized. By picking solid boards, cleaning and leveling them, building a reliable frame, adding modular legs, and finishing with stain and oil, you’ve ensured durability and scratch resistance. The cable‑management and ergonomic touches keep your workspace tidy and comfortable. Give it a quick strength check, make any tweaks, and enjoy a functional, eco‑friendly desk you built yourself.
Leave a Reply