Grab a 1‑inch thick plywood or reclaimed pallet board for the tabletop, sand it smooth, and seal it with satin polyurethane for durability. Build a simple frame from 2×4s or IKEA‑style metal legs, adding corner braces for rigidity. Attach budget VESA‑compatible monitor arms, run cables through zip‑ties or Velcro straps, and line the underside with LED strips for RGB flair. Reuse old shelves for under‑desk storage, and finish with a wax coat for extra protection. Continue and you’ll discover how to fine‑tune height‑adjustable legs and keep the setup pristine.
Pick a Low‑Cost DIY Gaming Desk Top
Looking for a sturdy gaming surface without breaking the bank? You can pick a low‑cost DIY desk top by sourcing plywood, MDF, or reclaimed wood. A 1‑inch to 1.5‑inch thick plywood panel with a solid core gives you durability, while a laminate or veneer finish adds a smooth gaming feel. If you love recycling, sand and seal a reclaimed pallet or repurposed door for a large, budget‑friendly surface. Apply a polyurethane coat or sealant to protect the top from scratches and spills, extending its life through marathon sessions. Under‑Desk Cable Management Tray can help keep the area clean and clutter‑free by routing cords out of sight, enhancing both setup stability and aesthetics. Pair the top with an inexpensive, ready‑to‑assemble frame for a modular setup that stays stable without draining your wallet. This DIY approach delivers a reliable desk top that meets both performance and price goals.
Construct a Budget DIY Gaming Desk Frame
Want a sturdy, low‑cost frame that supports a wide gaming surface? Start with 3×4 plywood or reclaimed wood for the tabletop and pair it with a simple metal or IKEA‑style frame kit. Cut the wood to your desired width, then drill pilot holes for the frame’s brackets. If you prefer a standing‑desk feel, use a modular metal frame that slides up and down; it’s cheap and fits most tabletop sizes. Secure the wood with screws and add corner braces for extra rigidity. For cable management, snap on inexpensive clips or a small tray underneath the desk and run wires through grommets you can repurpose from old electronics. These DIY gaming desk ideas give you a solid, budget‑friendly foundation without sacrificing stability Cable management
Apply a Durable, Low‑Cost DIY Gaming Desk Finish

| Material | Sealant Type | Cost |
|---|---|---|
| Plywood | Satin polyurethane | $$ |
| MDF | Satin polyurethane | $$ |
| Pallet wood | Exterior sealant + polyurethane | $ |
| Epoxy resin | Epoxy top coat | $$$ |
| Polycrylic | Polycrylic coat | $$ |
A durable, budget-friendly finish can also benefit from considering a surge-protected power setup for peripherals; use a reliable power strip with 8 outlets and USB ports to keep gaming gear powered safely USB-C PD 20W for faster charging.
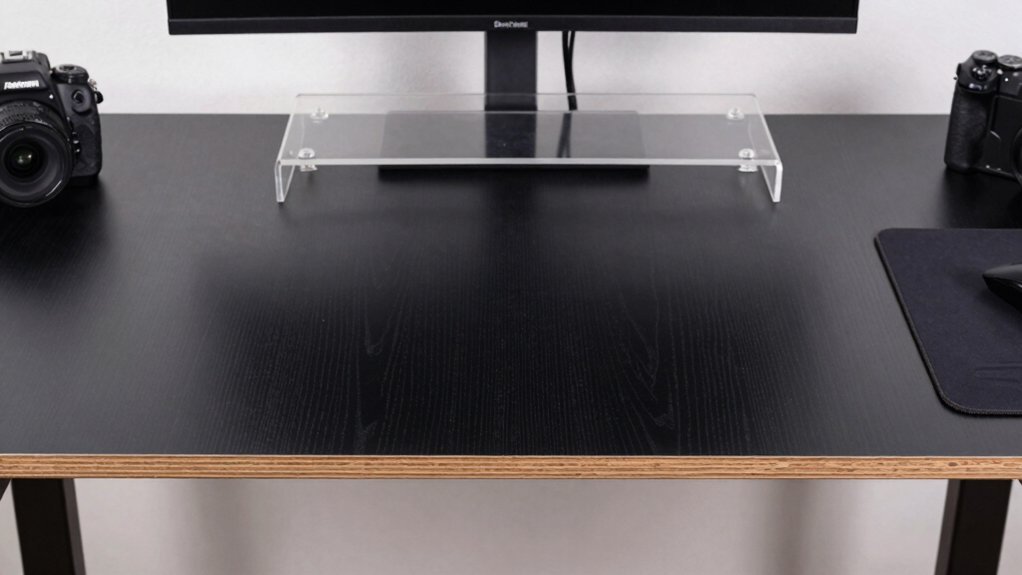
Mount Monitors With Budget‑Friendly DIY Gaming Desk Arms
You can keep your desk clear and your posture solid by choosing budget-friendly monitor arms that lock in place, and many of these options include lightweight designs with easy compatibility to support long gaming sessions ergonomic comfort.
Budget‑Friendly Monitor Arms
Ever considered turning cheap aluminum extrusion or PVC pipe into a sturdy, adjustable monitor arm? You can build a budget‑friendly setup that holds 21‑32″ screens, supports a VESA pattern, and still looks sleek. Focus on load capacity, anti‑sag geometry, and cable‑management clips—these keep the arm stable for dual‑monitor rigs without pricey parts. 2.4GHz WiFi and the rest of the smart plug ecosystem can influence how you power the rig, but a simple, robust DIY arm keeps your gaming space organized and uncluttered.
Adjustable Mounting Solutions
Looking for a cheap way to free up desk space while keeping your 21‑ to 32‑inch monitors at the perfect height and angle? You can mount a single desk with off‑the‑shelf monitor arms that offer VESA compatibility and the reach you need. Choose telescoping or multi‑joint models; they give smooth tilt and swivel with fewer joints, cutting wobble and cost. A sturdy, heavy‑duty arm with a quick‑release clamp lets you switch from gaming to streaming in seconds. Make sure the arm’s weight rating matches your display to avoid sag. Pair a cheap IKEA tabletop with a generic VESA‑compatible arm, and you’ll enjoy a tidy setup without breaking the bank. Headrest adjustments
Easy Installation Tips
Grab a simple steel pipe or a wooden block, drill two holes for the base, and slide a budget‑friendly monitor mount into the VESA‑compatible plate. Align the mount’s holes with the desk’s pre‑drilled spots, then tighten with a regular screwdriver—no special tools needed. Choose a flashing‑free option so the arm snaps into place, and double‑check the load rating; most cheap arms handle 10–15 kg, enough for 21”‑32” screens. Secure the joints, test tilt and swivel, and you’ll have a stable, ergonomic setup that frees desk space without breaking the bank. For extra versatility, consider using a monitor with a built‑in VESA mounting pattern to simplify alignment and ensure compatibility with a variety of desk arms Best for Monitor Integration.
Tidy Cables Using Cheap Magnetic/Velcro DIY Gaming Desk Ties
Because you don’t want a tangled mess of cords on your gaming desk, cheap magnetic or Velcro ties give you a fast, budget‑friendly way to bundle and route cables without drilling or permanent fixtures. Start by snapping magnetic ties onto the desk edge; the neodymium magnets hold power CABLES and signal cords securely while you reposition them. Use Velcro‑based ties for larger bundles, adjusting the strap length until it fits snugly without crushing the wires. Group power cables separately from HDMI or USB lines, and label each tie for quick maintenance. For heavier loads, stack two magnetic ties or add an adhesive‑backed clip to prevent sagging. This simple cable management system keeps your setup tidy, modular, and ready for future upgrades.
Add & Calibrate DIY Height‑Adjustable Legs for Your Gaming Desk
Three simple steps let you turn cheap adjustable‑leg kits or repurposed telescoping tubes into sturdy, height‑adjustable legs for your gaming desk.
First, attach the legs to a wide, rigid tabletop; a broader surface boosts stability and spreads load evenly.
Next, install a cross‑brace or supporting beam between opposite legs to curb wobble at full height.
Finally, calibrate each leg: set all four to the same initial height, level with a spirit level, then test with your monitor, PC, and accessories. Adjust until the desk stays level across the 28‑48 inch range and supports at least 100‑150 lb.
- Use pin‑lock or twist‑lock mechanisms for quick height changes.
- Choose telescoping tubes with a secure locking collar.
- Add rubber pads under each foot to improve grip and protect flooring.
- Re‑check leveling after any major equipment move.
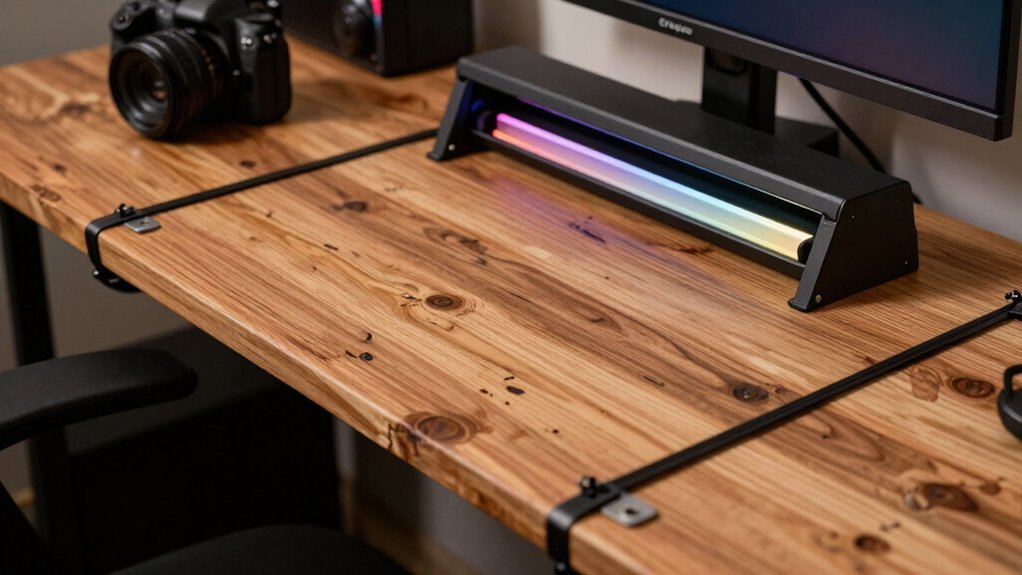
Add Budget RGB Lighting to Your DIY Gaming Desk
Looking to boost immersion without breaking the bank? Grab a cheap LED strips kit with two‑channel control and a remote, then mount the strips behind your monitor for soft backlighting. A popular Dezctop RGB lighting pack gives you four strips, a controller, remote box, and power adapter—everything you need for a budget‑friendly setup. Use the adjustable RGB options to match your desk theme and sync brightness, reducing eye strain during long sessions.
Position the strips to spill light onto walls or the monitor’s rear edge, creating depth without pricey fixtures. If you already have a desk surface or corner desk, simply attach the strips with adhesive backing; the result is a cohesive, low‑cost glow that elevates your gaming vibe.
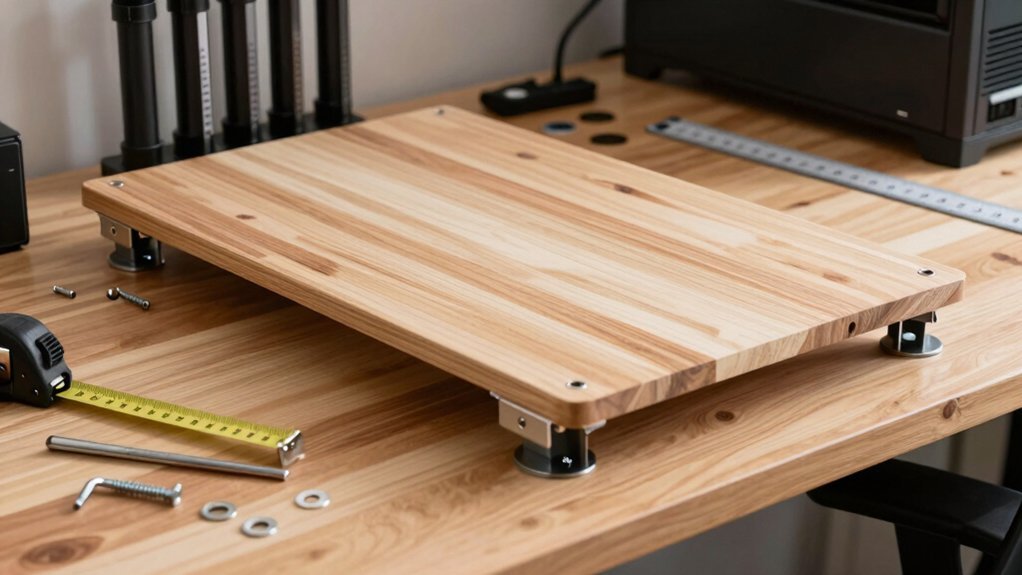
Reuse Old Shelves & Pallet Wood for DIY Gaming Desk Extras
Reusing old shelves and pallet wood can slash the cost of a gaming desk while adding rugged charm. You’ll find that a sturdy tabletop emerges from pallet wood once you plane, sand, and treat it to eliminate nails and impurities.
Reclaimed shelves and pallet wood slash costs, add rugged charm, and create a sturdy, stylish gaming desk.
Upcycled shelves become instant under‑desk storage or a modular shelf‑on‑desk system, cutting the need for new components.
Finish with polyurethane or wax and a stain for a uniform look that resists gaming wear. Keep safety in mind: inspect structural integrity, avoid chemically treated pallets, and ventilate while sanding.
- Plane and sand pallet wood for a smooth tabletop
- Attach reclaimed shelves for customizable storage
- Seal with polyurethane or wax for durability
- Stain to match your gaming aesthetic
Maintain & Upgrade Your DIY Gaming Desk on a Tight Budget
By focusing on affordable, sturdy materials like plywood or MDF and repurposed frames, you can keep your gaming desk functional and stylish without breaking the bank.
Start with a simple wipe‑down using a damp cloth and a mild cleaner; it removes dust that can dull finishes and affect mouse tracking. Tighten any loose screws or brackets with a basic screwdriver set—this prevents wobble and extends lifespan.
Upgrade the surface by gluing a thin sheet of melamine for a smoother feel without spending much.
For cable management, attach a cheap zip‑tie bundle or a DIY wooden tray under the desk; it keeps cords organized and prevents tangles.
When you need more space, add a budget‑friendly extension board or repurpose a shelf, securing it with brackets you already own.
These small, low‑cost tweaks keep your desk ready for marathon gaming sessions.
Frequently Asked Questions
What Is the Best Material for a Gaming Desk?
You’ll get the best gaming desk with plywood or MDF topped by high‑pressure laminate; it’s cheap, smooth, and sturdy enough for heavy gear, while staying easy to assemble and maintain.
Is It Cheaper to Build Your Own Desk?
Yes, you’ll usually spend less building your own desk. By sourcing plywood, reclaimed wood, or cheap metal frames, you cut material costs dramatically, and you control every expense to stay within budget.
Can I Use a Regular Desk for Gaming?
Yes, you can game on a regular desk; just ensure it’s sturdy enough, add monitor arms or a keyboard tray for ergonomics, and use cable management solutions to keep everything organized and safe.
What Is Needed for a Gaming Desk?
You need a sturdy tabletop, a stable frame or legs, cable‑management trays, a monitor arm or stand, a keyboard tray, and enough space for your CPU, speakers, and accessories.
In Summary
You’ve got everything you need to build a gamer‑ready desk without breaking the bank. By picking cheap materials, crafting a sturdy frame, adding a durable finish, and using budget‑friendly mounts, cable ties, and lighting, you’ve created a functional, stylish setup that’s easy to upgrade. Keep tweaking the height, swapping out RGB, and reusing pallets or shelves as your needs evolve—your DIY gaming desk will stay sharp, affordable, and ready for every next level.


Leave a Reply