Create a wire‑basket hub under your desk, secure a power strip inside, and route cords through a cut corner for easy access. Add a simple wooden spine along the rear underside, pre‑drill holes, and mount the strip on it. Group cables with reusable Velcro straps and zip‑tie bundles, labeling each bundle for quick identification. Clip self‑adhesive cord guides to the legs, and use a rug‑safe cover when crossing carpet. Hide the strip in a decorative box or tray, and you’ll discover even more tips ahead.
Wire a Wire Basket Power‑Strip Hub for Desk Cable Management
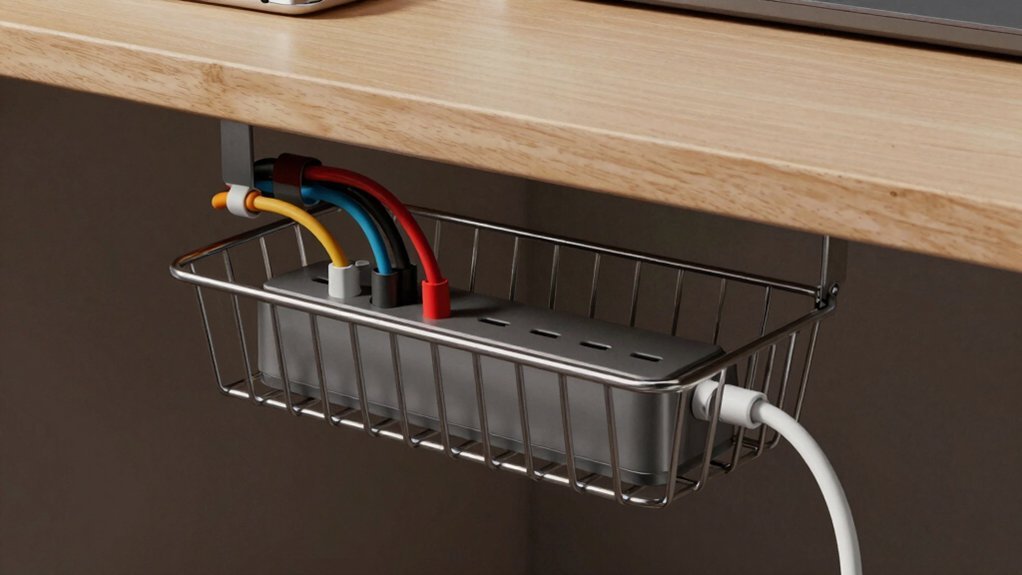
Ever wondered how to keep your desk power strip tidy without drilling holes? You can mount a wire basket under the desk and turn it into a sleek under‑desk power strip hub. First, attach cup hooks to the underside of the desk and slip the basket onto them. Secure the power strip inside with zip ties or Velcro, leaving a cut corner so cords exit sideways. Clip sticky‑back cord holders to the legs, then guide each cord through the basket and into the cut corner for clean cable routing. If you need to reach a wall outlet, lay a rug path and tuck a rug cord cover underneath. Use flat cord clips for extra neatness, and always choose UL‑listed parts to keep fire risk low. The setup can benefit from a 6‑outlet or 8‑outlet surge protector with USB ports to support a compact, gaming‑friendly configuration USB ports and surge protection.
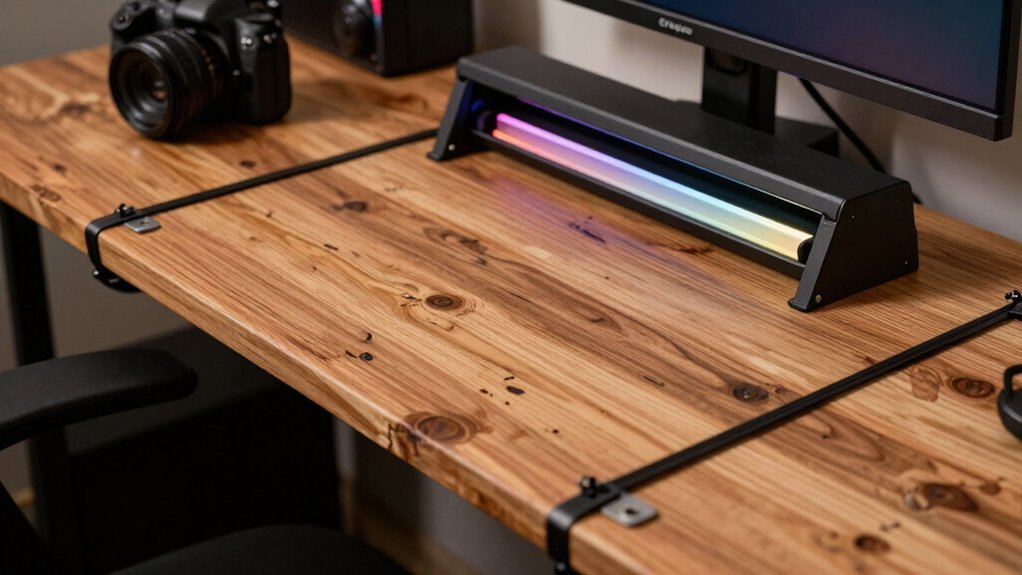
Build a Simple Wooden Cable Spine for Desk Cable Organization
After mastering the under‑desk basket hub, you can step up your organization with a wooden cable spine that runs along the rear underside of the desk. Cut a scrap wood piece to fit snugly, then pre‑drill holes with a spiral cutting bit and guide for clean, precise openings. Use those holes to anchor hooks or bent wire that will hold your monitor, PC, and accessory cables. Mount the power strip directly onto the spine whenever possible, centralizing outlet access and cutting under‑desk clutter. Route cables over the spine, securing them loosely with Velcro so you can adjust or upgrade later. Sand the edges smooth, then label each bundle with masking tape for clear, upgradable cable management on your desk. Additionally, consider using modular organizers and clear labeling systems to maximize future expansion and maintain visibility of all connections growth planning.
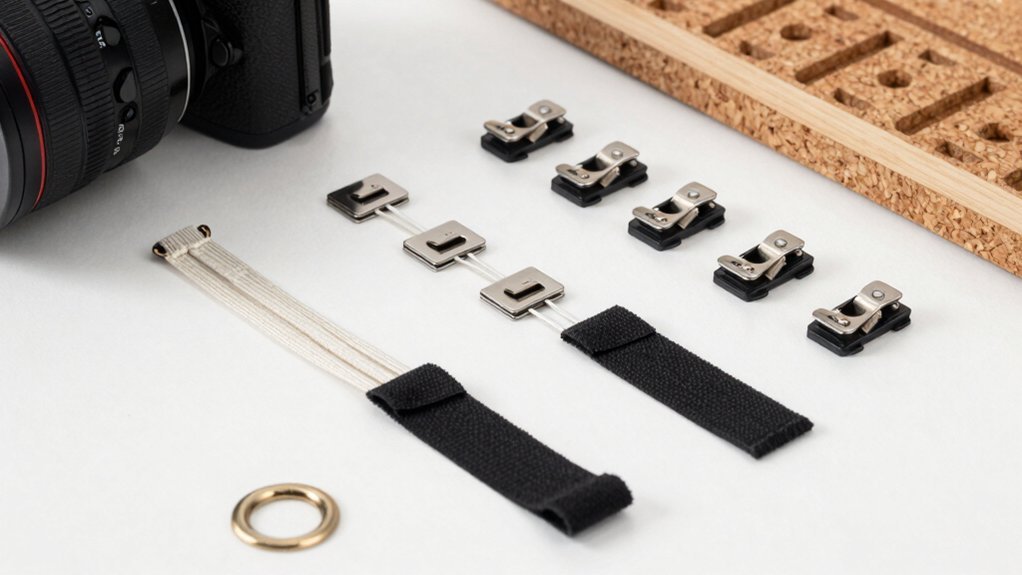
Use Velcro Straps and Zip‑Tie Bundles for Flexible Desk Cable Routing

You’ll find that Velcro straps give you flexible bundling options, letting you tighten or loosen cables as your setup changes. Pair them with zip‑tie bundles to lock in excess length and prevent tangles during reconfiguration. By placing straps along the desk spine or under‑desk rail, you keep routes adjustable while maintaining a clean look. Include a magnetic cord organizer for desk use magnetic lock to simplify one-handed cable management when you need a quick re‑route.
Flexible Bundling Options
Looking for a way to keep cables tidy while still being able to reconfigure your desk quickly? You can start by grouping power cords and peripheral leads with reusable Velcro straps. These straps let you create flexible bundling sections that you can tighten or loosen in seconds, so adding a new monitor or swapping a headset never means cutting anything. For longer runs, add a single zip‑tie anchor to hold the bundle in place without making the whole thing rigid. Wrap each smaller sub‑bundle in its own Velcro loop to reduce strain and keep the layout neat. Finish with labeling—stick a piece of masking tape or a color‑coded tag on each bundle so you spot the right cable instantly. This method keeps your desk adaptable and your cables organized. Cable organization supports easier future reconfigurations as your setup evolves.
Adjustable Placement Strategies
Switching from flexible bundling to strategic placement means you can route cables along a dedicated spine or under the desk while still keeping them easy to adjust.
Start by installing flexible anchor points—pre‑drilled holes or screw‑in clips—along the wood spine and beneath the desk surface.
Clip each cable to these points, then secure groups with Velcro straps so you can add or remove devices without cutting anything.
For longer runs, use zip‑tie bundles that leave a bit of slack, allowing future upgrades while preserving a tidy look.
Keep power lines separate from data lines to reduce interference, and route everything through the under‑desk routing channel for a clean, repeatable path that stays organized even as your setup evolves.
Mount Self‑Adhesive Cord Clips on Desk Legs
Pick the clips that fit your cord thickness and leg material, then map out where each will sit along the leg for the cleanest route. After attaching, test a few cable runs to ensure there’s no sag or slipping, especially around heavier devices like clamp-on desk shelf organizer pieces.
Choose Ideal Clip Types
Self‑adhesive cord clips latch onto desk legs, guiding cables away from the desktop and keeping them from tangling behind the work surface. When you pick the right clip, focus on a low‑profile shape that nests against the leg and a strong adhesive backing that won’t peel under load. Choose desk‑leg clips that grip several cords at once, so you can consolidate power, USB, and video lines without crowding. Pair them with under‑desk routing accessories—like trays or sleeves—to keep the workspace tidy and the cables out of sight. Durable, IPX7‑level waterproof options are not necessary for this use, but selecting anti‑static materials can help minimize static buildup around electronics. Nylon anti‑static bristles are useful in cleaning contexts, but for cable management, a durable polymer clip with non‑conductive backing reduces risk of charge transfer.
Plan Placement on Legs
Where should you put the clips on your desk legs?
Start by cleaning each leg’s surface so the self‑adhesive cord clips stick securely. Then, mount a clip at the top, one midway, and another near the bottom of both the front and rear legs. This creates a vertical cable path that guides power, data, and accessory cords straight down toward your under‑desk tray. Using a split sleeve or zip-up sleeve nearby can help keep the cords contained as they travel down, improving visibility and reducing snag risk self-adhesive mounts. Space the clips a few inches apart to keep cables taut without bending sharply. Position the front‑leg clips slightly toward the desk’s edge, and the rear‑leg clips a bit inward, so cords naturally flow toward your chosen organization zone. By staggering the clips, you prevent tangles at the source and keep plugs accessible yet out of sight. This approach also supports a pet‑proof setup by guiding cables away from potential chews.
Secure With Velcro Straps
After you’ve positioned the clips along the legs, grab a few Velcro straps and bundle any excess length that hangs between them. The self‑adhesive cord clips stick to desk legs without tools, creating a guided path for cords. Velcro straps then tighten the loose ends, keeping everything tidy and allowing quick re‑routing when you add new devices. This combo reduces floor clutter, lowers tripping hazards, and makes your cable management look intentional rather than improvised.
- Pull the strap snugly around the bundled cords, then press the hook and loop sides together.
- Trim any surplus strap to avoid dangling pieces that could catch on chairs.
- Check that the strap doesn’t compress plugs, ensuring easy access for plugging and unplugging.
Create a Rug‑Safe Cord Path for the Desk Area
How can you keep cords tidy while protecting your rug? Start by mapping a clear cord path from your desk to a wall outlet that sits just beneath the rug. Cut a corner out of a wire basket, thread the cables through, and place a power strip inside for under‑desk power. Secure the basket with cup hooks so it hangs neatly under the desk. Use self‑adhesive flat clips along the desk surface and down the legs to keep the run low‑profile. If you need to cross the rug, lay an under‑rug cord cover to prevent tripping and reduce heat buildup. Remember, only temporary, properly rated power sources belong here—avoid hiding any heat‑generating equipment beneath the rug. This setup keeps your workspace safe and your rug pristine.
Label Every Bundle for Easy Desk Cable Management

A clear cord path under the rug is only half the battle; the next step is labeling each bundle so you can instantly tell which cable belongs to which device. Good labeling keeps cable management tidy and speeds up upgrades. Start by cutting a strip of masking tape, writing the device name on a paper‑towel roll, and wrapping it around each bundle. Use pre‑drilled holes and a spine to separate monitor, PC, and accessory bundles, then secure them with Velcro straps. Sketch a simple map of start and end points, then transfer that map onto your desk layout for consistent labeling. Remember to re‑label after any reconfiguration to preserve an accurate, easy‑to‑follow system.
- Masking tape + paper‑towel roll tags
- Velcro‑strap bundles with device notes
- Desk‑layout map for label placement
Cover the Power Strip With a Decorative Box or Tray
A sleek decorative box or tray can instantly hide a power strip, cutting visual clutter while keeping everything within reach. Choose a box that matches your power strip’s dimensions and includes cut openings for cords to exit safely. Wood, plastic, or fabric‑wrapped designs work well, and many models add ventilation slots to prevent heat buildup.
Mount the tray under the desk if you want a clean desktop surface, or place it on top for easy access to switches and outlets. Make sure the cover lets you plug and unplug devices without obstruction, and that you can reach each outlet without removing the box. This simple concealment solution keeps your workspace tidy while preserving functionality.
Frequently Asked Questions
How to Prevent Cable Wear From Desk Movement?
You protect cables by securing them with flexible sleeves, zip ties, or Velcro straps, then route them through a movable grommet or cable tray that absorbs desk motion, keeping tension low and preventing abrasion.
Can Cable Management Solutions Be Made Fire‑Resistant?
Yes, you can make cable management fire‑resistant by using flame‑retardant sleeves, metal clips, or heat‑resistant conduit. Choose UL‑rated materials, avoid PVC, and secure everything away from heat sources.
What’s the Best Way to Hide Cables Under a Glass Desk?
You should route the cables through a shallow trench cut into the desk’s underside, line it with a fire‑rated channel, then cover it with a clear acrylic strip so the glass stays uninterrupted.
How to Keep Cables Accessible for Frequent Plug‑In Changes?
You should install a short, labeled power strip with a sliding tray or a Velcro‑clipped cable organizer, keeping plugs within arm’s reach and allowing quick swaps without digging through bundles.
Are There Eco‑Friendly Materials for DIY Cable Organizers?
Yes, you can use reclaimed wood, biodegradable bamboo, recycled cardboard, or upcycled fabric straps. These eco‑friendly options are affordable, easy to cut, and keep your workspace organized without harming the planet.
In Summary
By mixing these DIY tricks, you’ll keep your workspace tidy, safe, and ready for anything. A basket hub, wooden spine, and cord clips hide clutter, while Velcro, zip‑ties, and labels make adjustments a breeze. The decorative box finishes the look, and the rug‑safe path protects your floor. You’ll spend less time untangling cables and more time getting work done—plus you’ll look professional doing it.
Leave a Reply