Start by picking a simple black or white base and add a few 5 V RGB LED strips along the front panel or fan edges, syncing the hue to your chosen color scheme. Use cheap vinyl decals or printable stickers for personal flair, and cut acrylic sheets for a single‑side window to showcase internal parts without adding weight. Keep airflow clear by avoiding dense panels and routing cables neatly behind the motherboard tray. Stick to a modest budget, prioritize cooling, and you’ll see a big visual upgrade—there’s plenty more to explore.
Cheap PC Case Mod Ideas: Quick Color‑Scheme Guide
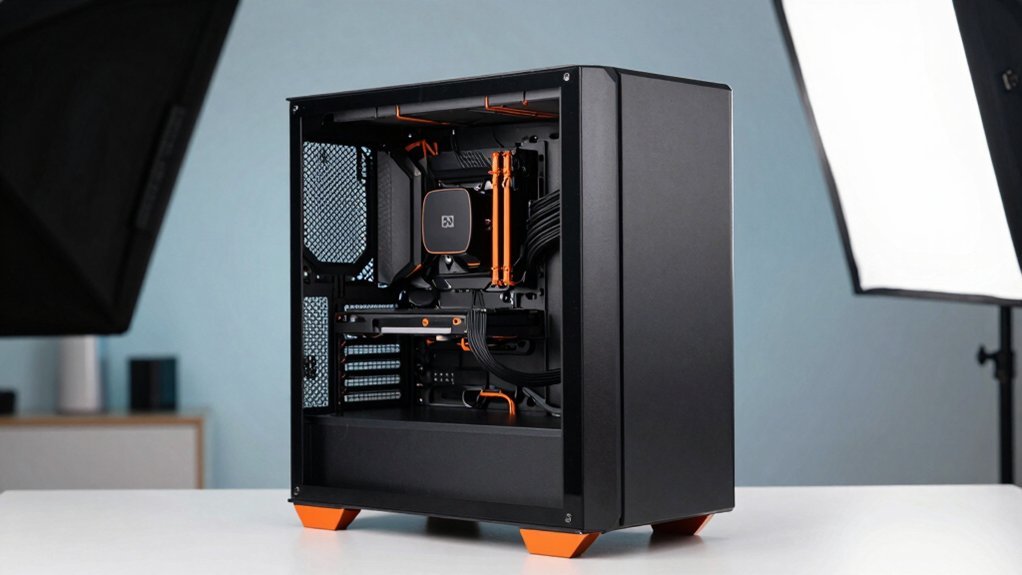
What color will make your rig pop without breaking the bank? Start by picking a cohesive scheme: a simple black or white base works for beginners, while a color wheel lets you pair primary hues (red, yellow, blue) with secondary shades (orange, purple, green). Lay out the palette in Photoshop first, checking how it meshes with airflow and component visibility. Once you settle, add LED strips along the front panel or fan edges; sync their hue to your chosen colors for a striking glow. If you want a more premium feel, install acrylics or backplates to showcase internal parts while keeping the build lightweight. Finish with decals or stickers that echo your favorite shows or bands—easy to apply, cheap to swap, and they inject personality without altering hardware. Color-wheel guidance helps you balance hues across lighting and accents for a cohesive look.
Set a Mod‑Budget and Gather Low‑Cost Materials
Start by setting a clear budget that prioritizes essential mods like cooling and cable management before you eye cosmetic upgrades.
Hunt for cheap materials—acrylic scraps, repurposed accessories, and discount stickers—to keep costs low while still adding visual flair.
Test‑fit ideas with cardboard or 3D‑printed mockups, and grab LED strips or small LEDs during sales to avoid pricey mistakes. Energy efficiency and UV protection help keep gaming gear lifespan longer while you mod on a budget
Low‑Cost Material Sources
Looking to keep your PC mod under $150? Set a clear budget and hunt for budget‑friendly sources. Amazon and Newegg sell cheap acrylic sheets and LEDs that fit tight wallets. Scour clearance aisles at specialty shops or Black Friday deals for discounted parts. Repurpose spare fans, zip ties, and cable combs from old builds, and raid packaging for protective mounts. Use pre‑cut foam board or leftover PC components to shave dollars off.
| Source | Typical Find |
|---|---|
| Amazon | Acrylic sheets, LED strips |
| Newegg | Budget LED kits |
| Clearance (Mnpctech) | Discounted fans |
| DIY Stores | Foam board, adhesives |
| Home Recycling | Zip ties, packaging |
DIY Budget Planning Tips
After gathering cheap acrylic sheets, LEDs, and spare fans, you’ll want to lock down a realistic budget before you start cutting or soldering. First, list every planned component—case, paints, adhesives, lighting—and assign a hard cap to each line item. Use Amazon, Newegg, or PCPartPicker to compare prices and pick the lowest‑cost options. Draft a BOM that includes estimated costs and a simple timeline, then track each purchase against your budget. Before buying pricey acrylic or metal, build cardboard or foam mockups to test fit and layout. Prioritize high‑impact, cheap mods like decals, LED strips, and cable management. This staged approach keeps spending in check while you iterate on ideas. When choosing components, keep latency and synchronization in mind for any lighting or audio‑related modding in a shared setup, so you don’t run into timing issues during your build. budget planning
Why Over‑customizing Can Hurt Airflow and Performance
If you pile on panels, filters, or extra décor without planning, you’ll block the intake and exhaust routes that keep your components cool. Those obstructions trap heat, raising temperatures and forcing fans to work harder, which can shorten hardware lifespan. Additionally, ensure your setup allows for adequate airflow paths and consider testing your cooling performance after making changes. airflow setup
Obstructed Airflow Paths
Why does a case that looks cooler on the outside often run hotter inside? You might think a sleek acrylic panel or a flashy grill adds style, but those additions can choke Airflow. When you cover motherboard trays, block radiator mounts, or jam decorative grills into tight gaps, you force air to swirl instead of exiting. The result is recirculation: warm air circles back to the CPU and GPU, raising temperatures and throttling performance.
Even a solid acrylic shroud, if placed without clearance for fans, narrows the intake path and cuts CFM dramatically. Before you add any visual flair, preview the layout in CAD or Photoshop, ensuring vents stay clear, cables don’t block passages, and airflow channels remain unobstructed. This simple check preserves thermal headroom while keeping your case looking sharp. Airflow planning
Heat Accumulation Risks
Even when you’ve cleared the obvious vents, adding dense acrylic panels, tight cable bundles, or heavy, non‑permeable decorations can still trap heat inside. Those choices choke airflow, forcing warm air to linger around the CPU and GPU. The static pressure builds, fans spin harder but move less air, and temperature spikes become the norm. You’ll notice throttling sooner, and component lifespan shrinks under constant stress. Keep the interior breathable, and you’ll avoid the dreaded heat bowl that ruins performance.
- Dense acrylic panels blocking intakes
- Tight cable bundles raising static pressure
- Heavy, non‑permeable decorations sealing vents
- Misaligned fans causing recirculation
Prioritize Functionality Before Aesthetic Upgrades
Before you start swapping panels or adding LED strips, make sure the case already moves air efficiently and fits your hardware—obstructed exhaust fans or misaligned I/O shields can overheat components and cut their lifespan. First, check airflow by feeling temperature differentials after a stress test; if hot spots appear, add a front intake filter or reposition a fan. Additionally, consider using low-latency cooling options that won’t introduce EMI or rattling when the case is under load, such as quiet, vibration-dampened fans airflow optimization.
Next, validate compatibility: use a quick CAD preview or a cardboard mock‑up to confirm that any new shroud, bracket, or filter won’t clash with motherboard mounts or GPU length. Budget‑friendly upgrades like magnetic dust filters and simple fan brackets give immediate cooling gains without tools.
Finally, plan cable‑management routes now, securing bundles with zip‑ties or Velcro straps, so future aesthetic mods won’t interfere with airflow or create clutter.
Beginner‑Friendly Custom Cable Management Techniques
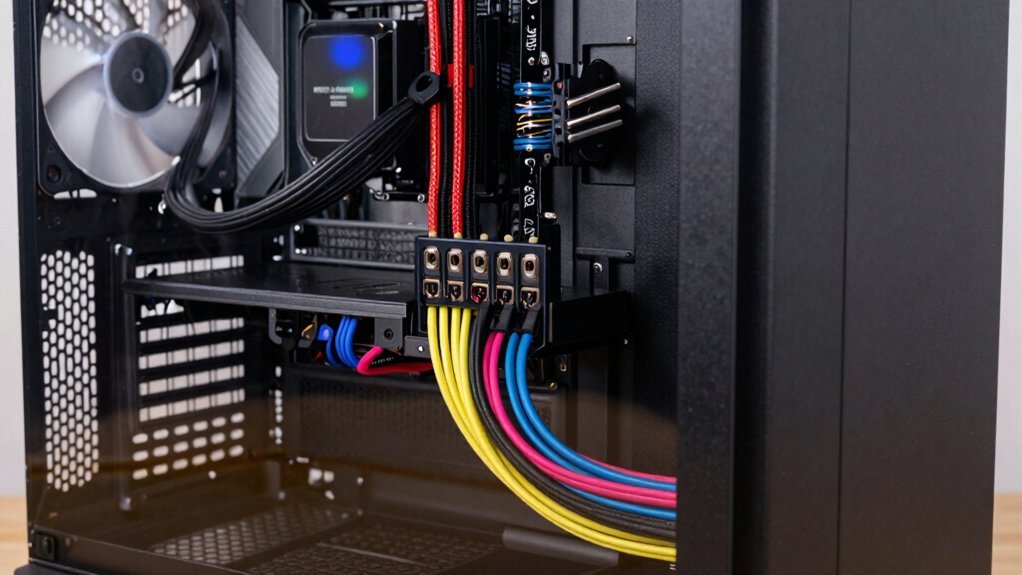
Ever thought a tidy cable layout could boost both airflow and aesthetics? You can start with custom cables that match your build’s color scheme, then hide them behind the motherboard tray or through modular grommets. Use reusable Velcro ties for quick adjustments and replace bulky stock leads with thin flat or ribbon cables to keep airflow high. Plan in phases: rough layout, tighten harnesses after core components go in, then trim slack. Label critical connections before you reassemble to avoid accidental disconnections. Color‑matched sleeves or zip ties blend custom cables with the case. Route cables behind the tray or through grommets for clean cable management. Swap stock wires for thin flat/ribbon cables to improve airflow. Phase the workflow and label connections for hassle‑free reassembly. Surface Compatibility and Removal and the rest of the guidance help ensure cables can be removed cleanly if needed for maintenance.
Easy Decals and Stickers for Personal Flair
If you want a quick, inexpensive way to give your PC personality, decals and stickers are the perfect solution. You can start with fan‑friendly logos or full‑surface wraps that peel off later, so no permanent changes.
First, clean the case surface with a lint‑free cloth. Align the design, then smooth out bubbles using a credit card or squeegee.
Pre‑cut vinyl decals work out‑of‑the‑box, while printable sticker sheets let you create custom artwork for bands, shows, or hobbies.
Because they’re lightweight and easy to apply, you can swap them whenever your taste shifts. This rapid visual personalization lets you experiment with color schemes or themes without hassle, keeping your rig fresh and uniquely yours.
Affordable Led‑Strip Lighting Aligned With Your Color Scheme
After stickers give your case a personal touch, adding affordable LED‑strip lighting takes the look to the next level. You can mount flexible 5 V RGB LED strips along the front panel or fan edges, then sync them with your color scheme for a unified vibe. Choose adhesive‑backed strips or slide them into aluminum channels to keep them secure and cables tidy. Balance brightness with power draw so the PSU stays cool and the case doesn’t overheat. With software control, you’ll match primary and secondary hues, creating contrast without a hefty price tag.
- Flexible 5 V RGB strips for easy placement
- Adhesive backs or aluminum channels for sturdy mounting
- Software‑driven color sync to match your color scheme
- Low‑power brightness settings to protect PSU and cooling
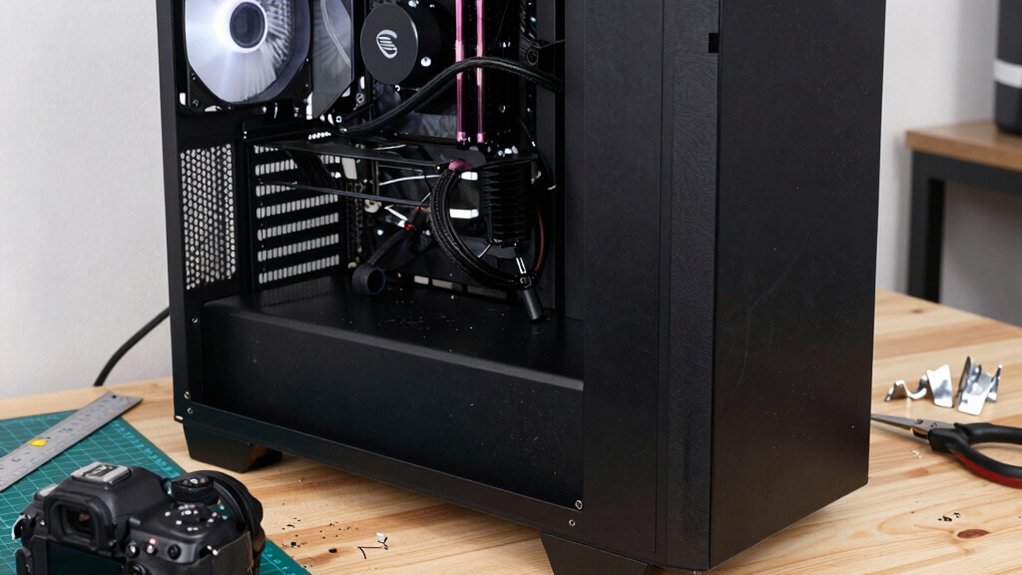
Acrylic Mods: Transparent Panels and Simple Shrouds
Want to showcase your build’s inner workings without sacrificing durability? Acrylic mods give you transparent panels and simple shrouds that let you admire cables, GPUs, and RGB while staying lightweight and sturdy. Start by measuring the cutout, then slice the sheet with a band saw or scroll saw. Sand each edge until it fits like a glove, and use acrylic‑specific glue to prevent yellowing over time. A backplate window can turn a plain case into a light‑show stage, letting every LED pulse through clear glass. Beginners should begin with a single side window or a modest shroud before tackling a full acrylic shell, balancing visibility with practicality. This Acrylic modding approach stays cheap, looks sleek, and protects your components.
Final Checklist: Verify Compatibility, Cooling, and Cost
Ready to guarantee your mods won’t derail the build? Before you start cutting, double‑check PC case modding compatibility with PCPartPicker: match case size, motherboard form factor, and GPU clearance. Verify cooling by keeping intakes and exhausts unobstructed, adding mesh filters or extra fans if airflow drops. Budget with a BOM that lists acrylic sheets, LEDs, decals, tools, and total cost to avoid surprise overspend. Test fit ideas using cardboard mock‑ups or CAD previews, catching alignment issues early and saving material.
- Use PCPartPicker to confirm case‑motherboard‑GPU fit.
- Preserve airflow; add fans or filters as needed.
- Create a detailed BOM and cost estimate.
- Prototype with cardboard or CAD before cutting.
Frequently Asked Questions
Can I Use a 3d‑Printed Bracket for Mounting Fans?
Yes, you can use a 3D‑printed bracket for mounting fans; just design it with proper clearance, ensure it’s strong enough for the fan’s weight, and secure it with reliable screws or clips.
Will Adding a Magnetic Dust Filter Affect Airflow?
Yes, a magnetic dust filter will slightly reduce airflow, but the drop is usually minor—especially if you choose a fine mesh with low resistance. Keep the filter clean to maintain optimal cooling.
Do Cheap LED Strips Need a Separate Power Supply?
Yes, cheap LED strips usually need a separate power supply; they draw more current than a USB port can provide, so plugging them into a dedicated 12 V adapter ensures stable brightness and avoids overloading your motherboard.
How to Prevent Acrylic Panels From Cracking Under Heat?
You’ll keep acrylic panels from cracking by using a heat‑resistant film, adding a thin silicone gasket, and ensuring airflow doesn’t concentrate hot spots; avoid direct contact with high‑temperature components.
Is It Safe to Drill Holes Near the Motherboard Tray?
Yes, it’s safe if you avoid power‑planes, keep a few millimetres from any components, and use a low‑speed drill with a sharp bit. Double‑check clearance, and never drill through motherboard traces or connectors.
In Summary
Now you’ve got a solid budget, a clear color scheme, and airflow‑friendly upgrades, you’re ready to roll. Keep the focus on function first, then sprinkle in the cheap aesthetic touches you love. Double‑check that every mod fits, cools, and stays within your budget, and you’ll enjoy a personalized rig that looks great without sacrificing performance.


Leave a Reply