
First, sand the case lightly, then clean and degrease it so the paint sticks. Next, mask off windows, logos, and vents with painter’s tape and spray a thin coat of enamel or acrylic paint, letting each layer dry before the next. Finally, add texture cheaply by using 400‑600‑grit sand for a subtle grain, a stencil for raised patterns, or duct‑tape strips for bold geometry, wiping away the tape while the paint’s still tacky for crisp edges. Keep going for more pro tips.
Paint Your PC Case: Materials, Safety, and Step‑by‑Step Overview
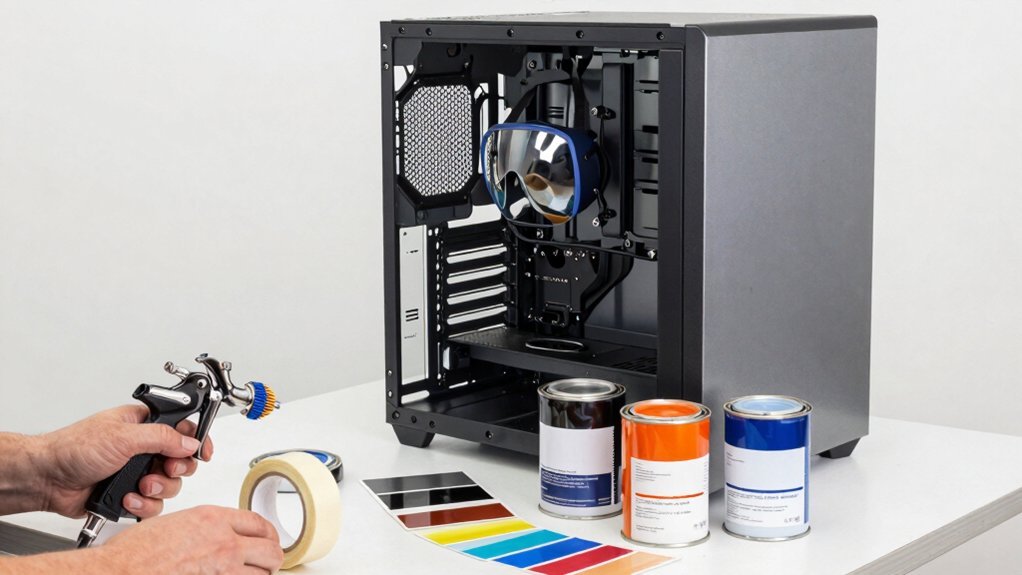
Ever wondered how to turn a bland metal shell into a sleek, personalized masterpiece? Start by cleaning and degreasing the case, then lightly sand the surface to give the paint something to grip. Apply a thin coat of primer, letting it dry fully; this boosts adhesion and prevents rust. While the primer cures, masking off windows, logos, and vents with firmly pressed painter’s tape for crisp lines. Choose an enamel or durable acrylic paint formulated for metal, and spray thin, even coats, allowing each layer to dry before the next. After the final color dries, seal with a clear coat for gloss and protection. Finish by carefully removing the tape, inspecting for missed spots, and optionally adding a protective film or wax for extra longevity. USB-C Power Delivery provides a reminder of fast charging considerations that influence overall performance in connected devices.
Add Depth With Easy Texturing: Sand‑In, Stencil, or Duct‑Tape Patterns
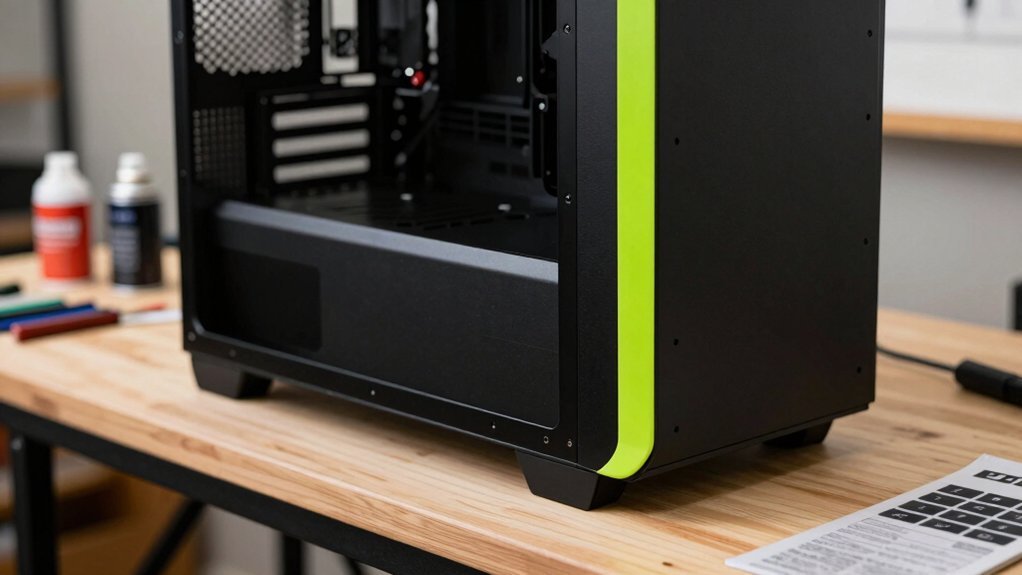
After the primer’s dry and the tape’s removed, you can add real depth by texturing the surface before the final coat. Grab a 400‑600 grit sandpaper and sand the case lightly; the micro‑rough finish boosts adhesion and gives the paint a tactile feel. Next, lay a stencil where you want intricate patterns. Seal its edges with painter’s tape so the paint won’t bleed, then swipe a thin coat over the cut‑outs. When the paint dries, lift the stencil for crisp, raised details. For bold geometry, apply duct‑tape strips or chevrons in your desired layout, paint over them, and peel the tape away once the coat is tacky. Test each method on a scrap piece first to see how the texture looks before committing to the whole case. As you plan, consider using bias lighting concepts to guide color balance and keep your final finish visually cohesive with your monitor setup color temperature.
Speed up Curing and Get Clean Lines With DIY Masking Hacks
Want faster cures and razor‑sharp edges? Grab painter’s tape, press it firmly, and run a sharp blade along the edge for a clean line.
Before you spray paint, pre‑place masking tape on curves, then burnish it with a tool so it seals tightly.
Apply thin coats instead of one thick pass; each layer dries quicker, cutting cure time dramatically.
After each coat, give the surface a brief warm‑air blast—never direct heat—to speed surface drying.
For tiny holes, layer tape, cut entry points with a hobby knife, then re‑tape to protect edges.
Color‑code your tapes by stage, and only peel them off after the final coat has set to avoid pulling texture or fraying edges.
Frequently Asked Questions
Can I Repaint a PC Case?
Yes, you can repaint a PC case; just strip the components, clean and sand the surface, tape off windows, prime, spray thin paint layers, add a clear coat, then fully cure before reassembly.
Is It Okay to Paint Over Carbon Fiber?
Yes, you can paint over carbon fiber, but you must clean, sand, and prime it first. Use metal‑or‑plastic paint, avoid harsh solvents, and finish with a clear coat for durability.
What Kind of Paint Stays on Plastic?
You should use spray paints labeled “for plastic” or “plastic‑ready,” plus a plastic‑specific primer and a clear acrylic or polyurethane topcoat; these formulations adhere well and stay durable.
Is It Okay to Spray Paint a GPU?
You can spray‑paint a GPU if you protect the heatsink, fan, and connectors, use high‑temperature metal enamel, apply thin coats, mask everything, and let it fully cure before reinstalling.
In Summary
You’ve got the basics down, so now you can turn any case into a personal masterpiece without breaking the bank. By prepping the surface, choosing the right paint, and using simple masking tricks, you’ll achieve crisp lines and textured depth in no time. The curing hacks keep the finish smooth, and the stencil or duct‑tape patterns add that extra flair. With these cheap techniques, your custom paint job will look pro‑level and last for years.


Leave a Reply