

Grab five large Walmart boxes, cut three diagonally for 32‑inch legs, and fold the flaps inward with diagonal creases for stiffness. Tape the legs together, then align two intact boxes side‑by‑side, matching corrugations for a solid top surface. Reinforce corners and edges with heavy‑duty tape, add a sixth box if you need extra strength, and finish the surface with Mod Podge or a gaming‑themed wrap. Follow the next steps for detailed measurements and customization tips.
Build a Cardboard Gaming Desk in 13 Steps
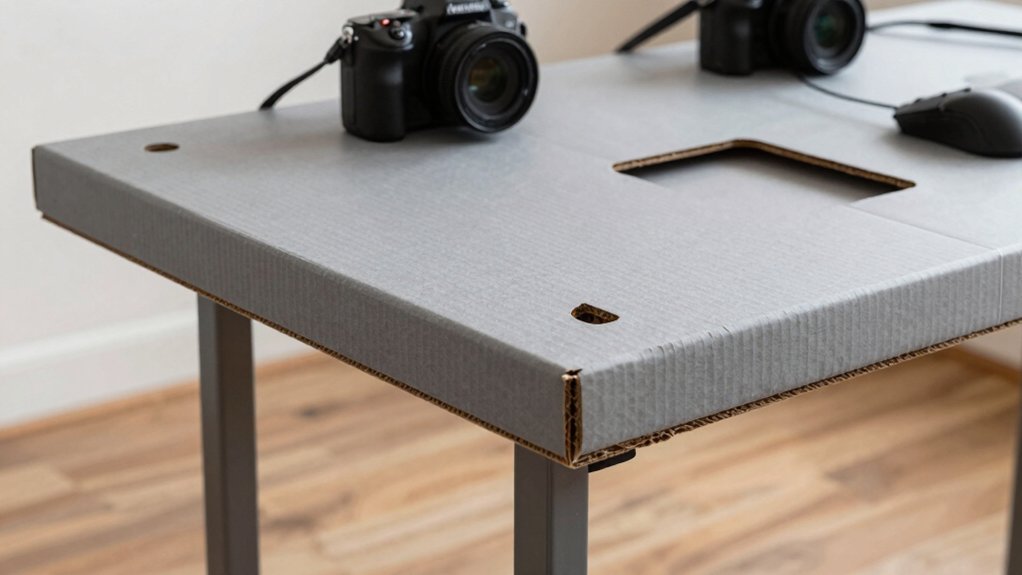
Usually, you’ll start by gathering five sturdy cardboard boxes and measuring 32 inches from one end to set the leg height. Cut three boxes diagonally for the legs, leaving two intact for the desktop. Tape the sides and bottom of each leg box, then flip and re‑tape the bottom to lock the folded flaps. Reinforce the flaps by trimming their tops, folding them inward, and adding diagonal cuts for extra rigidity. Align the two top boxes so their corrugations match, then tape them together, forming a solid cardboard desk surface. If you need adjustable height, insert short spacer blocks between legs and the base, securing them with extra tape. Follow these assembly instructions step‑by‑step, and you’ll have a sturdy, customizable gaming desk in just thirteen moves. 3D design can help you visualize the final arrangement and ensure the desk fits your gear.
Gather Materials and Tools for Your Desk
Where do you start? First, assemble your cardboard desk materials list. You’ll need five large Walmart boxes, a ruler or measuring tape, a marker or pencil, a sharp box cutter, and a variety of adhesives—masking tape, wide tape, duct tape, glue, spray adhesive, or a glue gun. Optional extras include Mod Podge for a smooth finish.
Gather five large boxes, ruler, marker, cutter, and assorted tape or glue for your cardboard desk build.
- Boxes – three for diagonal legs, two for the top, and a sixth if you want extra leg strength.
- Measuring tools – ruler or tape to gauge the 32‑inch target height and to mark cut lines accurately.
- Cutting & adhesive – box cutter for clean trims, then tape flaps and bottom sides before flipping to re‑tape for folded‑flap compatibility.
Keep the top surface untaped for now; you’ll finish it later. This prep ensures a sturdy, gamer‑ready cardboard desk. Additionally, when planning cable management for your new setup, consider using flexible, budget‑friendly clips to organize cords and reduce clutter, as these details can improve overall desk usability and neatness cable management.
Measure and Mark 32‑Inch Leg Height
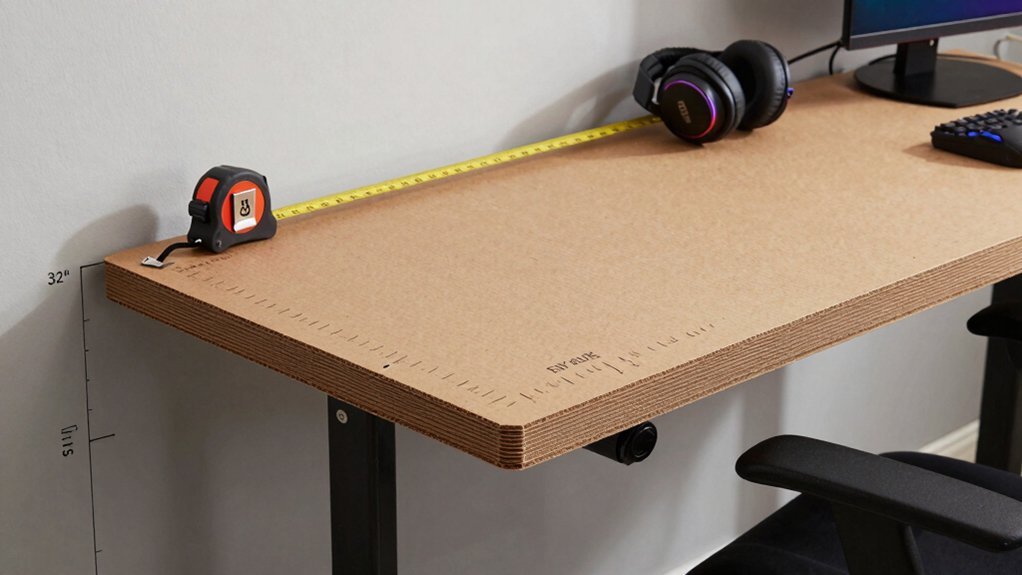
You’ll start by measuring exactly 32 inches from the base of the leg assembly, using a tape or ruler that locks in place. Mark the spot on each of the four leg boxes with a sharp pencil and double-check the line before you cut. Also ensure the frame remains stable by keeping the top surfaces of two boxes intact for a solid platform weight capacity per tier.
Accurate Measurement Techniques
How do you ensure every leg of your cardboard desk stands exactly 32 inches tall? Start by placing a tape measure on a flat surface, aligning its zero end with the base edge, and pull it straight up to 32 inches. Keep the tape perpendicular to the floor; any tilt ruins measurement accuracy. Use a rigid straightedge or level to draw a continuous line at that point, then double‑check each leg with a square to confirm right angles. After each cut, re‑measure to verify the leg height remains consistent.
- Measure from base edge to 32 inches, keeping the tape vertical.
- Transfer the mark with a straightedge across all legs.
- Verify each leg with a tape and square, re‑measuring after trimming.
Consistent Marking Practices
Ever wondered how to keep every leg exactly 32 inches tall? Start by laying each cardboard box flat and using a ruler or measuring tape to draw a straight 32‑inch line on every leg before you cut. This simple step guarantees marking consistency and sets a clear reference for measurement accuracy. Once you’ve marked all four legs, double‑check each line with a second measurement; any discrepancy will show up immediately, preventing a tilted desk later. Write the 32‑inch target on a scrap piece of cardboard and keep it nearby for quick verification during adjustments. By treating each mark as a repeatable datum, you enforce standardization across the entire build, ensuring every leg matches perfectly. The process can also benefit from using a non‑slip bottom or footrest-style stability ideas to prevent wobble on uneven floors stable design concepts.
Cut Three Boxes Diagonally for Desk Legs
You’ll start by slicing each of the three boxes along a diagonal so the wedge’s long side matches the 32‑inch leg height you measured.
Then fold the extra flap on each wedge inward to lock the pieces together and add extra stiffness.
If you have a sixth box, use its panels to reinforce the joints for a sturdier leg structure.
Diagonal Cutting Technique
Start by laying each Walmart box flat and marking a straight line from one bottom corner to the opposite top edge. That line becomes your diagonal cut, giving you a triangular leg piece with a consistent slope. Use a ruler or laser level to keep every cut identical, ensuring balanced cardboard construction and easy desk height adjustment later.
Align the ruler with the same corner on each box for uniform angles. Slice with a sharp utility knife, applying steady pressure to avoid jagged edges. Trim the excess cardboard to fine‑tune the leg length toward the target 32‑inch height.
Keep the two remaining boxes untouched for the desktop and supports, and set the leg pieces aside until you’re ready to assemble. Additionally, ensure your project accounts for 7.1 surround sound notches or venting considerations if you plan to add integrated speaker mounts beneath the desk.
Leg Height Measurement
Now that the diagonal legs are cut, measure each piece from the base to the top edge and mark the 32‑inch point that will determine your desk height. Grab a ruler or tape, align it with the leg’s longest side, and note where 32 inches lands. That mark becomes the target leg length for your cardboard construction. Trim any excess beyond the line, ensuring the front sections stay longer than the back sections for stability. Double‑check each leg so all three share the same 32‑inch mark; uneven lengths will wobble the desk. If you have a sixth box for reinforcement, cut it to the same length and attach it to the back of each leg, bolstering the overall height and strength. Maintaining proper ergonomic support is important when setting up a gaming space, especially to accommodate comfortable posture during long sessions ergonomic support features.
Reinforcement Flap Folding
First, cut each box along a single diagonal so the leg is tall and slim.
Keep the uncut flaps on the sides; they’ll give you initial strength.
Tape the sides and bottom—never the top—then flip the structure and re‑tape the bottom so the folded flaps lock in place, adding rigidity without bulk.
Reinforcement folding steps:
- Slice the top sheet of each leg’s flaps so they can fold inward.
- Make diagonal line cuts on those flaps before folding to create a hinge‑like lock.
- Secure both left and right sides with tape, reinforcing the frame and preventing wobble.
You’ll end up with a sturdy, reinforced cardboard desk leg that holds up under gaming gear.
In addition, consider incorporating a steel‑plate inspired feel by ensuring the folded joints sit flush and distribute weight evenly across the base. DPI range
Fold Leg Flaps Inward and Add Diagonal Creases
When you cut each leg flap along a diagonal line before folding, you create a reinforced crease that adds rigidity as you press the flap inward. The cardboard reinforcement forms a triangulated leg that resists wobble. Align the pre‑cut diagonal creases from the outer edge toward the inner base, then execute an inward fold, pressing the flap flat against the desk exterior. This inward fold channels load directly into the side panels, minimizing shear. Secure the folded sections with tape on both left and right sides, tacking them to adjacent panels for extra stability. The resulting structure stays stiff under gaming gear, and the diagonal creases keep the legs from curling when you lean on the desk.
Assemble Bottom Frame and Tape Sides
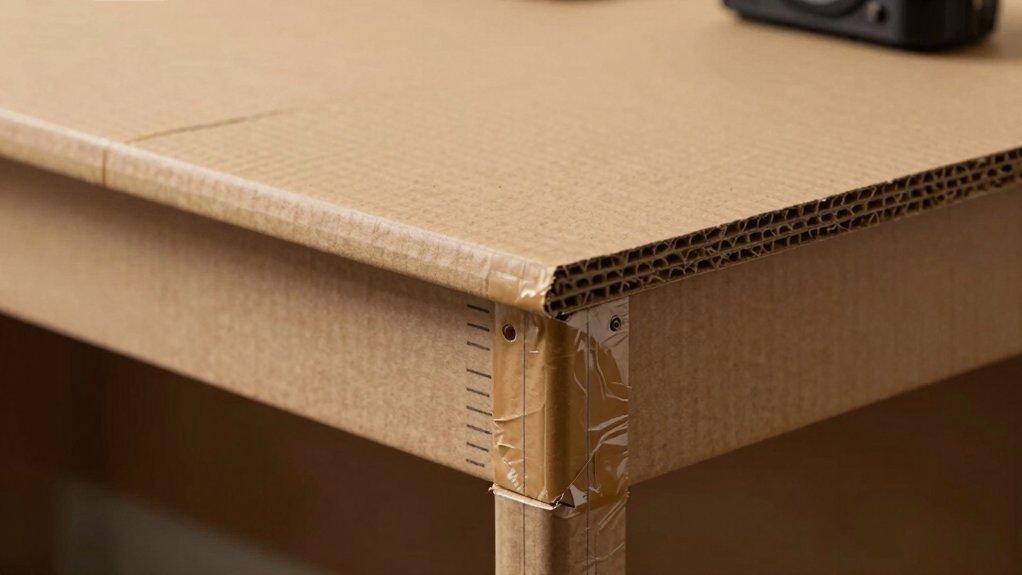
The reinforced leg creases you just set up give the desk a solid anchor, so the next step is to build the bottom frame and tape the sides. Grab the two spare boxes and cut them into a rectangular frame that will sit under the legs. Align the uncut flaps on each side with the frame edges, then secure them with a strong tape strip. This creates a sturdy base while leaving the top open for later assembly.
- Lay the frame flat, ensuring the edges are flush.
- Apply tape along each side, overlapping the flaps for extra grip.
- Reinforce corners by adding the front pieces cut from the box‑off cuts, taping them tightly.
Now the bottom frame is solid, and the sides are firmly taped, ready for the next phase.
Flip Frame, Tape Bottom, Align Uncut Flaps
Flip the assembled frame so the uncut flaps face outward, then tape the bottom edges to lock the base in place. You’ll notice the cardboard desk gains extra rigidity when the uncut flaps reinforce the legs. Start by applying a wide strip of tape along each bottom joint, pressing firmly to seal any gaps. Flip the frame, align the corrugations of the top and leg boxes, and add another tape layer over the folded flaps. This double‑taping maximizes structural integrity and prevents separation under load.
| Step | Action |
|---|---|
| 1 | Flip frame, expose uncut flaps |
| 2 | Tape bottom edges first |
| 3 | Align corrugations, re‑tape |
| 4 | Reinforce joints with extra tape |
Attach Desk Top From Two Intact Boxes
Want a sturdy, seamless surface for your gaming setup? Grab two intact boxes and align their corrugations lengthwise. The uncut flaps stay attached, giving you a continuous panel that becomes the core of your cardboard desk. Trim any high spots so the top panels sit level, then fuse them with strong tape.
- Place boxes side‑by‑side – keep flaps outward for a smooth edge.
- Tape long edges – run tape along the seam and front/back edges to lock the boxes together.
- Check levelness – adjust height, then add a reinforced top if needed.
Layer Extra Boxes for a Stronger Surface
When you stack additional cardboard boxes on the desk,, the structure thickens and the weight spreads evenly, which dramatically boosts rigidity. Start by picking two or more matching boxes, open them, and lay them flat. Align the corrugation channels in the same direction, then use the uncut side flaps to lock each layer together with strong tape. As you add each layer, the cardboard gains thickness, turning the surface into a solid slab that resists flex under a keyboard, mouse, or headset. Fill any gaps on the right side with leftover pieces to eliminate uneven seams. If you want a smoother finish, coat the layered top with Mod Podge or decoupage. This simple stacking technique gives you a durable, rigid workspace without extra hardware.
Align Corrugation for Maximum Load Capacity
Aligning the corrugation of each cardboard layer so the flutes run in the same direction dramatically boosts the desk’s load capacity. When you stack panels, keep the corrugation axis consistent; this lets shear forces travel straight through the material, preventing weak spots at the seams. Rotate paired sheets so their flutes mirror each other, creating a stiffer composite panel that resists bending. Secure the layers with continuous tape along the edges to transfer stress efficiently and maintain rigidity.
- Match flutes – place every layer with the same corrugation direction.
- Align seams – run vertical supports along the strongest axis.
- Tape edges – use continuous tape to bind layers and spread load.
Following these steps maximizes load capacity while keeping the desk stable under heavy gaming gear.
Seal Right‑Side Gap and Reinforce Edge
You’ll seal the right‑side gap by folding the flap inward and taping both the interior and exterior edges for a continuous seam.
Then reinforce the edge with a cut‑off leg strip, securing it with multiple tape layers to keep it rigid.
Finally, add a thin cap strip if any material remains, taping it over to hide gaps and improve the finish.
Seal Right‑Side Gap
Need to seal that right‑side gap tight to keep the desk sturdy and looking clean. Align the right‑side flaps, press them flat, and make the vertical seam disappear for a professional cardboard desk finish. A smooth edge sealing not only looks good but prevents wobble during intense gaming sessions.
- Fold flaps inward – tuck the right‑side flaps toward the interior before any tape touches them.
- Apply a continuous tape strip – run duct or wide masking tape from the front edge to the back edge, covering the entire right‑side seam.
- Add a reinforcing strip – place a second tape layer on the outside of the seam, overlapping any corrugation lines for extra rigidity.
These steps lock the joint, keep the edge sealing consistent, and give your desk a clean, sturdy profile.
Reinforce Edge With Tape
How can you make the right‑side edge both seamless and rock‑solid? First, tape the seam between the top and side panels with multiple passes of wide tape, sealing every gap and adding rigidity. Then run a continuous strip of tape from the desk surface down to the leg base, reinforcing edge stability and corner strength. Cut off front and back segments, back them onto the seam, and press firmly to boost torsional resistance. After the initial layer, apply a second strip perpendicular to the first, preventing peeling under load. Finally, fold the edge flaps inward and tape both sides, creating a double‑layer, reinforced edge that holds the cardboard desk together for intense gaming sessions.
Apply Smooth Finish With Mod Podge or Decoupage
Wondering how to give your cardboard desk a sleek, protective surface? First, clean the assembled top and sides so Mod Podge or decoupage adheres evenly. Spread a thin, transparent coat with a foam brush, then lay your decorative paper, smoothing bubbles with a brayer. Let it dry, then repeat until you have a smooth, wipe‑clean finish. Seal seams and high‑traffic zones with a matte or satin top coat for extra durability.
- Prep – Dust off the desk, tape edges if needed.
- Apply – Thin Mod Podge layer, place paper, roll out air.
- Build & Seal – Multiple coats, dry fully, finish with top coat.
You’ll end up with a uniform, glossy surface ready for gaming gear.
Customize Surface With Gaming‑Themed Wraps or Paint
After the smooth Mod Podge base is dry, you can start adding personality with gaming‑themed wraps or paint. Choose a vinyl decal, printed wrap film, or acrylic paint that offers strong adhesion to cardboard, and if you prefer paper or fabric wraps, spread a thin Mod Podge layer first to create a non‑porous surface. Align logos, characters, or grid designs along the front edge and center for a balanced look. Once the wrap or paint is in place, seal it with clear polyurethane or acrylic sealer for protection against mouse movement and peripheral wear. Finish high‑traffic edges with corner guards, reinforced tape, or edge trimming to keep the wrap from peeling under stress. This step gives your desk a custom, durable gaming vibe.
Frequently Asked Questions
Is It Cheaper to Build Your Own Desk?
Yes, you’ll usually spend less than buying a new desk—often under $20 if you repurpose boxes and use basic tape—though you’ll need extra time and reinforcement for durability.
What Is Needed for a Gaming Desk?
You need five large cardboard boxes, a ruler or tape measure, a cutting knife, markers, masking or duct tape, glue or spray adhesive, and optionally a glue gun, Mod Podge, and extra boxes for reinforcement.
Can I Use Cardboard as a PC Case?
Yes, you can use cardboard as a PC case, but you’ll need overlapping corrugated panels, strong internal bracing, taped joints, ventilation cutouts, non‑conductive barriers, and careful weight management to keep it functional and safe.
How Thick Should a Gaming Desk Be?
You should aim for about 1‑1.5 inches thick, using two or three corrugated layers for rigidity. If you need it lighter, a single 1‑inch top with strong legs and cross‑bracing works fine.
In Summary
Now’ve turned simple cardboard into a sturdy, gamer‑ready desk that looks sleek and holds up under heavy rigs. By following the steps—cutting, folding, reinforcing, and finishing—you’ve created a custom workspace that’s both affordable and stylish. Enjoy the satisfaction of a DIY build and the extra gaming space you’ve earned, all without breaking the bank.


Leave a Reply