

Unplug every device, label each cord as you pull it out, and map a single, tidy route from device to wall outlet. Use color‑coded Velcro ties to bundle and shorten cables, and feed them through grommets or desk holes into under‑desk trays or channels. Mount your power strip behind the desk or on a hook, then secure cables to legs and monitor arms with adhesive clips. Keep slack for standing‑desk height changes, and run a quick safety scan for trip hazards and overheating. Continue and and you’ll discover even more tricks.
Unplug Everything and Start With a Clean Slate
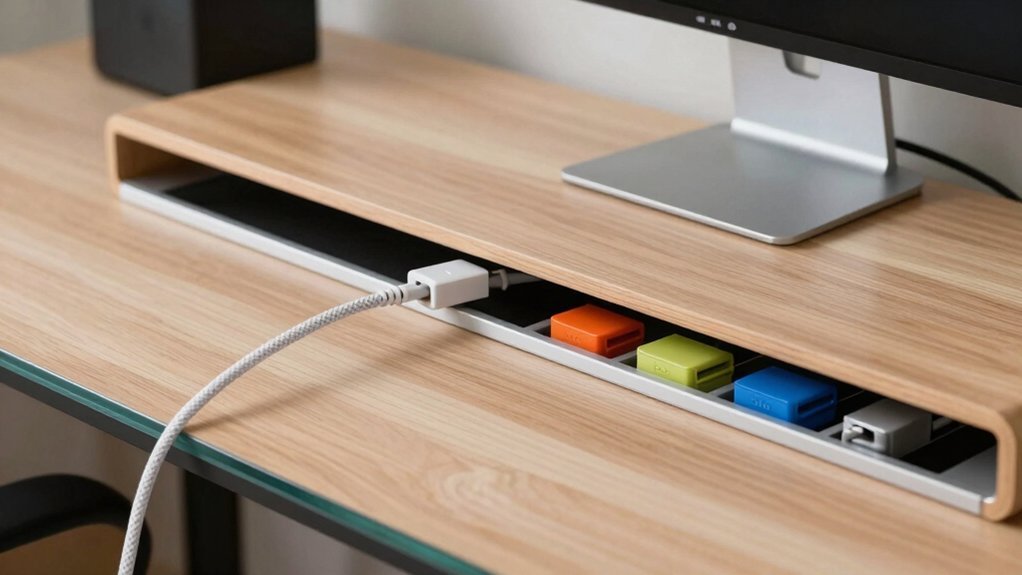
Ever wondered why a tidy desk feels so much easier to work at? Start with unplugging every device; this clean slate lets you identify needed cables without distraction. As you pull each plug, label it and set it aside, discarding any dead‑ends. Examine every cord for frays or damage—replace before you re‑connect. This systematic cable organization boosts safety, preventing accidental power spikes while you sort. Keep a simple record of each cable’s origin so reassembly is painless. Once you’ve isolated the essentials, arrange them for under‑desk cable management, using clips or sleeves to keep runs tidy. You’ll finish with a clear workspace, fewer hazards, and a foundation for future tweaks. Surface Compatibility & Removal guides can help you choose clips that come off cleanly if you ever need to reposition.
Map Your Desk Layout for Cable Management
First, locate your power strips and outlets so you know exactly where each device can plug in. Next, trace a line from each gadget to its power source, grouping similar cables—like data or charge—together. Finally, sketch a routing plan that keeps the paths short, tidy, and adaptable to any desk height changes. Also consider using a wall-mountable design to reduce clutter and improve stability for higher outlet density wall-mountable design.
Assess Power Source Locations
Where should your power strips go to keep cables out of the way? First, sketch your desk layout and note every wall outlet and power source location. Then, decide on power strip mounting that minimizes cross‑desk runs. Keep cords out of walking paths by using under‑desk cable management trays or wall‑mounted brackets, and leave a little slack for desk height adjustments. Label each plug and route cables through dedicated channels so the path from device to outlet stays tidy.
- Place a strip near the nearest wall outlet, but tucked under the desk.
- Mount a second strip on the wall behind the monitor for easy access.
- Use a cable raceway along the desk edge to guide power cords.
- Reserve a small gap for future devices and avoid tangling. Cable raceway
Identify Device Connection Paths
How can you keep every cable on a clear, logical route without turning your desk into a tangled mess? First, map each device to its outlet and data ports. Identify which cords head to the power strip, monitor, printer, and router. Sketch a layout that sends cables under‑desk, through grommets, or along a single channel. Group power, data, and charging lines, then apply color‑coding or clear labeling. Make sure slack accommodates desk height changes, especially on standing desks. Use under‑desk trays, cable clips, and back‑hole grommets to enforce a tidy, single path from each device to the wall outlet. This approach aligns with popular kits that include under‑desk trays and self‑adhesive, pet‑proof components for expanding setups. Under‑desk trays can help you route bulky power supplies while preserving surface space.
| Device | Primary Route |
|---|---|
| Monitor | Power strip → grommet → under‑desk |
| Printer | Data cable → under‑desk channel |
| Router | Power strip → cable clip → grommet |
This visual helps you enforce consistent cable management and easy troubleshooting.
Plan Cable Routing Paths
Ever wondered how a clean, hidden‑under‑desk cable network can stay functional when your desk shifts from sitting to standing? Start by unplugging everything, then sketch your desk layout. Mark each device, the power strip, and the wall outlet. Visualize a single, smooth cable routing path that avoids crossovers and leaves slack for height changes. Use under‑desk cable management tools—desk cable channels, grommets, and trays—to keep wires out of sight. Position the power strip on the desk edge or beneath the desk to shorten runs and eliminate trip hazards.
- Map devices to the power strip with minimal crossing lines.
- Route cables through grommets into desk cable channels.
- Keep slack near the underside for standing adjustments.
- Secure excess length with zip ties or Velcro straps. Cable management
Position Your Power Strip for Efficient Cable Management
Position your power strip where it short long runs across the desk and stays out of traffic paths, then mount it behind the desk or on a screw head or hook to keep it hidden and tidy.
Choose an under‑desk cable management channel or tray that matches your desk’s profile, so the power strip stays elevated yet accessible.
Secure the strip with sturdy mounting hardware; a simple hook or screw‑in bracket works fine.
Run cords through the cable channels to keep them flat and out of sight, which drives clutter reduction.
Label each plug with a clear tag or colored marker—this prevents trial‑and‑error unplugging and speeds future reconfigurations.
Humidity guidance Maintain awareness of recommended humidity levels for stored items to help preserve components and reduce deterioration over time.
Use Grommets and Desk Holes to Feed Cables Under the Surface
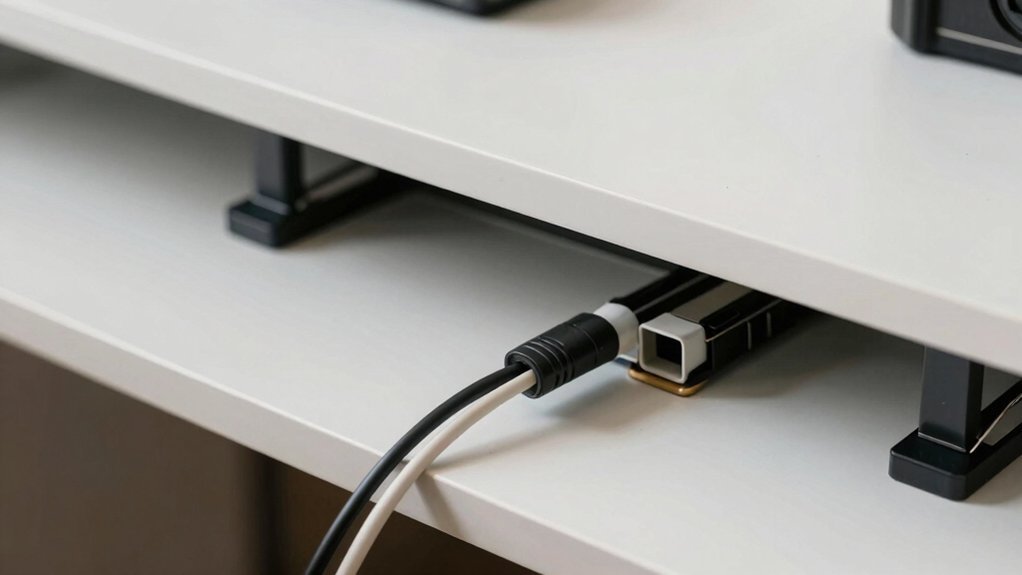
Ever wondered why your desk looks tangled despite tidy cable management? You can solve that by adding grommets and desk holes to route everything under the surface. A well‑placed grommet creates a clean entry point for power and data lines, letting you hide cables while keeping access easy. Pair it with under‑desk cable management trays for a seamless path from devices to the wall outlet. The result is a sleek workspace and noticeable clutter reduction.
- Drill or use pre‑made desk holes where cables converge.
- Insert grommets to protect wires and guide them beneath the desk.
- Thread cables through the grommets, then zip them into an under‑desk tray.
- Secure the tray, tighten any loose loops, and enjoy a tidy, organized surface.
Grommet and cable management are supported by products that emphasize built‑in features like pre‑drilled grommets for cable routing and USB-powered lighting to reduce outlet use.
Shorten Cables With Velcro for Better Cable Management
You can trim the excess length of your cables and then secure them with reusable Velcro straps. This simple step cuts slack, prevents tangles, and keeps your workspace tidy.
Trim Excess Length
How can you keep those sprawling cords from turning your desk into a knotty mess? Trim excess length with Velcro ties, so every cable fits its purpose without dangling. First, coil the cable to the desired length, then secure the coil with an adjustable tie. Slip the bundle under‑desk for a clean look, and keep extra slack hidden. Repeat for each device, and you’ll maintain tidy cable management that’s easy to reconfigure.
- Use Velcro ONE‑WRAP ties to bundle cables before plugging them in.
- Choose reusable, adjustable ties to shorten excess length quickly.
- Wrap idle charging cords with Velcro Portable Cord Ties for out‑of‑the‑way storage.
- Coil long cables at multiple points with Velcro to prevent tangling and slack.
Secure With Reusable Straps
Want a desk that stays tidy without constantly re‑tying knots? Grab a pack of Velcro ties and start bundling those long cords before you plug them in. The reusable straps give you tension adjustability, so you can tighten or loosen as devices shift, and you’ll never need a fresh knot again.
Slip the ties under-desk to hide power strips, then use color‑coded cords to separate phones, data, and electricity for quick visual cues. When you upgrade or move a device, just pull the strap apart—no cutting, no waste.
Portable Velcro cord ties keep idle chargers neat, while excess length gets trimmed and secured, eliminating slack and tangles. This simple cord organization method boosts cable management and keeps your workspace sleek.
Label Both Ends of Every Wire for Quick Identification
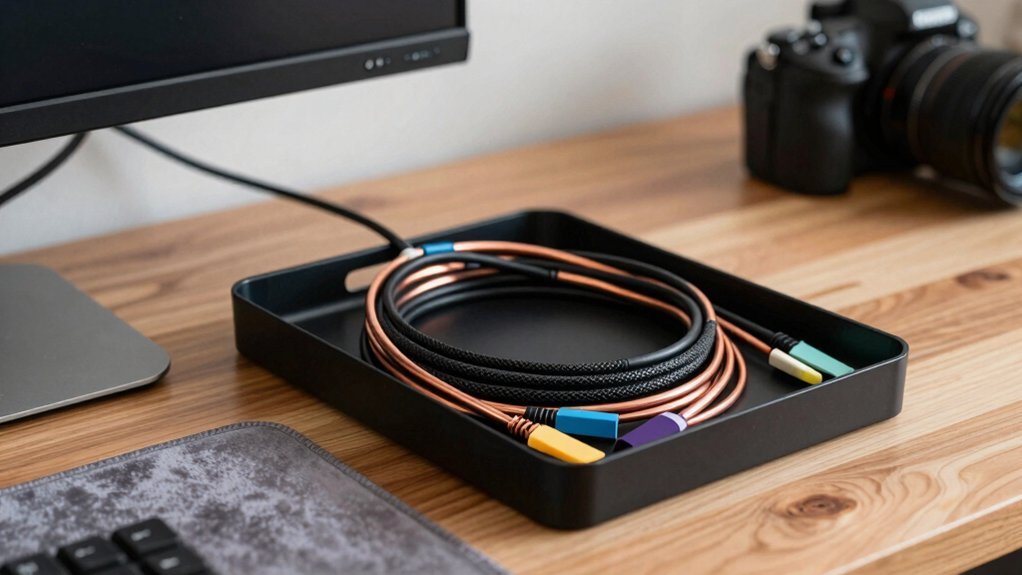
Ever wondered how a simple label can save minutes of hunting for the right cable? You’ll find that labeling both ends of every wire turns a chaotic desk into a streamlined workstation. End‑to‑end labeling lets you identify cables at a glance, so you can unplug or re‑route without guessing. Pre‑printed cable labels add clarity and prevent mix‑ups, while consistent labeling supports safe adjustments and faster upgrades. The practice boosts quick identification and overall wire organization, keeping your setup tidy and functional.
Label both ends of each cable for instant identification, organized workspace, and hassle‑free upgrades.
- Stick a label on the power end and the device end of each cord.
- Use color‑coded or numbered cable labels for similar cables.
- Write the device name or port purpose on both sides.
- Keep a spare label set handy for future additions.
Mount Under‑Desk Trays or Channels to Hide Power Strips and Data Cords
Looking to keep your workspace sleek while still accessing power and data easily? Mount an under‑desk tray and hide power strips and data cords from view. Choose a tray that fits your desk model, then secure it with screws or adhesive to ensure a stable base. Slide the power strips into the tray’s built‑in channel, so you avoid long cross‑desk runs and keep outlets within reach. Route data cords through the same channel for seamless cable management; this prevents tangles and lets you adjust desk height without pulling wires. The tray’s low profile keeps the floor clear, and the built‑in channel maintains a tidy look. By using an under‑desk tray, you’ll stay organized and enjoy a cleaner, more professional desk setup.
Secure Cables to Desk Legs and Monitors With Adhesive Clips
You’ll start by placing adhesive clips along the desk legs and monitor arms, creating a clear path for each cord. As you snap the clips on, pull the cables just enough to keep them taut without stressing the connectors. This simple tension management not only prevents sagging but also makes future swaps or upgrades a breeze.
Adhesive Clip Placement
Where should you place adhesive cable clips for maximum tidiness? You attach them near the point where cables exit a monitor stand or desk leg, then guide the wires along the desk edge for clean cable routing. The clips keep cords out of foot traffic, let you hide extra length under-ddesk, and let you maintain tidy workspaces. Because the adhesive backing is gentle, you can reposition without damage whenever you change your setup.
- Clip the base of a monitor stand, pulling the cable toward the desk edge.
- Stick a clip on the inner side of a desk leg, routing the cord under‑desk.
- Place a clip just above a power outlet to guide the plug cleanly.
- Use a clip at the cable‑grommet to secure any excess slack.
Cable Tension Management
How can you keep cables taut yet flexible while your desk shifts? Start by attaching under‑desk clips at regular intervals along each leg and the monitor stand. Pull each cord just enough to maintain cable tension, then clip it in place, leaving a small amount of slack for monitor movement and height adjustments. Use Velcro ties to bundle excess length, so you can quickly re‑route if you add or remove devices. Align the power strip so the cables run straight from the devices, minimizing crossovers and keeping the routing out of foot traffic. This continuous, tensioned path prevents sagging, reduces tangles, and keeps your workspace tidy without sacrificing flexibility.
Create a Flexible Cable Route for Standing‑Desk Height Adjustments
When your desk rises or lowers, the cables must move with it without snagging or stretching, so plan a route that includes enough slack and runs through under‑desk channels designed for height adjustments. Start by visualizing a single, adjustable path that hides cords beneath the desk while keeping access for power switching. Use a standing‑desk‑friendly cable management system with integrated holes, then secure a power strip with clips so it travels with the frame. Bundle excess length with Velcro ties and sleeves, tucking the slack under the desk. This keeps the flexible route smooth, prevents tangles, and maintains a clean workspace.
- Install under‑desk channels that follow the frame’s vertical motion.
- Mount the power strip on a tray that slides with the desk.
- Use Velcro ties to bundle and shorten cables, leaving a loop of slack.
- Route all cords through the channels, avoiding cross‑desk runs.
Run a Safety Scan to Spot Trip Hazards and Overheating Risks
Ever wonder why a quick safety scan should be part of your desk routine? You should start by clearing the floor around your workstation, then trace every cord from the power board to the device. Look for any loose ends that could become trip hazards, especially where under‑desk cable routing ends or where cable clips are missing. Check that cable management channels are intact and not cracked, because a broken channel can expose conductors and raise overheating risks. Feel the plugs and adapters for heat; a warm spot signals a possible overload. Verify that power boards sit on a stable surface and that cables don’t cross or bunch, which can trap heat. Finally, tighten any loose clips and reroute cables to keep the walkable area clear and the system cool.
Frequently Asked Questions
How Do I Protect Cables From Pet Chewing?
You protect cables from pet chewing by wrapping them in split‑tube or spiral sleeves, securing ends with cord clips, using chew‑proof cable covers, and keeping the cords out of reach with furniture or barriers.
Can I Use Magnetic Cable Organizers on Metal Desks?
Yes, you can attach magnetic cable organizers to metal desks; just ensure the surface is clean and the magnets are strong enough to hold the cables securely without slipping.
What’s the Best Way to Hide Cables Behind a Wall-Mounted Monitor?
You’ll conceal cables by drilling a small channel behind the monitor, running a cable raceway or conduit through it, then snapping a decorative cover on the wall; this keeps everything hidden and tidy.
Are There Eco‑Friendly Alternatives to Plastic Zip Ties?
You can swap plastic zip ties for biodegradable hemp, recycled paper straps, or metal clips that you reuse. They’re sturdy, compostable, and reduce waste, keeping your desk tidy and eco‑friendly.
How Often Should I Replace Old or Frayed Cables?
You should replace old or frayed cables every six to twelve months, or sooner if you notice exposed wires, intermittent connectivity, or overheating. Regularly inspect them and swap any that look worn or damaged.
In Summary
By tackling each step, you’ll turn a tangled mess into a sleek, safe workspace. Your cables stay hidden, your desk stays tidy, and you won’t trip over loose wires when you switch between sitting and standing. With a clean layout and proper strain management, you’ll boost productivity, protect your equipment, and enjoy a more organized, stress‑free environment.


