Pick a 12 V RGB strip (or 5 V ARGB if you want individual effects) that matches your motherboard header, keep each piece under 3 m for RGB or 1.5 m for ARGB, and use a PC‑specific kit so the connectors line up. Compute the current (I = P/V) and stay under the typical 2–3 A limit; if you need more, add another header or a powered hub. Print the mount from Thingiverse, sand and paint it, then attach a mirrored‑film diffuser and route the wires with zip ties for clean airflow. Test colors and brightness before sealing everything up, and you’ll find the next steps to perfect your glow.
Pick LED Strips & Controllers for a Cheap LED Case Mod
Which LED strips and controller will give you the best balance of cost, compatibility, and reliability? You’ll want 12 V RGB strips for straightforward motherboard compatibility and solid reliability, especially in a case mod where space is tight. If you crave individually addressable effects, opt for 5 V ARGB strips that fit a standard 3‑pin header. First, verify voltage, connector type, and pin alignment to avoid shorts. Choose a PC‑specific LED kit that bundles LED strips, a controller, and the right cables; this ensures documented compatibility and simplifies wiring. For higher loads, pair the motherboard header with a powered hub or a dedicated controller so the power supply isn’t overtaxed. Keep each header under its recommended length—about 3 m for 12 V RGB or 1.5–2 m for 5 V ARGB—to stay within current limits. USB-C Port
Figure Out How Many Strips You Can Run on Each Header for a Cheap LED Case Mod
How many strips can you safely attach to each motherboard header? For a 5 V ARGB header, aim for about 1.5 m of 10 W/m strip per channel, which keeps you under the typical 3 A current rating. For 12 V RGB strips, you can push roughly 3 m if the strip draws 7 W/m, staying within the 2 A (24 W) limit of the header. Compute the current by dividing the strip’s power per meter by its voltage (I = P/V) and compare it to the motherboard header’s rating. If you exceed these lengths, move to another header or install a powered hub to avoid overloading and to reduce voltage drop. Group strips so each header stays under its current limit and route cables short for consistent lighting. Additionally, consider the variety of RGB strip options available in a budget-friendly setup to maximize both coverage and visual impact while staying within the power constraints RGB strip options.
Build the 3D‑Printed Mount & Backlight for a Cheap LED Case Mod
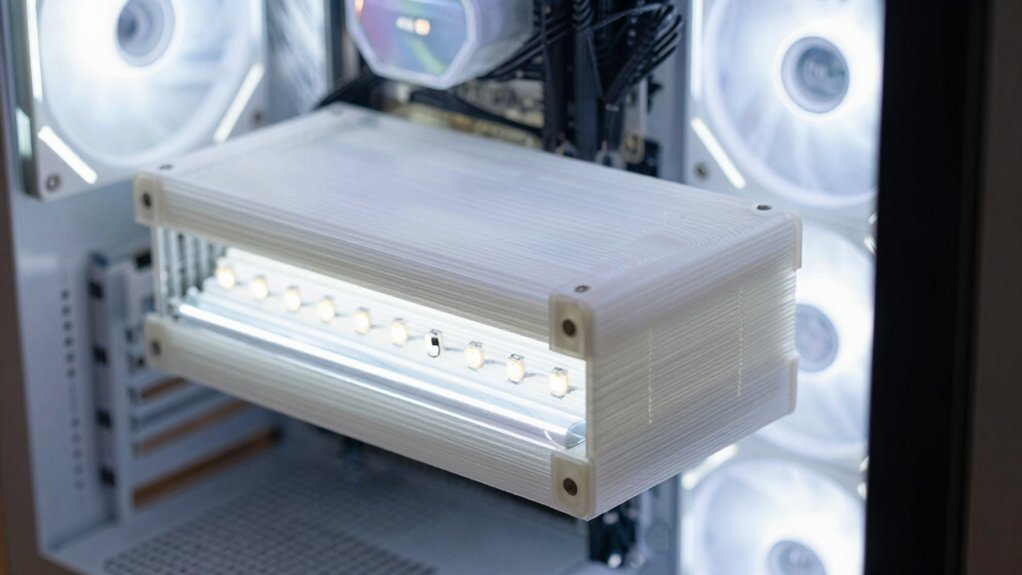
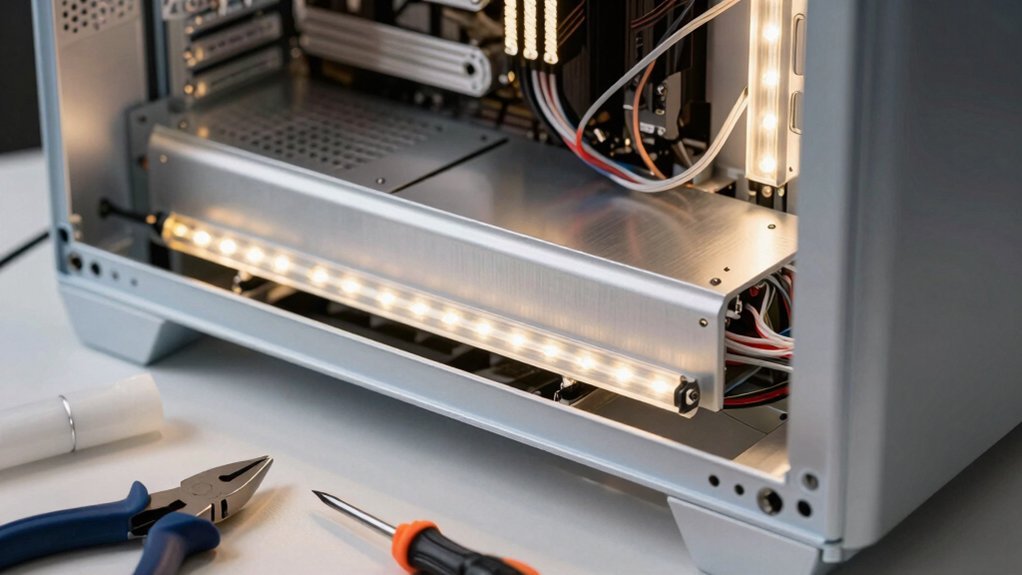
Ready to give your case a sleek, illuminated front? First, download the 3D‑printed mount (Thingiverse thing:1833510) and measure your three free drive slots. Scale the model, print it, then sand and paint the surface for a smooth front panel finish. Next, craft the backlight: cut a rough CD‑box piece, sand the edges, and apply mirror film to one side of the plastic stick. Mount the LED strip along the stick’s sides, then add baking paper as a diffuser. Finally, glue the backlight to the mount with the mirrored side down, wire the strip to 12 V and ground, and install a switch for easy control while keeping heat management in mind. Backlight design can be enhanced by mounting with a clamp-on desk-style organizer to keep cables tidy and prevent heat buildup.
Route Cables for Clean Airflow in Your Cheap LED Case Mod
Ever wonder how to keep your LED case mod looking tidy while preserving ideal airflow? Start by sketching cable routes on paper; this visual plan lets you hide wires and keep airflow clear. Run LED cables along existing bundles and cut‑outs—24‑pin, GPU power, fan hubs—so you don’t create new obstacles. Dry‑fit strips with masking tape or magnets to check clearances before you lock anything down. When you’re satisfied, secure cables to the motherboard tray using zip ties or Velcro straps at the built‑in tie‑down points, steering them away from fan intakes and exhaust paths. Place strip connectors near grommets or cut‑outs, confirming voltage and header matches to avoid shorts. Proper cable routing preserves clean airflow and a sleek look in your case mod. Anti-fog control considerations can help keep airflow clear by reducing incidental moisture buildup in confined spaces.
Test, Troubleshoot, and Finish the Cheap LED Case Mod

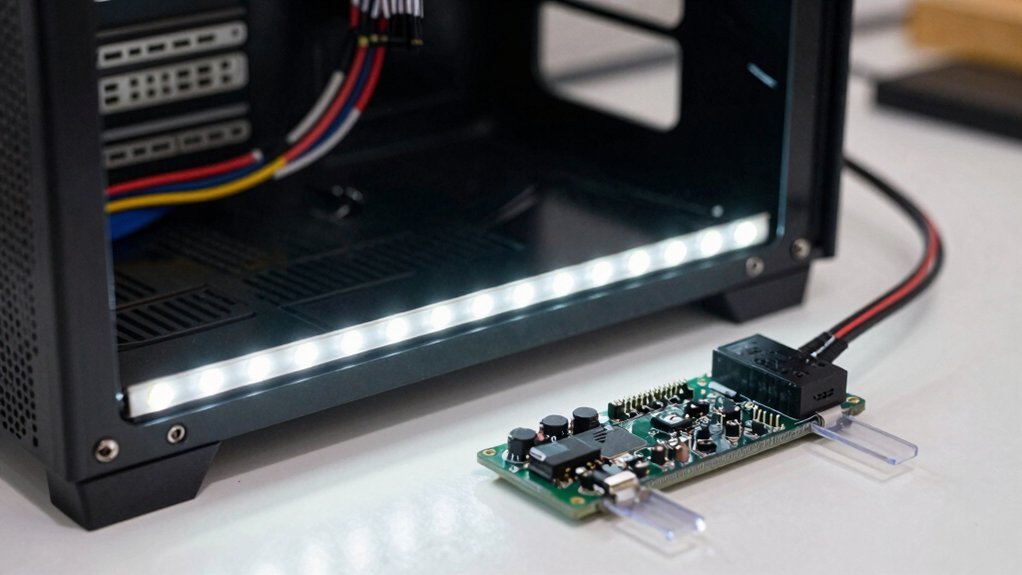
Need to verify everything works before you seal the case, so start by bench‑testing each LED strip on the controller outside the chassis. Plug the strips into the controller, power the 12 V supply, and confirm colors, brightness, and smooth transitions. Then run a quick continuity check with a multimeter; any open or shorted wire will show up as a missing voltage or a spark. Once the strips pass, dry‑fit them inside the case, routing cables along existing bundles to keep airflow clear. Secure the wiring with tape or magnets, then reconnect the power supply and flash your lighting profiles, limiting to one or two zones for a clean look.
- Verify connectors are fully seated.
- Ensure no bare wires touch metal.
- Confirm 12 V is present from the Molex or chosen power supply.
Frequently Asked Questions
Can I Use Non‑Rgb LED Strips for Cheaper Lighting?
Yes, you can use non‑RGB strips for cheaper lighting; they’ll still brighten your case, but you’ll lose color‑changing effects. Just match the voltage and connector type, and power them safely.
Will the LED Heat Affect My GPU Temperatures?
Yes, the LED’s heat is minimal; it won’t raise GPU temps noticeably. Keep the strips a few centimeters away, guarantee proper case airflow, and you’ll stay within safe temperature margins.
Do I Need a Separate PSU for the LED Controller?
No, you don’t need a separate PSU; the LED controller draws minimal power, so you can tap it from your existing supply’s spare Mole or SATA connector, ensuring you stay within the PSU’s total wattage limit.
Can I Install the LEDS on a Tempered‑Glass Side Panel?
Yes, you can mount the LEDs on a tempered‑glass side panel; just use adhesive strips or a silicone pad, ensure the glass is clean, and avoid drilling holes that could crack it.
Are There Any Firmware Updates for the Cheap Controller?
Yes, you can check the manufacturer’s website for the latest firmware; download the update, run the installer, and follow the on‑screen prompts to flash the cheap controller.
In Summary
Now you’ve got a cheap LED case mod that looks pro, runs cool, and stays tidy. You picked the right strips and controllers, calculated the load per header, printed a snug mount and backlight, and routed cables for optimal airflow. After testing and troubleshooting, everything lights up exactly as you wanted. Enjoy the vibrant glow and the satisfaction of a DIY upgrade that didn’t break the bank.


Leave a Reply