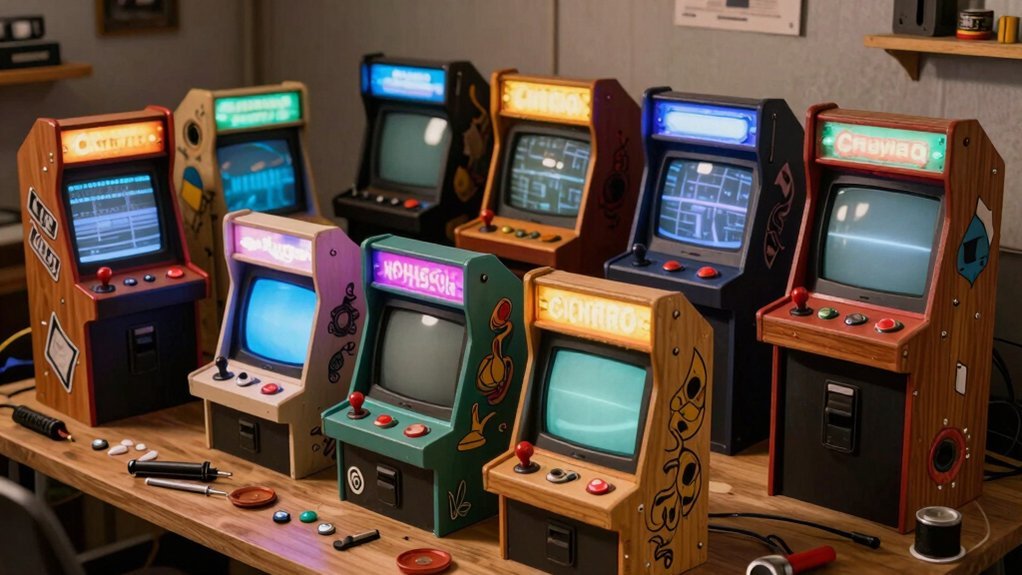
You can build a solid bartop arcade for under $100 by repurposing a cheap bookshelf or table, cutting a 24‑inch wide, 12‑inch deep frame from MDF or plywood, and finishing it with paint or a walnut‑stained control panel. Use a Raspberry Pi with RetroPie, a thrift‑store CRT or 4:3 LCD, and 28 mm arcade buttons wired to a USB encoder. Add a low‑cost 12 V power supply, cheap speakers, and optional LED strips for flair. Keep the design simple, use basic tools, and you’ll stay within budget while getting a functional retro cabinet—continue for detailed steps and upgrade ideas.
Build a $100 Bar‑Top Arcade Cabinet
A $100 bar‑top arcade cabinet is totally doable when you repurpose furniture, cut MDF panels yourself, and stick with a Raspberry Pi running RetroPie. You’ll start by measuring the tabletop and drafting a simple cut list; a 24‑inch wide, 12‑inch deep board makes a compact bartop that fits snugly on a coffee table or bar. Mount the Raspberry Pi in a small enclosure, connect a cheap HDMI display, and wire the controls to the GPIO pins. Install RetroPie, load your ROMs, and you’ve got a fully functional diy arcade cabinet that looks polished yet costs almost nothing. USB-C Power Delivery of modern surge protectors can help keep your setup safely powered and organized behind your gaming station.
Select Materials and Tools for a $100 Build
You’ll choose between cheap, paint‑ready MDF and sturdier plywood, weighing strength against cost. Grab a jigsaw, circular saw, clamps, and safety gear to keep the budget tight. open mesh shelves help with ventilation and cable management while you build. Finish with primer, a few light coats of polyurethane, and you’ll have a durable, budget‑friendly cabinet ready for the electronics.
Plywood vs MDF
Which material gives you the best balance of strength, cost, and finish for a $100 retro‑gaming cabinet? Plywood offers superior strength and resists warping, but its rough edges often need trim and it costs more than MDF. MDF, on the other hand, is cheap and takes paint like a dream, giving you a smooth, professional look with minimal prep. However, MDF absorbs moisture quickly and can sag under heavy loads, so it’s best for interior panels rather than load‑bearing frames. If you’re willing to stretch the budget a bit, MDO gives you plywood’s durability with an MDF‑type surface, though its price mirrors plywood. Choose plywood for structural parts, MDF for decorative faces, and keep the total under $100. Viewing Angle Specifications help inform how the panels might be oriented and protected in a compact build.
Essential Tools Only
Looking to keep the build under $100 while still getting a solid cabinet? You’ll need a jigsaw for cutting MDF panels, a circular saw for straight cuts, and a 28 mm hole saw for button openings. Grab a set of clamps to hold pieces while glue dries, and use wood glue plus a few cheap screws for sturdy joints. A basic sander will smooth MDF edges before priming, and a piece of sandpaper works for final touches. Don’t forget safety gear—eye and ear protection plus a respirator for dust. Keep the tool list lean: a drill with interchangeable bits, a tape measure, and a carpenter’s square for accurate layout. These essentials let you stay on a tight budget while building a reliable retro gaming cabinet. Safety considerations
Cost‑Effective Finishing
Choose MDF for the cabinet body and finish it with a quick prime‑and‑sand routine; the material’s low cost and smooth surface let you achieve a professional look without pricey trims. A thin coat of spray primer followed by a light sand between turns the edges into a sleek canvas. Then apply a matte or gloss paint, or wrap the panels in vinyl for a pop‑color finish that stays within budget. You’ll save time and money while still getting that arcade‑style vibe. Prime‑and‑sand MDF edges before painting Best Built-in Display to ensure clean, sharp edges that read as professional. – Prime‑and‑sand MDF edges before painting
- Use smoked plexiglass for bezels to mimic vintage screens
- Apply vinyl wrap for bold colors without trim costs
- Choose a cheap spray paint in a matte finish for durability
- Seal with a clear coat to protect the finish and reduce wear
Cut MDF Sheets and Assemble the Cabinet Frame
You’ll start by measuring twice and cutting the MDF panels with a circular saw for straight edges and a jigsaw for any curves. Then you’ll line up the pieces, apply glue, and secure the frame joints with construction‑grade 2x4s and cross braces. Finally, you’ll sand the edges lightly and prime them before assembling the cabinet. Consider planning cable management from the start by selecting appropriate clips or organizers to keep wiring tidy as you assemble, such as adhesive cable clips with 6–7.5 mm compatibility for neat routing Cable Size Compatibility Across Clips.
Cut Precise Panels
Ever wondered how to get perfectly matching cabinet sides without a pricey CNC? You’ll stack two MDF sheets, clamp them tightly, and cut both layers simultaneously. This trick guarantees identical left and right panels and keeps MDF dust under control. Use a circular saw for straight edges and a jigsaw for curves, then smooth with a hand rasp to avoid gouging. Draw your CAD‑derived layout directly on the wood, wear a respirator, and keep eye and ear protection on. The result is a set of precision cuts that fit together like a puzzle, ready for assembly.
- Clamp sheets together for simultaneous cuts
- Use a circular saw for straight lines, jigsaw for curves
- Sand with a hand rasp, not power sanders
- Draw design directly on MDF using CAD measurements
- Wear respirator and eye protection to manage MDF dust
- When planning cuts, account for the material’s grain direction and potential expansion with humidity device compatibility and measure twice before cutting any piece
Secure Frame Joints
While you’re stacking and clamping the MDF sheets, cut both sides at once so the left and right panels match perfectly, then dry‑fit the pieces, apply wood glue to each joint, and secure them with screws or dowels before adding cross‑braces—this creates a rigid frame that won’t shift when you later install the back panel, feet, and electronics. Wear eye protection, ear protection, and a respirator while cutting; MDF dust can irritate lungs. After gluing, insert dowels for extra strength, then tighten screws to form secure joints. Add cross‑braces at the mid‑height and bottom to prevent wobble, and double‑check rigidity before mounting the TV and controller board.
| Step | Tip |
|---|---|
| 1 | Align MDF panels before cutting |
| 2 | Use a dust mask and goggles |
| 3 | Apply glue, then screw or dowel |
| 4 | Install cross‑braces for stability |
Install a CRT or LCD Monitor in Your $100 Arcade
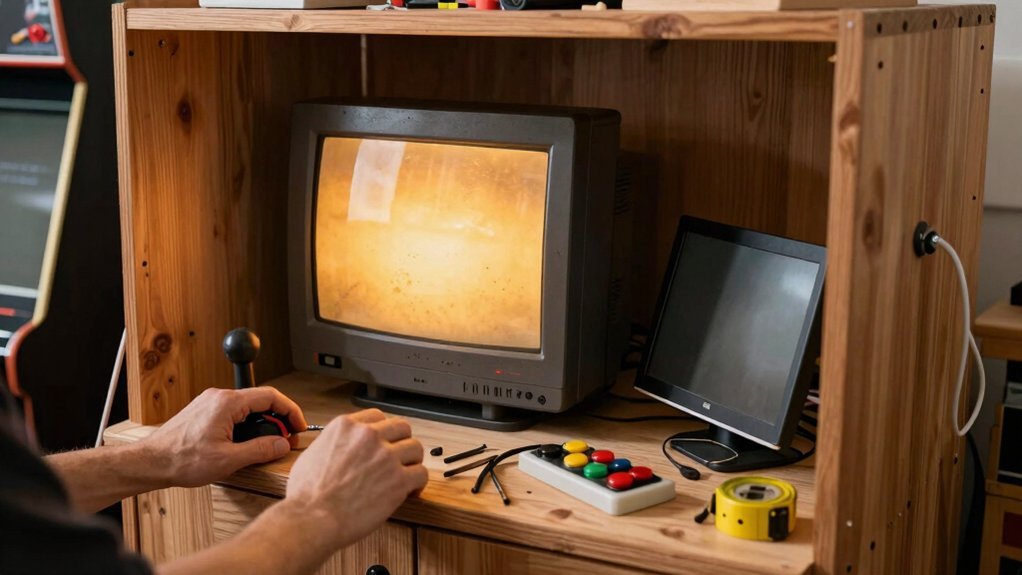
Looking to get that authentic arcade feel without blowing your budget? You can hook up a CRT or LCD for under $100 by scavenging thrift‑store or eBay finds and mounting them securely. Choose a CRT for instant‑response nostalgia, but remember it’s heavy and carries high‑voltage risks. If you go LCD, pick a 4:3 panel to keep classic games looking right and avoid widescreen stretch. Use a VESA‑compatible or custom bracket to align the screen with the cabinet’s bezel, and tilt it up to 45° for comfortable viewing. Keep power and LED cables separate from the video line to reduce interference.
- Find used CRT/LCD < $40
- Verify 4:3 aspect for LCD
- Use VESA or custom mount
- Tilt up to 45° for ergonomics
- Separate power and video cables
Create a 7‑Button Control Panel With Walnut Finish
Pick a walnut‑stained plywood board and sand it with 400‑grit sandpaper before applying the first coat of Minwax fast‑dry polyurethane. After each of the 8–9 coats, sand lightly and re‑stain to keep the grain vivid and the surface smooth. Use high‑quality Sanwa or Seimitsu buttons and a 28 mm hole layout, then route and label the wiring so you can test everything before sealing the panel.
Material Selection Guide
Want a sleek, durable control panel that looks pro without breaking the bank? Choose a 12‑inch plywood or MDF board; it’s cheap, sturdy, and accepts a walnut finish beautifully. Cut the board to your button layout, then drill 28 mm holes with a 30 mm hole saw for clean, square openings. Sand the surface with 220‑grit, wipe clean, and apply a walnut stain before the protective coats. Keep the board flat while you drill, using a brief reverse stroke to avoid tear‑out. Finally, verify that each arcade button and joystick fits the 28 mm holes.
- 12‑inch plywood or MDF for cost‑effective rigidity
- 30 mm hole saw for precise button layout holes
- 400‑grit sand between each polyurethane coat
- Minwax fast‑dry polyurethane, 8–9 coats for durability
- Compatibility check: 28 mm arcade hardware only
Staining & Finishing Steps
After you’ve drilled all 28 mm holes, wipe the board clean and apply a walnut stain, letting it soak for a minute before wiping off excess.
Once the stain is dry, sand lightly with 220‑grit, then begin the polyurethane coats—apply the first Minwax fast‑dry layer, let it cure, sand with 400‑grit, and repeat until you’ve built up 8–9 coats, finishing with a final fine sand for a smooth, protected walnut finish.
Now align the seven buttons and any LEDs, securing them with the pre‑drilled sockets. Check each connection before tightening screws to avoid shifting the fresh finish.
After the last coat, give the panel a gentle wipe with a lint‑free cloth to remove dust.
Finally, mount the completed panel into the cabinet, ensuring the walnut stain and polyurethane finish stay pristine while you test every button.
Wire Controls Safely Using a Zero‑Delay USB Encoder
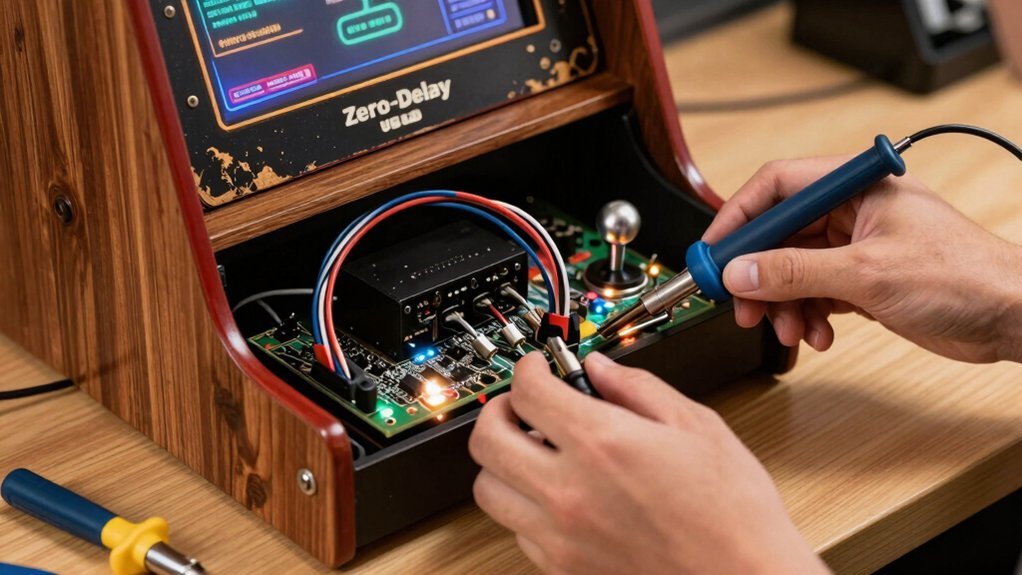
How do you keep your arcade buttons and joysticks wired cleanly and safely while still getting instant input? A zero‑delay USB encoder gives you lag‑free HID signals, but you must plan the wiring to avoid chaos and noise. Label each switch, route cables with zip ties, and test before sealing the cabinet. Keep the encoder’s ground solid and use shielded wire where possible to tame electrical interference. Here’s a quick checklist to stay organized:
- Label both ends of every button and joystick wire.
- Group wires by player and function, then zip‑tie them for tidy airflow.
- Use short, 22‑AWG stranded wire for reliable contact and minimal resistance.
- Connect all grounds to a common point on the encoder to reduce noise.
- Verify each input with a diagnostic tool before final assembly.
Follow these steps and your wiring stays clean, safe, and instantly responsive.
Hook Up Speakers and Power Supply Without Breaking the Bank
Typically you’ll power the cabinet with a single 12 V wall adapter and run the audio through a pair of cheap PC speakers, keeping the whole setup under $30. Pick a compact 12 V adapter that supplies at least 2 A; it’s inexpensive and fits neatly behind the monitor. Connect the speakers to the Pi’s 3.5 mm jack, then route the speaker wires through a drilled hole in the back panel. Add a tiny inline switch—about $5.99—so you can toggle the speakers without unplugging the adapter. Keep cable clutter down with zip ties and a short power strip, and use a single HDMI/VGA cable for video. This budget-friendly wiring keeps your retro gaming cabinet tidy, safe, and under the $100 target.
Add LED Lighting, T‑Molding, and Custom Decals
You’ve already got the power and audio sorted, so now it’s time to brighten the cabinet and give it a polished look.
Start by snapping neon LED strips along the inner edge and wiring them to a 12V inline switch with quick‑connect barrel plugs. Keep the LED power separate from the main board, label each wire, and route them behind the chrome trim for a clean finish.
Add t‑molding to hide raw edges and protect the wood, then apply custom decals that match your theme. Finally, install the 12V button pads in the 28 mm holes, ensuring they line up with the power switch.
- Neon LED strips for ambient glow
- Inline 12V switch with barrel connectors
- Chrome trim and t‑molding for edge protection
- Labeled wiring to avoid interference
- Custom decals for personal flair
Troubleshoot Common Issues and Plan Upgrades
Ever encountered misaligned control holes, warped MDF edges, or tangled wiring looms? First, double‑check your layout before drilling; use a template and mark each hole precisely. Seal cut MDF edges with a clear coat to block MDF moisture, which causes warping over time. Label every wire and route looms through drilled channels to prevent tangles. When the system stalls, verify that your Raspberry Pi 4/5 runs the latest RetroPie or Recalbox, and that MAME and FinalBurn settings match the hardware. For a smoother library, flash the Batocera firmware to V42 or V40 plug‑and‑play builds—these support 5900+ games on a 512 GB drive. If the CRT feels heavy or risky, swap it for an LCD with a sturdy mount, keeping safety and authenticity balanced.
Upgrade Paths: From $100 Cabinet to Full‑Size Arcade
After fixing misaligned holes and tangled looms, you can start expanding your mini‑cabinet into a full‑size arcade. First, measure twice and cut once, then reinforce the frame with cross braces. Swap the cheap monitor for a 4:3 CRT or LCD, and replace the budget joystick with a Sanwa or Seimitsu unit. Reuse a sturdy bookshelf or repurpose an old dresser as a vertical stand, then add T‑molding and chrome trim for a professional finish. Keep the wiring modular so future upgrades won’t require a complete teardown.
- Recycle furniture for a solid base
- Upgrade to a larger 4:3 display
- Install heavy‑duty joysticks and buttons
- Add T‑molding and chrome trim
- Design modular control panels for easy swaps
This DIY Arcade Cabinet path scales your project while staying budget‑friendly.
Frequently Asked Questions
Is It Cheaper to Build Your Own Arcade Machine?
Yes, you’ll spend less building it yourself; repurposing salvaged monitors, a cheap Raspberry Pi, and DIY MDF housing typically costs under $150, far cheaper than buying a pre‑assembled arcade.
Is Plywood or MDF Better for Arcade Cabinets?
Plywood’s stronger, so you’ll get a sturdier cabinet that resists warping, while MDF’s cheaper but can sag and swell with moisture. If durability matters, go plywood; if budget’s tighter, MDF works with proper sealing.
Do You Need a License for Arcade Machines?
No, you don’t need a license to build a personal arcade cabinet, but you must own the original games or use legally obtained ROMs; distributing or selling the machine with copyrighted software requires proper permissions.
What Is the Most Profitable Arcade Machine?
You’ll profit most from a classic pinball machine, because its high per‑play cost and strong nostalgic appeal draw repeat customers, especially in malls or entertainment centers where foot traffic fuels earnings.
In Summary
You’ve just proved that a fully functional arcade cabinet can live under $100. By cutting MDF, wiring cheap speakers, and adding a few LED touches, you’ve turned a modest budget into a nostalgic gaming hub. The build’s modular design lets you swap panels, upgrade the monitor, or expand the control layout whenever you feel like it. Keep tweaking, keep playing, and enjoy the retro vibes without breaking the bank.


Leave a Reply