Start by clearing a 12 × 12‑foot area, removing non‑retro furniture, sweeping the floor, and wiping the walls. Mount a cheap pegboard for controllers and accessories, and install a wall‑mount power strip with USB ports to keep cords off the floor. Place a My Arcade Gamestation Pro on a vented stand or open shelf, add a few Micro Players on the wall, and use zip ties for neat cable routing. Finish with a $20 RGB LED strip behind the main and for ambient lighting; keep reading to discover more budget‑friendly touches.
Step 1 – Clear the Room for a Retro Gaming Canvas on a Budget
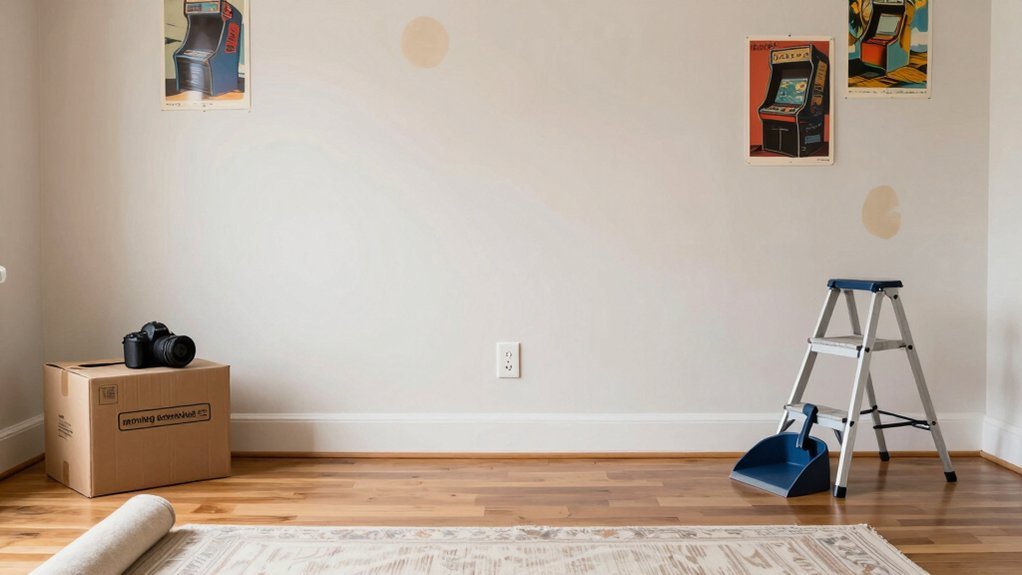
When you clear the room, start with a neutral, open space—ideally at least 12 × 12 feet—so you can move freely and expand later. Strip out furniture that doesn’t serve the retro gaming vibe, then sweep the floor and wipe walls. Sketch a simple game room layout that centers a wall display for vintage consoles and a focal shelf for the main cabinet. Mount a cheap pegboard on the nearest wall; its $10 price tag lets you hook controllers, power strips, and accessories without breaking the budget setup. Use sturdy hooks and zip‑tie routes for cable management, keeping USB/cord organization hidden and off the floor. This clean foundation instantly boosts the immersive experience and primes the space for future upgrades. A compact, wall‑mountable power strip with USB ports can help keep essential devices neatly powered as you expand the room’s retro setup USB ports.
Step 2 – Build an Affordable Retro Gaming Core
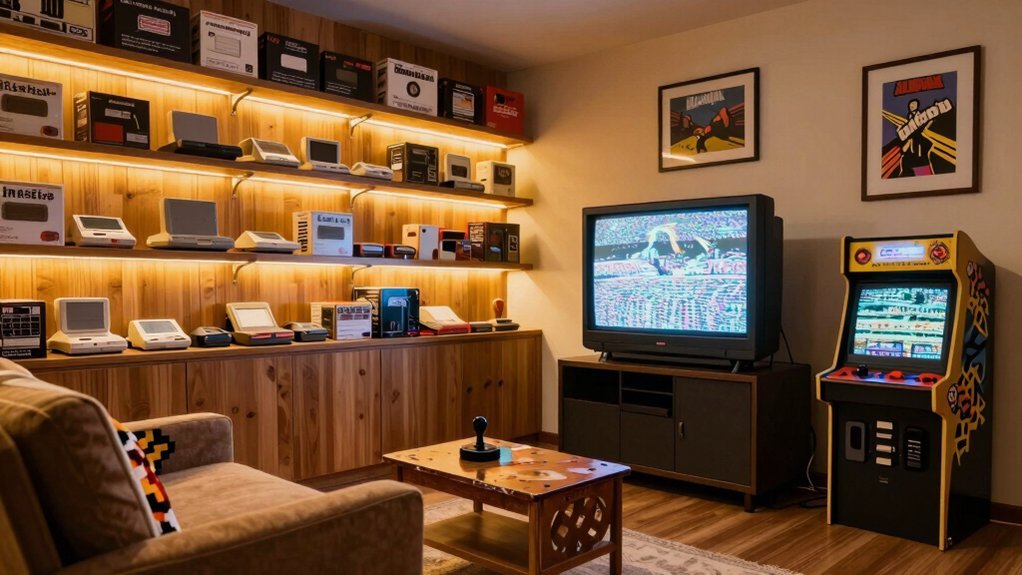
Begin by anchoring your setup with My Arcade’s officially licensed Gamestation Pro, a compact console that delivers over 200 Atari and arcade titles on a modern 4K TV while staying under budget. Integrate a compatible, vented media stand from brands in the knowledge base to ensure proper airflow for your components open shelving for ventilation. Next, turn the room into a sleek arcade hub by adding My Arcade Micro Players to a wall display, letting you expand the retro gaming collection without bulky cabinets. Finally, install a pegboard for cable management, mount a power strip, and keep licensed hardware tidy and ready for play.
Step 3 – Add DIY Lighting and Sound for Immersive Atmosphere
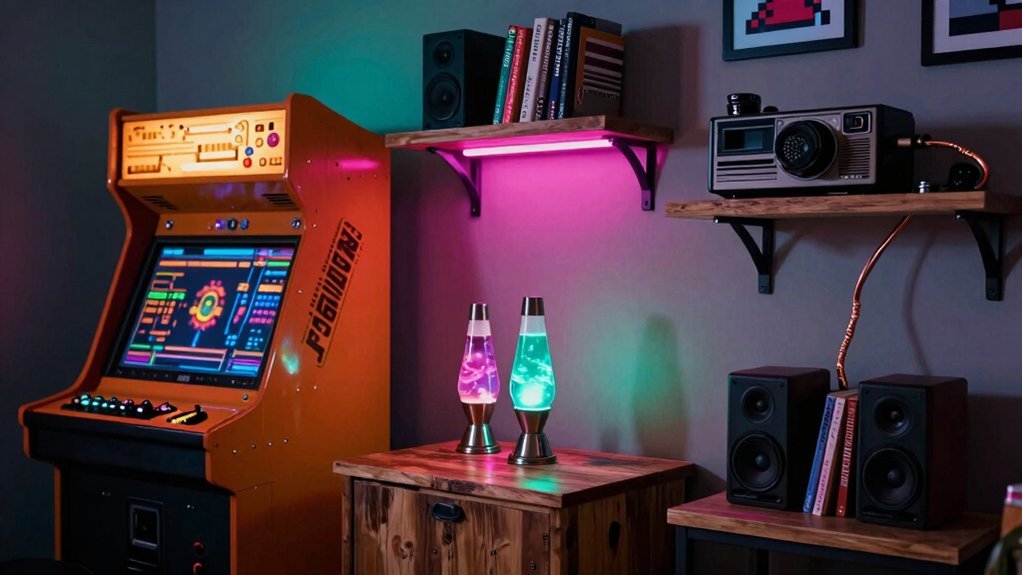
Ever wondered how a few inexpensive lights and subtle sounds can transform a modest retro gaming nook into an immersive arcade? Grab a $20 RGB LED strip, mount it as backlighting behind your display, and you’ll instantly boost retro lighting without blowing your budget. Pair it with low‑volume attract mode on your Micro Players for a continuous soundscape that whispers arcade ambiance while you chat. Layer ambient, task, and accent LEDs to cut glare, and sync flashes to game beeps for that classic 1980s feel. Choose DIY or projector‑friendly lighting that keeps screens clear yet vibrant, shaping the room mood with minimal effort. Additionally, explore RGBIC lighting ecosystems that support multi‑device synchronization and voice control to create a cohesive, hassle‑free setup across your PC and display peripherals RGBIC technology and enjoy scene variety through app‑based controls.
Frequently Asked Questions
How to Make a Game Room on a Budget?
You can save money by buying a cheap pegboard for controller hooks, using a budget Atari Gamestation Pro, mounting Micro Players on a floating shelf, adding a $20 RGB LED strip, and prioritizing licensed hardware for durability.
How Much Does It Cost to Build a Gameroom?
It’ll cost roughly $600‑$1,200, depending on your choices: a $150 Atari Gamestation, $100‑$200 for arcade panels, $50‑$100 for pegboard mounts, and $200‑$500 for a projector or TV.
How to Build a Retro Gaming Room?
You start by picking a central console like the Atari Gamestation Pro, then line micro‑arcade players on a floating shelf, mount controllers on a pegboard, add RGB LED backlighting, and organize cables with a power strip.
How to Make the Cheapest Gaming Setup?
You’ll start with a cheap pegboard for controller hooks, grab a few My Arcade Micro Players, add a budget Atari Gamestation Pro, and finish with a $20 RGB LED strip for ambiance.
In Summary
Now you’ve cleared the space, built an affordable core, and added DIY lighting and sound, you’ve transformed a plain room into a nostalgic gaming haven without breaking the bank. Enjoy the glow of retro LEDs, the thump of custom speakers, and the endless fun of classic titles. Your budget‑friendly setup proves that a great retro gaming experience is within anyone’s reach.


Leave a Reply