Grab a cheap LED strip, cut it to size, and stick it on your desk or wall; choose a strip that matches your room’s Kelvin (warm 2000‑3000 K, neutral 3100‑4500 K, or cool 4600 K+). Clip a thin tablecloth or shower‑curtain square over the strip to diffuse the light, securing it with clothespins or small clips. Set up three points—key, fill, and backlight—using clamp‑mounted strips and one undiffused backlight, then fine‑tune each lamp with its own dimmer for balanced exposure. Keep going and you’ll discover the exact steps to build and calibrate the whole rig.
Choose Your Core Light Source for a Budget Streaming Lighting Kit
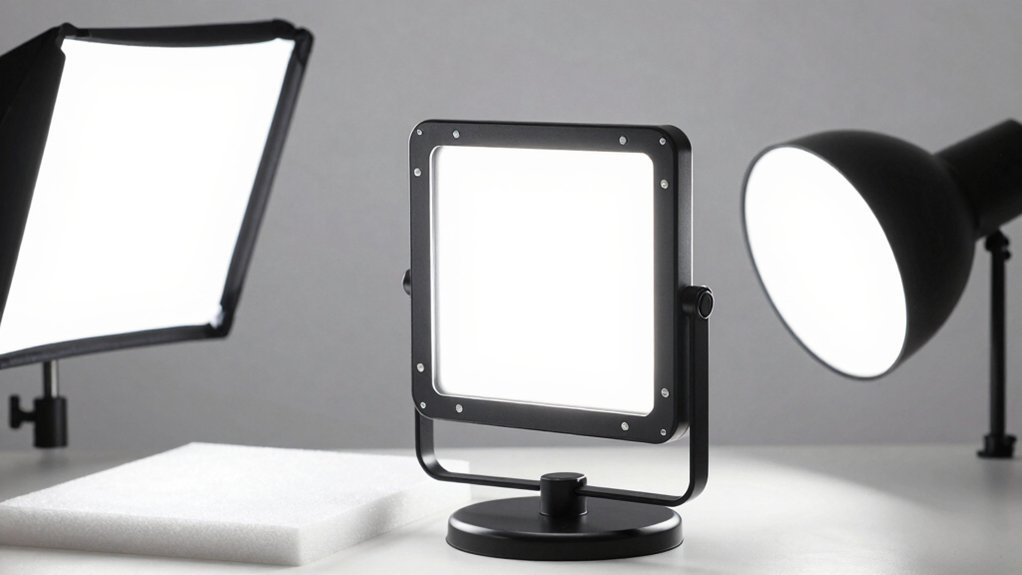
Looking for an affordable, flexible light source? LED strip lights fit a budget lighting kit perfectly. You can cut them to the exact length you need, stick them on walls or desks with the adhesive backing, and choose between a wall‑plug or a hard‑wired power supply. Pick a color temperature that complements your space—2000–3000 K for warm ambience, 3100–4500 K for neutral white, or 4600 K+ for a cooler, bluish tone. Because the strips are inexpensive and widely sold on Amazon and lighting stores, you can experiment without breaking the bank. Just verify the kit’s quality and configuration before buying, then install the strips where they’ll illuminate your face evenly for streaming. This approach gives you a customizable, cost‑effective core light for any DIY streaming setup. Additionally, ensure the strips are compatible with your existing power options and consider using a dimmer to fine‑tune brightness for optimal lighting stability.
Match Color Temperature to Your Room’s Existing Lights
How do you keep your video looking natural when the room’s lights clash with your streaming LEDs? Start by measuring the existing light’s color temperature—warm orange (2000‑3000 K), neutral white (3100‑4500 K), or cool blue (4600 K+). Then pick LED strips that match that Kelvin range. If you have wall‑plug‑in strips, make sure they’re rated for consistent output across the length you’ll mount; hard‑wired options work better for longer runs. Align all primary fixtures—overhead, desk lamp, and strips—to the same temperature to avoid mismatched hues on camera. Test a short segment before full installation, and use a diffusion material like a thin white plastic sheet to soften any harsh shifts, ensuring even color appearance throughout your stream. Consider checking for compatibility with your display and accessories in your setup, such as RGBIC or DreamView/Chroma ecosystems color-ecosystem compatibility.
Diffuse Light With a Thin Tablecloth or Shower‑Curtain Square
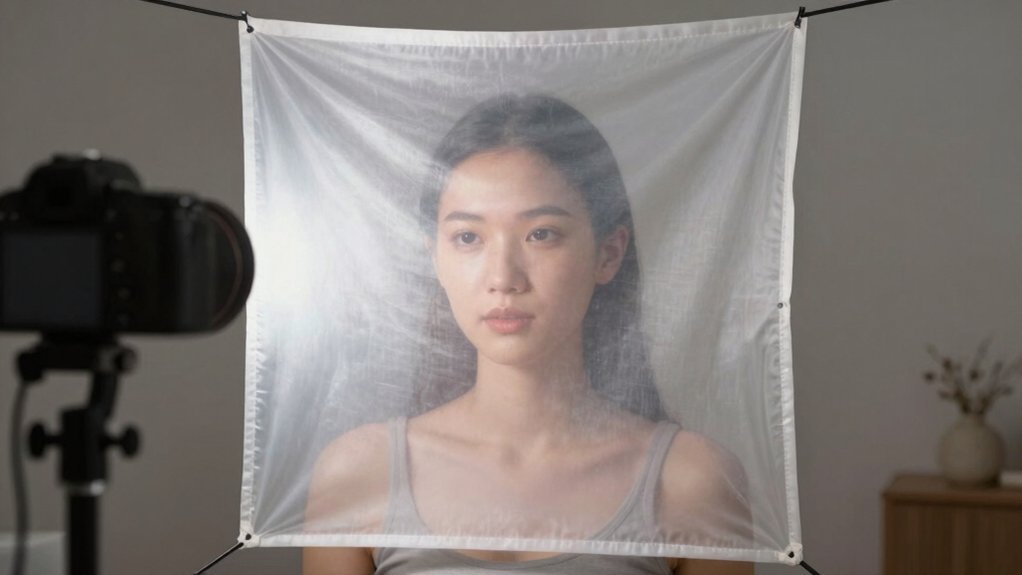
Grab a thin white tablecloth or a shower‑curtain square, clip it onto your light with clothespins, and you’ll instantly soften the beam. If the light still looks harsh, add another layer until the shadows disappear, but avoid stacking too many sheets. Keep the diffusion panel between the source and your face, not in front of the camera, for even, flattering illumination. diffusion layer
Choose Thin Fabric
A thin white tablecloth or shower‑curtain square works perfectly for diffusing your LED lights, softening harsh shadows and cutting lens reflections on the desk. Choose a lightweight diffusion material that’s semi‑transparent; it creates a subtle diffusion layer that spreads light evenly across your face without killing brightness. Clip the fabric loosely over the LEDs so the lighting setup stays bright yet smooth. Position the square a few inches above the desk to catch the beam and prevent hotspots. One layer usually does the job—add a second only if you need more softness. This simple fabric keeps your stream looking professional while staying cheap and easy to swap out when you want a different look. For longer sessions, using a diffusion setup with a safe charging mindset can help you maintain consistent lighting without overheating equipment when you run extended streams energy efficiency.
Secure With Clips
Ever need a quick way to keep your diffusion sheet from flapping on camera? Grab a thin white plastic tablecloth or a shower‑curtain square, cut it to match your LED panel, and secure it with sturdy clips or clothespins. The clips hold the diffusion material flat, preventing movement that could cause flicker or uneven lighting. Position the sheet so it covers the main light source while leaving enough clearance for airflow, avoiding overheating. One layer usually softens glare enough, but you can add a second layer if you need extra diffusion. The result is a smooth, even glow that looks professional without breaking the bank.
| Clip Type | Material | Recommended Use |
|---|---|---|
| Binder Clip | Plastic tablecloth | Quick attach, strong hold |
| Clothespin | Shower‑curtain square | Easy repositioning |
| Small Bulldog Clip | Thin fabric | Tight fit on edge |
| Spring Clip | Mixed media | Adjustable tension |
Adjust Diffusion Layers
Once the clips keep your diffusion sheet flat, you can fine‑tune the light by adding or removing layers. A thin white plastic tablecloth works as the first diffusion layer, softening harsh LED shadows and cutting reflections on your lens. If the light still feels too sharp, clip a second sheet or swap in a shower‑curtain square for a larger diffusion area. Test the intensity after each change; you’ll notice the brightness drop while the subject’s detail stays clear. Use clothespins or a to secure each layer, then adjust the distance from the LEDs for finer lighting control. Remember, one well‑placed layer often delivers even desk illumination, but extra layers give you the flexibility to dial the diffusion exactly where you need it.
Secure the Diffusion Layer and Lights With Tape and Adhesive

You’ll start by placing a strip of Scotch tape where the LED strip will sit, then use a stronger adhesive to mount the lights permanently.
Choose a thin plastic tablecloth or shower‑curtain square as your diffusion material and lay it over the LEDs, smoothing out any wrinkles. If one layer isn’t enough, add extra sheets, securing each with a bit more tape to keep the coverage even.
Secure Tape Placement
Where should the tape go to keep everything steady? You start by laying the LED lighting along the desk edge, then test the glow before you lock it down. Use a light Scotch strip to hold the strip in place while you tweak the angle. When it looks right, peel the backing and replace it with a stronger mounting adhesive. Finally, secure the diffusion layer over the lights so it won’t shift during streams. Add a magnetic or self-adhesive cable clip to tidy any loose cords along the desk edge for a cleaner setup surface compatibility and easier repositioning.
Choose Diffusion Material
Which material will give you the softest, most even glow without breaking the bank? You’ll find that thin white plastic tablecloths from party supplies or dollar stores work wonders as diffusion material. Lay a cloth over your LED strip, secure it with standard Scotch tape for positioning, then replace the tape with a stronger adhesive once you’re happy with the spread. For a sturdier diffusion layer, attach shower‑curtain squares with clothespins or tape; they soften harsh desk light and reduce lens glare. One layer usually suffices, but if you need extra smoothness, add a second sheet. By testing the lighting setup before final mounting, you ensure even illumination and a professional look without spending a fortune. diffusion layer
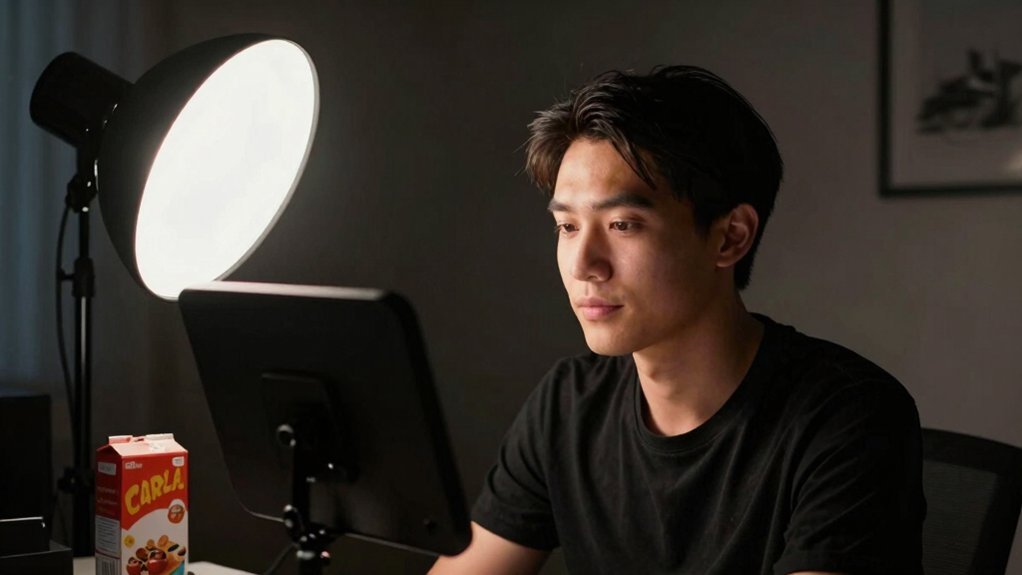
Build a Budget Three‑Point Streaming Lighting Kit (Key, Fill, Backlight)
Ever wondered how to get professional‑looking lighting without breaking the bank? You can assemble a three-point lighting budget setup for under $150 by using clamp lights, high‑wattage LEDs, and simple diffusion. Place two key lights slightly above eye level, 3–4 feet apart, and a backlight behind you aimed at the background. Diffusion—layered shower‑curtain squares or a thin white tablecloth attached with clothespins—softens the key lights while the backlight stays crisp for contrast. Here’s a quick checklist:
Three‑point lighting under $150: clamp LEDs, DIY diffusion, and a crisp backlight for professional‑looking results.
- Two clamp‑mounted LED key lights
- One undiffused LED backlight
- DIY diffusion material (curtain square or tablecloth)
- Extension cords and optional dimmer switches
Follow this plan, and you’ll achieve balanced, flattering illumination without splurging. diffusion
Fine‑Tune Brightness With Individual Dimmer Switches
How can you get perfectly balanced lighting without constantly read‑tuning? Plug each lamp into its own dimmer switch and you’ll control key, fill, and backlight independently. Use dimmable bulbs to dodge flicker, especially with 100W‑class lamps. Start with a three‑point lighting layout, then run a quick brightness calibration: raise the key light just a notch above the fill, and keep the backlight steady. Adjust each dimmer until facial illumination looks even and shadows soften. Because each switch governs a single source, you can tweak one light without disturbing the others, preserving consistent exposure across the scene. This method lets you fine‑tune brightness on the fly while staying within a modest budget.
Frequently Asked Questions
What Is the Best Affordable Streaming Light?
You’ll find a 10‑inch LED panel with adjustable color temperature and a dimmable driver the best affordable streaming light, because it’s bright, energy‑efficient, easy to mount, and costs under $30.
What Lighting Is Good for Streaming?
You’ll want two key lights at eye level, a diffuser like a shower curtain, a dimmable LED strip for fill, and a backlight behind you; this combo gives even, flicker‑free illumination.
What Is the 3 Lighting Rule?
You follow the three‑lighting rule by placing a key light, a fill light, and a backlight around your face, using each to control primary illumination, shadow softness, and background separation.
How to Create Good Lighting for Streaming?
You’ll set up a three‑point rig: mount a key LED strip behind your camera, add a dimmable fill light opposite it, and place a soft diffuser behind you; adjust brightness and color temperature for even, flicker‑free illumination.
In Summary
Now,’ve got a cheap, DIY three‑point kit that looks pro. Pick a budget LED or clamp light, match its color temp to your room, drape a thin cloth or shower‑curtain square for diffusion, and tape everything in place. Add individual dimmers to tweak each light, and you’ll have consistent, flattering illumination without breaking the bank. Enjoy streaming with crisp, balanced lighting that’s easy to set up and adjust.


Leave a Reply