
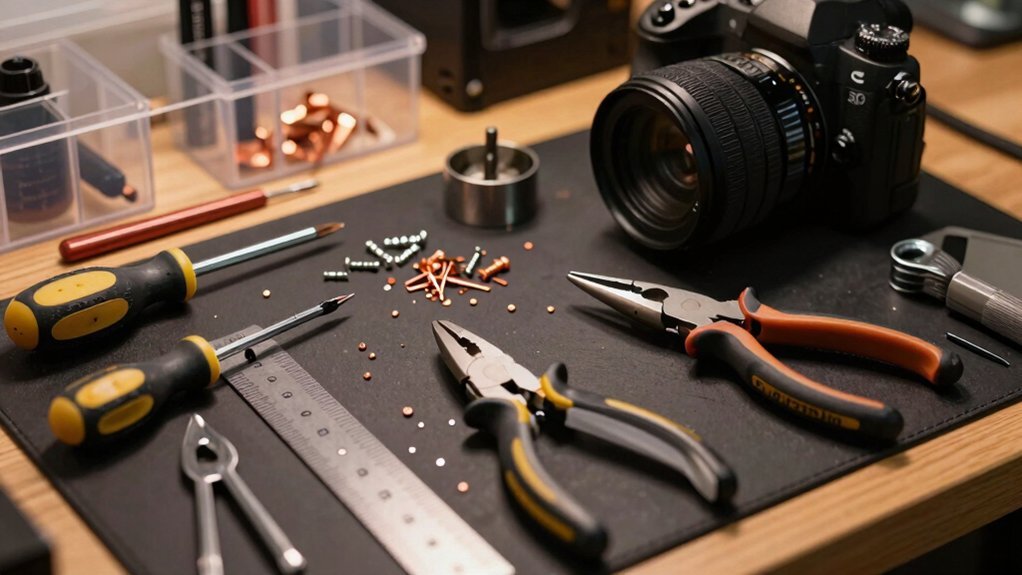
You’ll need a cheap 14 V+ cordless drill with a 3/8‑inch chuck, a Dremel‑style rotary cutter for precise cuts, a utility knife and blue painter’s tape for clean edges, a multi‑bit screwdriver set and needle‑nose pliers for tight spots, a pop‑rivet gun for quick panel fixes, and a mini‑bench vise or trigger clamp to hold parts steady. Add safety glasses, gloves and a dust mask, and you’ve got the basics covered—keep going to discover more budget upgrades.
Low‑Cost Hand‑Tool Kit for PC Case Modding

Looking for a budget‑friendly hand‑tool kit that covers every PC‑case modding step? You’ll want a claw hammer for gentle taps, a set of screwdrivers with interchangeable bits for every screw type, and a utility knife for quick scoring. Add a hacksaw and metal snips to handle cutting panels and mesh, then keep files—round‑faced included—on hand for shaping. A compact Dremel or rotary tool with cutting discs and sanding bits finishes details, while a mouse sander preps body filler. Measure with a tape, mark with a pencil and blue painter’s tape, and use digital calipers for tight tolerances. Secure parts with trigger clamps or vise grips, and never skip safety glasses, gloves, or blade guards. This hand tools collection balances cutting power with safety and affordability. USB-C power
Budget Rotary Cutter (Dremel‑Style) for Precise Cuts
A solid hand‑tool kit gives you the basics, but when you need clean, accurate cuts on metal or acrylic, a budget rotary cutter steps in. You’ll find a Dremel‑style rotary cutter is cheap, ergonomic, and versatile enough for PC case modding. Pair it with reinforced cutting discs for metal and fine‑grit bits for acrylic, and you’ll achieve precision cuts without breaking the bank. Clamp the panel in a vice, wear eye protection, and guide the tool slowly to keep control. Start with a basic kit, then add specialized bits as your projects demand. This cost‑effective approach lets you shape mounting templates and panel openings confidently, keeping your modding workflow smooth and affordable. Dual connections offer the versatility to run multiple tools or viewports in tandem during comprehensive build sessions.
Utility Knife & Masking Tape for Clean Edge Work
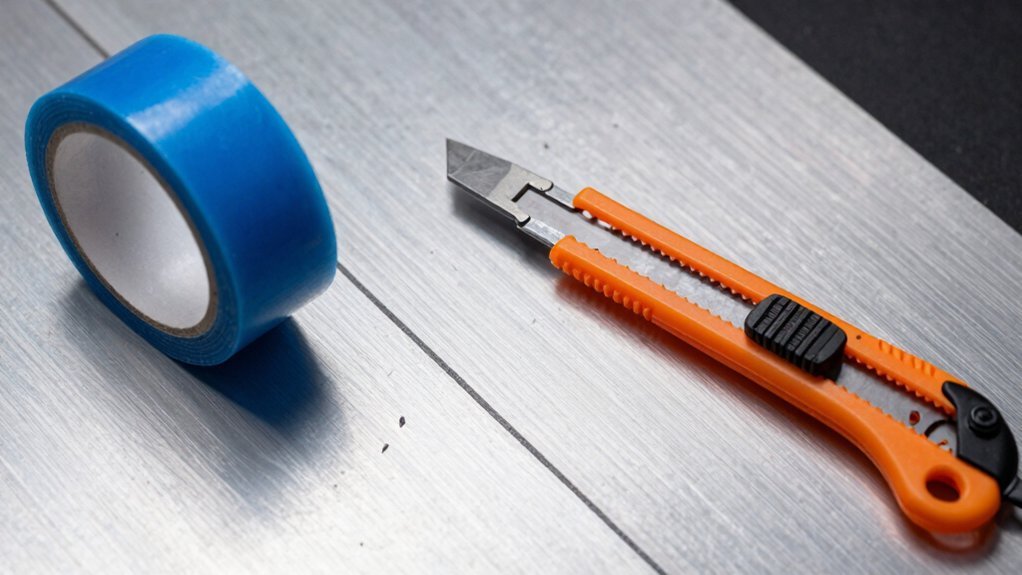
Ever need razor‑sharp edges without splintering the panel? Grab a utility knife with a comfortable grip and a cheap, replaceable blade. Slip a strip of masking tape over the line you’ll cut; the tape protects the surface and gives you a visual guide for straight‑edge work. Press the knife’s blade against the tape and slice in one smooth motion—no snagging, no chipping. The tape holds the material in place while you trim foam, acrylic, or soft tubing, so each pass leaves a clean, professional edge.
Because the blade is inexpensive, you can replace it after a few cuts and keep edge finishing crisp without breaking the bank. This combo lets you shape panels quickly, safely, and with repeatable precision. For projects involving organized cable clips and careful surface work, consider choosing clips with a non‑residue adhesive option to preserve surfaces during PC case modding. Non-residue adhesive
Affordable 14 V+ Cordless Drill for Fastening & Drilling
Need a reliable, budget‑friendly drill that won’t tie you down? A 14 V+ cordless drill gives you the torque and runtime you need for PC case modding without the hassle of cords. Look for a model with a standard 3/8‑inch chuck so you can swap in step bits, metal bits, or rivet tools on the fly. Mid‑range lithium‑ion batteries keep you moving for an hour or more, while an ergonomic grip reduces fatigue during long fastening sessions. Prioritize a balance of power, comfort, and bit‑set compatibility to cover drilling, screwing, and mounting tasks.
| Feature | Why it matters | Recommended spec |
|---|---|---|
| Voltage | Guarantees enough torque for metal panels | 14 V+ (or 4V + upgrade) |
| Chuck size | Accepts common drill and screwdriver bits | 3/8‑inch |
| Battery life | Enables uninterrupted modding | ≥ 1 hour runtime |
| Weight | Keeps tool portable and easy to handle | ≤ 1.5 lb |
Multi‑Bit Screwdrivers & Needle‑Nose Pliers for Tight Spaces

You’ll love how a compact needle‑nose design slides into cramped interiors while still giving you a firm grip on tiny parts.
The interchangeable bits let you swap between Phillips, flat, Torx, and more without juggling a toolbox full of separate drivers.
Together they keep your workspace tidy and your modding workflow fast. magnetic capabilities
Compact Needle‑Nose Design
Why struggle with cramped corners when a compact needle‑nose multitool can reach them in a single motion? You’ll love the slim jaws and long reach of a needle‑nose design that slides behind motherboard trays and into drive bays. The multitools merge those pliers with a multi‑bit screwdriver head, so you flip between Phillips, flat, and Torx without swapping tools. A compact‑design handle fits your palm, reducing fatigue during repetitive tweaks, cable routing, or panel alignment. Precise bending of thin tubing or wires becomes effortless, and you secure fasteners in the tightest builds with confidence. This all‑in‑one tool lets you manipulate small components delicately while keeping your workspace uncluttered and efficient. Key capability
Interchangeable Bit Compatibility
Ever wondered how a single tool can handle every screw and wire in a cramped PC case? You’ll love interchangeable bits that let you switch from Phillips to Torx to hex in a blink, keeping your workflow smooth when space is tight.
Pair a compact bit set—PH0‑2, SL4‑6, T10‑T25, 1.5‑2.5 mm hex—with a slim screwdriver that slots into magnetic bit holders, so the bits stay put even when you’re working behind drive cages.
Add a 3‑4‑inch insulated needle‑nose plier, and you’ve got a versatile duo that grips, bends, and tightens without crowding the interior.
This combo cuts tool count, saves money, and gives you the reach you need for every modding task.
Compact Soldering Iron for Quick Wiring Fixes
You’ll find that a compact soldering iron with adjustable temperature lets you tackle tight wiring fixes without overheating surrounding components. Its lightweight, portable design—often USB‑ or 12V‑powered—keeps your workspace uncluttered and lets you work inside cramped cases. Pair it with fine‑point tips, lead‑free solder, and flux for clean, reliable joints. For long-term projects, consider a charging solution with a multi‑protection safety system to ensure your tools stay powered safely between use eco-friendly design.
Compact Soldering Power Quick Wiring Fixes
A compact soldering iron lets you zip through quick wiring fixes without lugging around a bulky tool, and its portable size doesn’t sacrifice the performance needed for joint reflows and small component fixes. You’ll value its temperature control readout, which lets you dial in the exact heat for lead‑free solder like Sn96.5/Ag3/Cu0.5, protecting insulation and PCB traces. Pair it with a fine‑point tip, desoldering braid, flux paste, and a sturdy stand, and you’ll finish every mod in minutes instead of hours. Active cooling and reliable power options also help maintain steady performance during longer sessions precision heat.
Adjustable Temperature Control
The compact soldering iron’s portability shines when you add adjustable temperature control, letting you dial in the exact heat for each wiring task. You’ll set the temperature anywhere between 200 °C and 480 °C, so delicate LEDs get just enough heat while larger connectors melt solder cleanly.
This temperature control lets you match the alloy—leaded or lead‑free—optimizing flow and joint reliability in cramped case interiors. Choose a conical or chisel tip that fits the wire gauge, then practice heat management to avoid scorching plastics or soft components.
Pair the iron with a stand, sponge, flux, and rosin‑core solder for quick, low‑cost fixes without needing a full‑size station.
Lightweight and Portable Design
Ever wondered how a pocket‑sized soldering iron can keep your PC modding sessions swift and tidy? A lightweight soldering iron lets you zip between case panels without fatigue, while its compact heat mass heats up in seconds and cools down fast, protecting delicate components. You’ll love the ergonomic grip that feels balanced in hand, and the interchangeable tips that adapt to tight bends and fine wires. Pair it with a micro soldering reel and a tiny flux pen, and you’ve got a portable toolkit that fits in a backpack.
- Speedy heat‑up – instant readiness for any wiring fix.
- Feather‑light design – reduces hand strain during long sessions.
- Ergonomic grip – comfortable, heat‑resistant handling.
- Versatile tip set – tackles tight spaces and delicate sleeves.
Heat Gun or Hair Dryer for Acrylic Bending
Wondering whether a heat gun or a hair dryer will give you a clean acrylic bend?
In PC case modding, a heat gun is your go‑to for acrylic bending because it delivers steady, high‑temperature airflow that reshapes panels without cracking when you move slowly. Higher wattage models speed the the process and keep results consistent, but keep the gun a safe distance to avoid scorching thin sheets.
A hair dryer can handle tiny, gentle curves or quick fixes, yet it lacks the heat needed for larger bends.
To prevent distortion, wear gloves, clamp the acrylic, and press it against a rigid mandrel while you heat.
Always test on scrap first to dial in distance, time, and angle before shaping your actual case panels.
Palm Sander for Smooth Surface Finishing
After bending acrylic, you’ll likely notice rough edges or uneven surfaces that need smoothing. A palm sander becomes your go‑to modding tool for quick, even surface finishing across large panels. Choose a model with variable speed to keep dust down and prevent gouging soft plastics or aluminum. Swap in progressive grits—120, 180, then 220—to achieve an ultra‑smooth texture ready for paint or coating. The ergonomic grip lets you glide over cut edges, blending joints for a professional look without exhausting your arm.
- Speed control – feel the power dial, keeping dust low and material safe.
- Disc versatility – snap on the right grit, watch roughness vanish.
- Consistent finish – glide across wood, plastic, or light metal, achieving uniform smoothness.
- Time saver – finish what would take hours by hand in minutes, boosting confidence.
Wire Cutter/Stripper & Crimp Tool for Reliable Connections
A reliable wire cutter/stripper and crimp tool combo is essential for clean, repeatable connections in any PC modding project. You’ll notice smoother cuts and less frayed insulation when you use a dedicated wire cutter that slices straight without nicking conductors. Pair it with a crimp tool that applies even pressure, so each connector mates securely and maintains consistent pin width. Look for a multi‑function unit that combines cutting, stripping, and crimping to keep costs low and bench space clear.
When you finish, test continuity with a multimeter to confirm no shorts or voltage drops. Properly crimped ATX, PCIe, and fan connectors give you stable power and data delivery, reducing troubleshooting time and keeping your custom build reliable.
Pop‑Rivet Gun for Securing Case Panels
A pop‑rivet gun lets you secure case panels quickly and permanently without welding. You’ll pick a compact, inexpensive model that handles 1/8″ (3.2 mm) aluminum rivets for thin sheet metal or acrylic. Drill clean, aligned holes, then place a backing plate to keep the case panels from flexing. After each rivet, smooth edges and apply paint or sealant for a clean, corrosion‑resistant finish. This tool lets you iterate fast, disassemble for tweaks, and keep your mod looking professional.
- Instant satisfaction – hear the crisp pop as the rivet locks, confirming a solid joint.
- Confidence – know the rivets won’t loosen under vibration or transport.
- Control – you decide placement, depth, and spacing for a flawless look.
- Freedom – swap panels without fear of damage, thanks to reversible, strong connections.
Mini‑Bench Vise or Trigger Clamp for Stable Work
Ever wonder why your cuts and drills wobble? A mini bench vise or trigger clamp gives you stable work, holding panels and tiny parts without a second thought. The compact vise fits cramped modding benches, while the trigger clamp quickly adapts to odd shapes, keeping acrylic windows and motherboard mounts from shifting. Both tools are cheap, easy to find, and let you file, deburr, and drill with confidence, cutting tool slips and preventing damage. Use them to mount tubing, secure brackets, or hold a case while you tighten screws—your builds will look cleaner and feel sturdier.
| Feature | Benefit |
|---|---|
| Compact size | Fits tight workspaces |
| Quick adjustment | Handles irregular parts |
| Low cost | Budget‑friendly |
| Hands‑free grip | Enables precise cutting |
Safety Gear for Low‑Cost PC Modding: Glasses, Gloves, Dust Mask
When you secure panels with a mini‑bench vise or trigger clamp, the last thing you want is a stray chip or dust cloud hitting your eyes. That’s why you never skip safety glasses, a snug dust mask, and a pair of well‑fitted gloves. These three pieces form a cheap yet powerful barrier against the inevitable debris of cutting, sanding, and painting. Keep loose clothing and jewelry away from rotating tools, and maintain a tidy workspace so hazards stay minimal. By treating safety gear as an essential part of your modding kit, you protect yourself and keep the project on track.
- Safety glasses – shield eyes from shards and sparks.
- Dust mask – filter fine particles while sanding or spraying.
- Gloves – improve grip and guard hands from cuts.
- Proper attire – eliminate loose fabric that could snag.
Upgrade Your Toolkit on a Budget – Next‑Step Recommendations
Looking to stretch every dollar while still gaining real cutting power? Start with a cordless drill (minimum 14.4 V) and a set of step drill bits for clean port openings; the drill’s torque handles mounting holes without breaking a sweat.
Pair it with a Dremel or rotary tool, the work true cutting instrument, and swap in the right bit for panels, acrylic, or case‑mod work.
Add a barrow or EK/Monsoon tube cutter for precise liquid‑cooling tubing cuts, keeping edges smooth and fray‑free.
Hand‑finish with files, a mouse sander for filler prep, and a retractable utility knife for tight trims.
Never skip safety—grab cheap eye protection, gloves, and use blue painter’s tape plus an erasable pencil for accurate measuring and marking.
This upgrade keeps your kit powerful yet affordable.
Frequently Asked Questions
Can I Use a Regular Kitchen Heat Gun for Acrylic Bending?
Yes, you can use a regular kitchen heat gun for acrylic bending, but keep it on a low setting, move it constantly, and wear gloves to avoid burns and uneven heating.
Do I Need a Separate Grounding Strap When Soldering Inside the Case?
Yes, you should use a grounding strap while soldering inside the case. It protects you and the components from static discharge, ensuring safe, clean connections and preventing accidental damage to sensitive electronics.
What’s the Safest Way to Cut Metal Brackets Without a Dremel?
You should grab a fine‑tooth hacksaw or a jeweler’s rotary cutter, clamp the bracket securely, wear safety glasses, and cut slowly, keeping the blade perpendicular to avoid slipping or gouging.
Are Zip Ties Reusable for Long‑Term Cable Management?
You can reuse zip ties for long‑term cable management, but they’ll loosen after repeated bends; consider cleaning them, checking for cracks, and swapping them out periodically to maintain a tidy, secure setup.
How Often Should I Replace the Dust Mask Filter During Modding?
You should replace the dust‑mask filter every 30–60 days of regular modding, or sooner if you notice reduced airflow or visible buildup. Cleaning it weekly extends life, but swapping it out prevents contamination.
In Summary
Now you’ve got the basics covered, you can tackle any case mod without breaking the bank. Those cheap tools give you precision, speed, and safety, so you’ll spend more time building and less time hunting for gear. Keep your kit organized, upgrade one piece at a time, and you’ll keep pushing your mods farther—without the hefty price tag.


Leave a Reply