
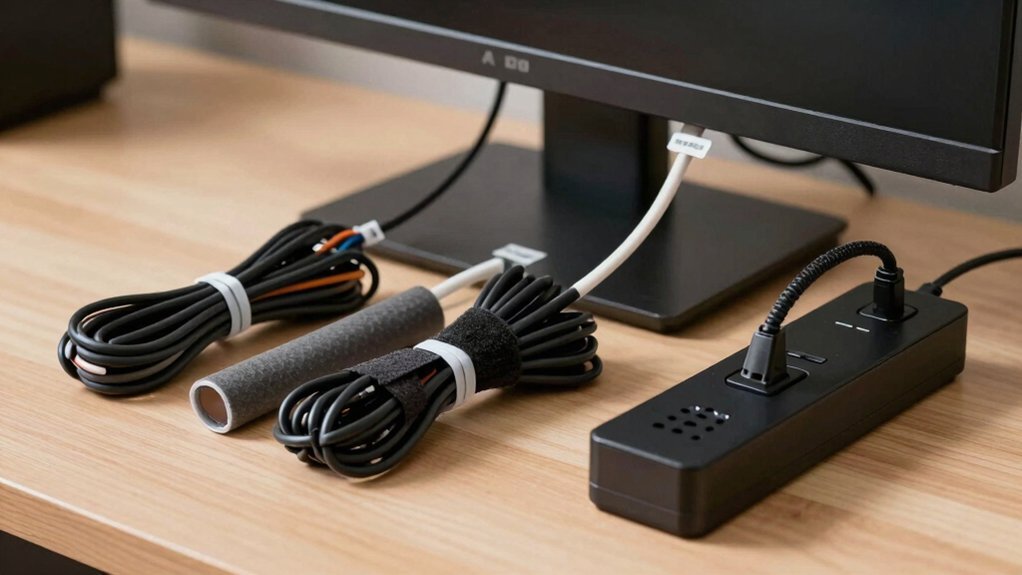
Mount a desk‑screw‑mount power strip as your central hub, then thread main cables through nearby clips and use a compact USB‑surge protector. Secure under‑desk runs with binder‑clip channels or repurposed rain‑gutter and spaghetti tubes. Apply double‑sided tape along the back edge for hidden power and Ethernet, and bundle excess length with Velcro straps and labels. Build a cheap wooden spine with pre‑drilled holes for tidy routing, and finish with low‑cost covers and raceways. Keep going to discover more budget tricks.
Mount a Desk‑Screw‑Mount Power Strip as the Central Cable Hub
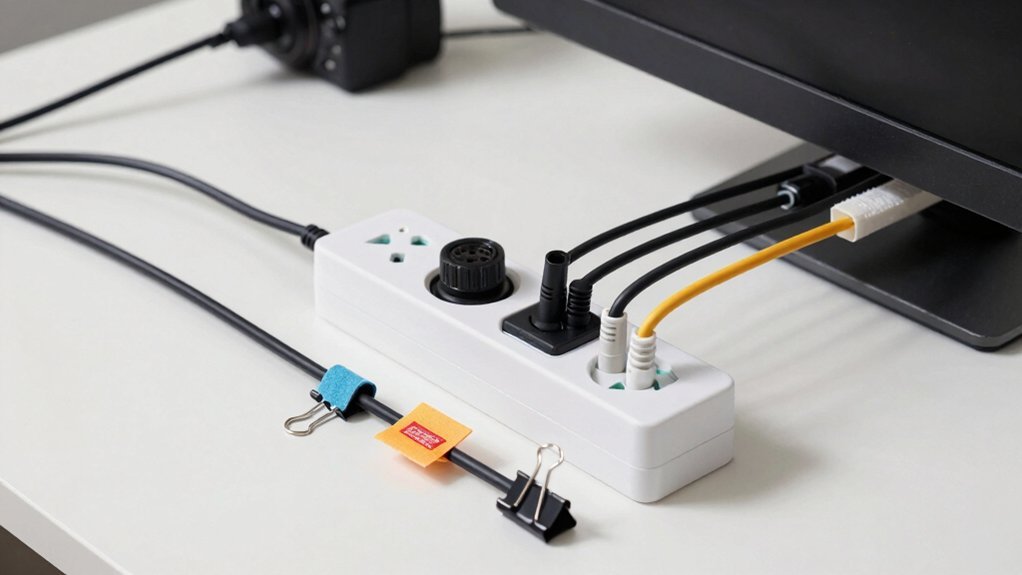
Looking to tidy up your desk while keeping power within easy reach? You’ll mount a power strip as the central cable hub using desk‑screw‑length hardware. First, sketch the strip’s mounting holes on scrap paper, then transfer the pattern to a 1‑inch‑thick desk, using 3/4‑inch screws so nothing pokes through. Secure the strip centrally; it becomes the anchor for all wall plugs and downstream devices. Thread the power cables through nearby cable clips, keeping the main bundle neat and preventing tangles behind the desk. Finally, run surge‑protected cables from the hub to your PC, monitor, and peripherals, and fasten them with Velcro straps for a clean, organized look that enhances desk cable management. The design can leverage a compact USB‑capable surge protector with 6 USB ports to handle peripherals without extra adapters USB Port Specs.
Simple Binder‑Clip Channels for Cable Management
Ever need a quick, flexible way to keep cables from slipping under your desk? Grab a few Binder clips and turn their metal arms into simple binder‑clip channels. Clip them to the desk edge, thread your cables through, and you’ve got instant under‑desk routing that stays put yet moves when you need to re‑configure. The setup costs pennies, leaves no permanent marks, and lets you add or remove devices without untangling a mess. You’ll notice a cleaner workspace, easier access to power and data lines, and a tidy look that makes troubleshooting a breeze.
Binder‑clip channels give instant, low‑cost under‑desk cable routing that’s reusable, tidy, and hassle‑free.
- Instant organization – cables slide smoothly through the clip arms.
- Reusable flexibility – reposition clips whenever you add new gear.
- Low‑cost durability – cheap, sturdy, and perfect for frequent plug‑and‑play.
In addition to binder clips, you can consider a small private label approach to manage privacy-screen needs for displays, such as ensuring you understand the range of privacy screen options (like 24‑inch and 27‑inch sets with various viewing angles and blue light protections) when you upgrade or reconfigure your setup to keep sensitive information out of sight. privacy-screen options
Velcro‑Bundle and Label Extra Cable Length – Cheap Cable Management
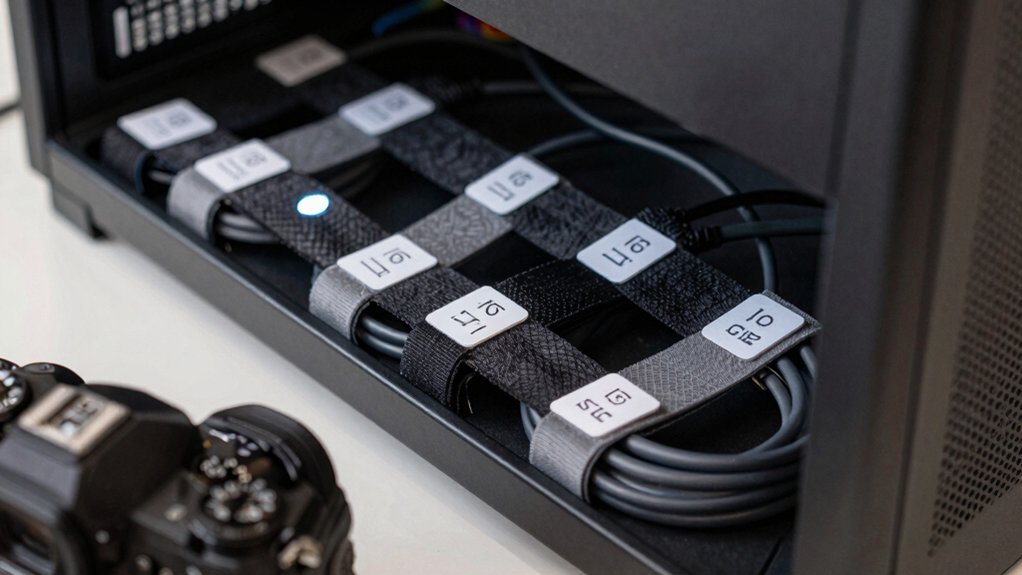
Binder‑clip channels give you quick, removable routing, but when cables stretch beyond the desk edge they start to dangle and look messy. Switch to Velcro cable ties for extra cable length and you’ll keep desk organization tight without permanent cuts. Wrap each bundle with a reusable Velcro strap, then slide the bundle behind-the-desk routing where it stays out of sight yet accessible. Pair the strap with a label tag so you instantly know which bundle carries power, data, or peripherals. Because Velcro ties loosen and retighten, you can re‑configure devices without fraying cables. Over time the reusable straps reduce wear compared to zip ties, and the labeled bundles make periodic clean‑ups a breeze. This simple hack turns chaotic cords into neat, identifiable sections. For added durability, choose magnetic or adhesive cord clips to secure longer runs behind your setup and keep cables neatly organized Cable Size Compatibility.
Use Plastic Rain‑Gutter or Spaghetti Tubes for Hidden Runs – Budget Cable Management Hack
Ever wondered how to hide a jungle of cords without buying pricey raceways? Grab a Plastic rain gutter and mount it under your desk with a few cable clips. The gutter creates a sleek channel for power, data, and peripheral wires, turning a chaotic mess into clean hidden runs. If you prefer something even smaller, repurpose Spaghetti tubes as low‑cost sleeves that bundle cables along the back of your desk setup. Both tricks cost pennies, require no drilling, and keep your workspace tidy.
Plastic rain gutters and spaghetti tubes turn desk chaos into sleek, low‑cost cable channels.
- The gutter’s wide channel swallows multiple cords at once, giving you instant visual relief.
- Spaghetti tubes hug tight bends, perfect for routing cables around tight corners.
- Cable clips secure everything firmly, so nothing dangles or rattles. Memory foam helps emphasize long-term comfort in desk setups that keep you sedentary?
Apply Generic Double‑Sided Tape to Hide Power and Ethernet Behind Desk
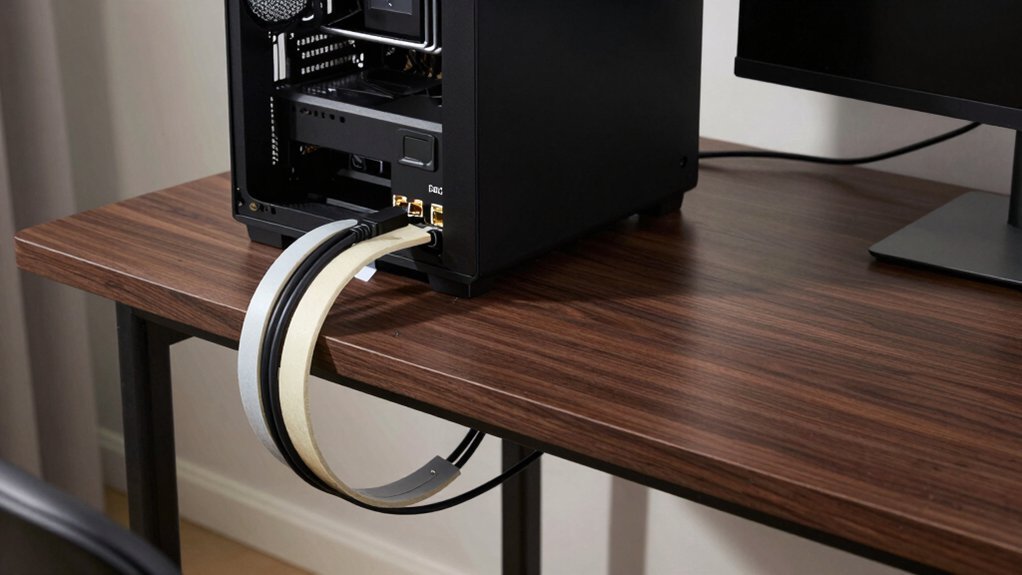
You’ll start by placing the double‑sided tape along the desk’s back edge, then press the power and Ethernet cables onto it for a seamless look.
The tape holds the lightweight cords firmly while keeping them invisible from the front.
When you need to rearrange or remove them, just peel the tape off—no holes, no residue.
To further enhance organization, consider pairing the tape with self-adhesive mounts or under-desk trays to keep cables secure even with pet movement or desk adjustments cat-proof protection cable management kit.
Tape Placement
Wonder how you can hide power and Ethernet cables without drilling or unsightly clips? Start by cleaning the desk underside, then cut strips of generic double‑sided adhesive tape that match the cable bundle width. Press the tape firmly along the back edge, align the cables, and smooth them into place; the tape holds them steady while you finish your DIY organization. Run the cables straight, avoid kinks, and test the grip by a gentle tug before you consider it permanent.
- Secure and sleek – the tape creates a clean, flush line that looks intentional, not improvised.
- Easy adjustments – you can reposition cables quickly if routing changes, keeping the setup flexible.
- No residue – high‑quality tape leaves the desk surface pristine, preserving aesthetics for future upgrades.
- Integrates with height‑adjustable risers – aligning cable runs behind risers like Hemudu or BoYata helps maintain a tidy look as you switch between sitting and standing. height‑adjustable risers
Seamless Cable Concealment
Looking for a quick, non‑permanent way to hide power and Ethernet cords? Grab generic double‑sided tape, peel off a strip, and press the adhesive backing onto the desk’s underside. Then lay your power cables and Ethernet line along the edge, pressing firmly so they sit flat and invisible. Use just enough tape per segment to keep the cables secure but still removable for future tweaks. This method creates seamless concealment that blends into desk organization without sagging or dangling. If you need extra hold, add a few cable clips or slide a cable sleeve over the taped section for added protection. After you move anything, test stability and re‑apply tape as needed—no damage, no residue. To ensure compatibility with multiple devices, consider noting which cables are in use wireless or wired to prevent accidental disconnections.
Easy Removal Method
Need a fast, non‑permanent way to tidy power and Ethernet cords? Grab generic double‑sided tape and create an easy removal method that keeps your desk cable hidden without drilling. Apply the adhesive cable to the desk edge, press the power strips and Ethernet leads against it, and you’ll have a clean under‑desk look in seconds. When you need to move or upgrade, just peel the tape off and wipe any residue with a mild adhesive remover. This trick works best for lightweight runs, so you won’t need extra cable clips or permanent fixtures.
- Instantly conceal messy cords
- Preserve your desk surface integrity
- Re‑position with minimal effort
Enjoy a tidy setup that’s both flexible and affordable.
Build a Wooden Cable Spine With Pre‑Drilled Holes – DIY Cable Management
Ever thought a simple wooden spine could tame the chaos under your desk? Cut a scrap board to match the rear underside of your workstation and drill a series of pre‑drilled holes along its length. Those holes become anchor points for bent wire hooks that guide your monitor, PC, and accessory cables, creating clean under‑desk routing. Mount the power strip directly to the wood, consolidating outlets and cutting loose cords. Slip Velcro ties around each bundle, securing them loosely so you can add or replace cables later. Before drilling, wrap tape around the bit to set depth and avoid cracking the spine. The result is a sturdy cable spine that streamlines cable management while staying out of sight.
Add Low‑Cost Cable Covers and a Quick Clean‑Up – Final Cable Management Finish
After the wooden spine’s cables are neatly anchored, finish the setup with low‑cost covers and a quick clean‑up. Snap a few cable clips onto the desk edge, then slide a cable raceway over the bundle for a sleek, paint‑matched look. Use Velcro straps to tighten any loose strands, and tuck the whole assembly into an under‑desk tray or the cable spine you built. When you step back, the visible cable clutter disappears, leaving a professional finish that feels rewarding.
- The snap‑on raceway hides messy runs, turning chaos into calm.
- Velcro straps give you instant adjustability without permanent damage.
- An under‑desk tray or spine protects cables as the desk moves, keeping everything secure.
Frequently Asked Questions
Will the Spine Hold Heavy Monitors?
Yes, the spine can hold heavy monitors if you secure it with sturdy brackets and distribute the weight evenly, but double‑check the manufacturer’s load rating and reinforce the mounting points to avoid sagging or failure.
Can I Use This Setup on a Glass Desk?
Yes, you can use it on a glass desk; just ensure the clamps or adhesive strips don’t slip, keep the cable ties tight but not over‑tightened, and avoid placing heavy weight directly on the glass.
Do the Materials Affect Wi‑Fi Signal?
Yes, metal clips and foil tape can block Wi‑Fi, while plastic zip ties and Velcro straps won’t interfere. Keep your antenna clear of conductive materials, and route cables away from the router for optimal signal strength.
How Often Should I Replace the Flexible Ties?
You should replace flexible ties every six to twelve months, or sooner if they become brittle, warped, or start snapping. Regularly swapping them prevents cable damage, maintains airflow, and keeps your setup tidy.
Is the Method Compatible With Standing Desks?
Yes, the method works with standing desks; you’ll just need to adjust the tie lengths as you raise or lower the surface, keeping tension consistent and cables untangled throughout the motion.
In Summary
By now you’ve got a tidy, budget‑friendly rig that looks pro without breaking the bank. Those simple tricks—desk‑screw‑mount strips, binder‑clip channels, Velcro bundles, rain‑gutter tubes, double‑sided tape, a wooden spine, and low‑cost covers—keep cables out of sight and out of the way. Your workspace stays organized, your airflow improves, and you’ll spend less time untangling messes and more time gaming or working. Enjoy the clean, efficient setup you’ve built.


