
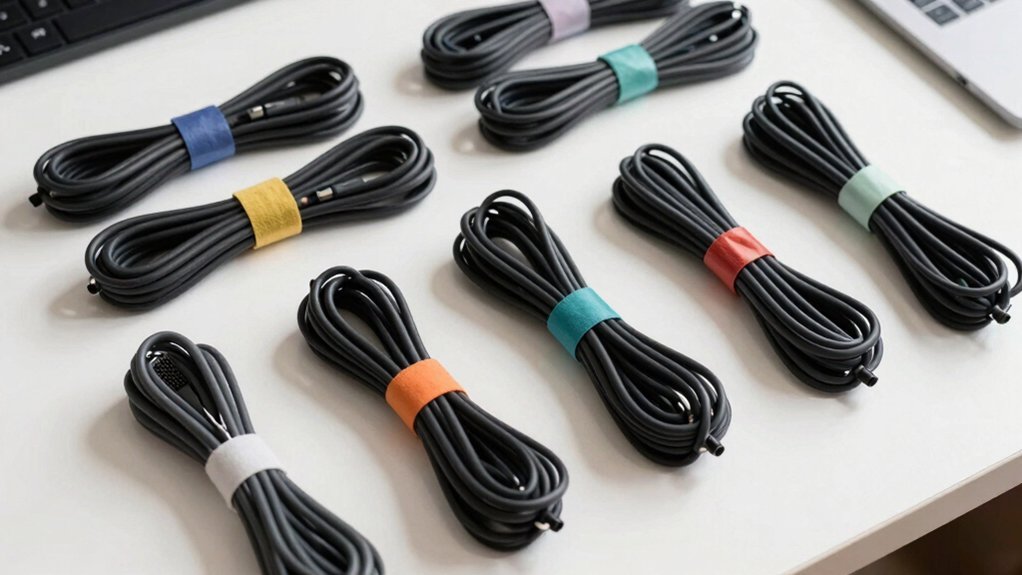
You’ll save hours and avoid wall damage by using no‑tool cable‑management tricks that let you secure, rearrange, and remove cords in minutes. Adhesive strips, Velcro ties, and removable hooks snap into place, so you never need a drill or screwdriver. They’re residue‑free, easy to reposition, and work with any surface, keeping your setup tidy and flexible. Plus, you can repurpose cheap household items like binder clips or toilet‑paper rolls for instant channels. Keep reading to discover the core materials and step‑by‑step mounting hacks.
Why No‑Tool Cable Management Saves Time & Money for Gamers
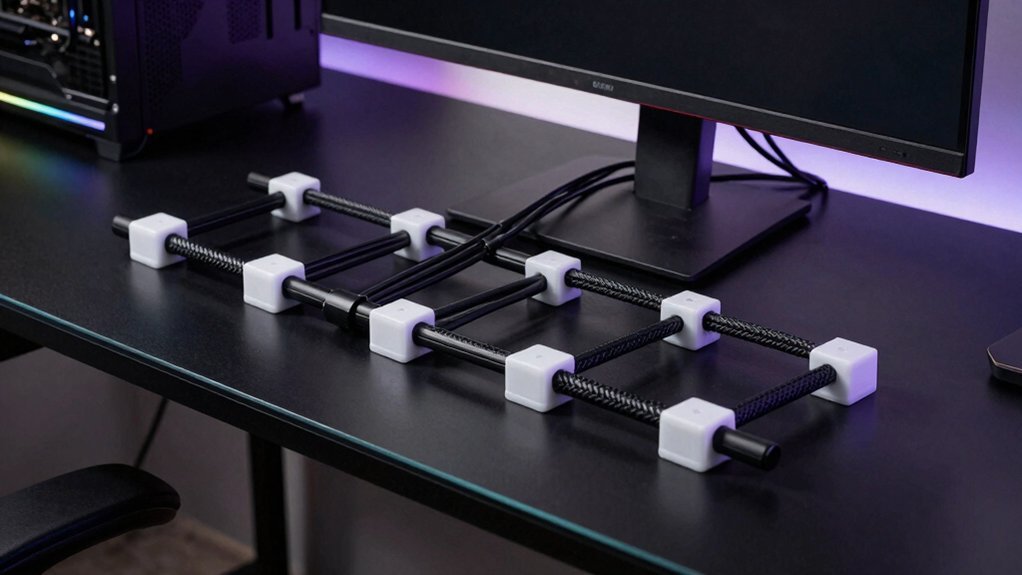
A few minutes of setup can save you hours of hassle later, and no‑tool cable management does exactly that. You grab adhesive clips, Velcro straps, and removable hooks, then snap them onto the desk or wall without drilling. The process is time‑saving—no measuring, no screw‑driving, just a quick placement that finishes in ten minutes. This approach also supports clean removal with residue‑free options, helping protect surfaces over time surface compatibility.
Core Materials for No‑Tool Cable Management
Ever wondered which tools actually make a no‑tool cable setup work? You’ll find that a handful of smart materials replace drills and screws, letting you tidy cords quickly and cleanly. Large Velcro Command Strips create a “sandwich” layer under‑desk, anchoring extension cables without permanent holes. BluTack grabs stray wires, while adhesive clips and command hooks hold bundles in place, staying removable and reusable for future re‑configurations. Wall‑mounted clips keep excess cords off the floor, and cable ties bundle everything neatly. Wall-mountable clips offer secure, reusable mounting for overhead routing.
How to Mount Power Strips Under Your Desk Without Drilling

How can you secure a power strip under your desk without a drill? Start by cleaning the underside of your desk and using pre‑marked surfaces to pinpoint the ideal spot. Peel a large Velcro command strip, press it firmly onto the desk, then attach the matching side to the power strip’s base. For extra stability, apply the sandwich method: place a thin Velcro strip on the strip’s underside, then another on the desk, aligning them perfectly. This under‑desk mounting creates a removable mounting solution that holds the strip while you organize cables with ties and BluTack. The adhesive organization stays strong yet leaves no residue, keeping your desk setup tidy and fully functional without any tools. Also ensure you choose a mounting setup that matches your environmental conditions, such as IP-rated components if you’re in a humid workspace durability standards and consider a configuration that supports easy repositioning for future desk adjustments.
Repurpose Household Items for No‑Tool Cable Management
You can clip a binder at onto your desk edge to hold cords in place, so they won’t slip or unplug.
A toilet‑paper roll makes a quick channel: just feed the cable through the hollow tube and you get a tidy, protected pathway.
Both tricks use nothing but items you already have, keeping your setup neat without any tools.
Binder Clips as Cable Organizers
Binder clips make perfect, no‑tool cable organizers by snapping onto the desk edge and holding cords in place. You’ll find them budget‑friendly and renter‑friendly, letting you secure cables without drilling or adhesives. The metal jaws grip each cord, creating tidy visual organization while preserving flexible cable routes. Pair them with Velcro strips or BluTack for a low‑profile system that stays out of the way but remains easy to reconfigure. Additionally, these clips can be integrated with under‑desk trays and split sleeves from budget kits to expand capacity Expandable systems for future adjustments.
Toilet Paper Roll Channels
Ever thought a simple toilet‑paper roll could become a sleek cable channel? You can turn empty toilet paper rolls into DIY organization heroes that need no tools. Just slide bundled cords through a roll, then cut it to length for a custom cable channel. Label each roll with a marker, creating labeled segments that let you spot the right cord in a glance. Stack the rolls in a drawer or mount them behind a desk setup for clutter concealment and quick access. The tool‑free method keeps your workspace tidy while staying budget‑friendly. This repurposing trick reduces waste, adds visual order, and gives you a flexible, low‑cost cord management system that fits any desk setup. Height adjustment can influence how you position these rolls for optimal reach and visibility behind or under your monitor setup.
Room‑Specific No‑Tool Hacks for Gaming Desks
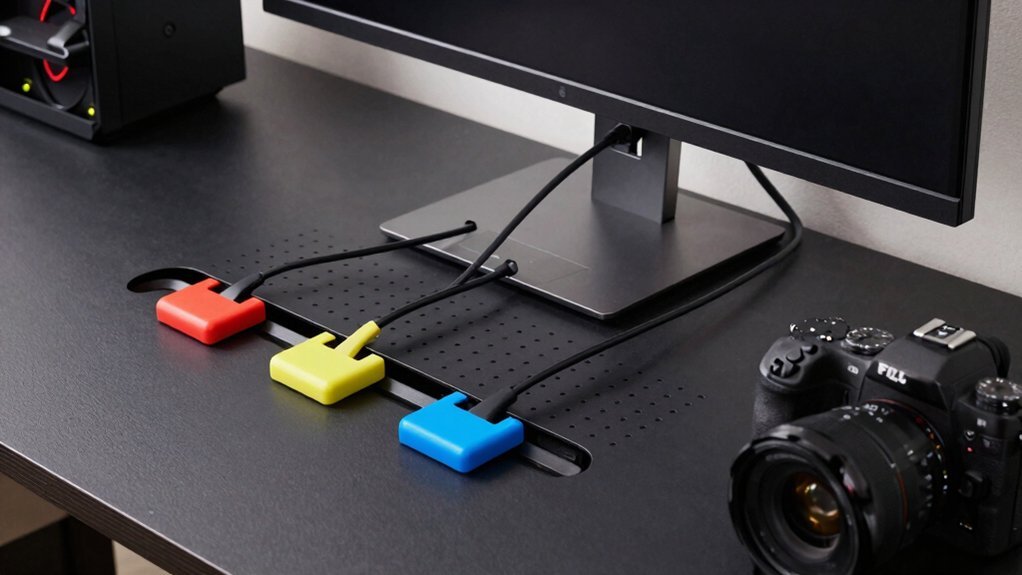
Looking to keep your gaming desk sleek without a toolbox? You can master desk cable management with simple, tool‑free tricks that keep everything tidy and ready for marathon sessions.
- Under‑desk mounting – Attach 2–3 Velcro strips to the underside of your gaming desk, then wrap the extension cord and power strip. The Velcro holds the cord snugly, eliminates sag, and lets you pull it out quickly for re‑arrangements.
- Vertical power strip – Use a Command strip to mount a slim power strip on the desk edge, aligning it near the wall outlet. This hides the bulk, keeps plugs accessible, and reduces clutter.
- Raceway and labeling – Slide a lightweight raceway or wire basket along the desk side, then secure peripheral leads with self‑adhesive cable clips and BluTack. Finish by labeling each cable with washi‑tape tags for instant identification. No‑drill / adhesive options from the listed systems can further minimize installation impact while keeping retractable options in reach.
Monthly Maintenance Routine for Your No‑Tool Cable Management System
You’ll start each month with a quick inspection checklist, hunting for loose fasteners, tensioned cords, and exposed strips.
Then you’ll refresh the labels, using washi tape or tags to keep device assignments up‑to‑date.
Finally, you’ll re‑secure any slack with no‑tool methods like Velcro straps or command strips, keeping everything tidy and ready for use.
Monthly Inspection Checklist
Need a quick, reliable way to keep your no‑tool cable system humming? A focused monthly inspection keeps everything tidy, safe, and ready for work.
- Check tension and alignment – Feel each bundle for loose wire tension, verify left‑right desk sections are straight, and adjust any sagging strands to protect connectors.
- Inspect under‑desk mounting – Look at adhesive strips and mounting points for wear; re‑affix any loosened clips to preserve your DIY, no‑tools installation.
- Validate labeling and device IDs – Confirm cable labeling matches devices, update tags if you’ve added or removed gear, and wipe dust from exposed cords and clips.
Schedule a 10‑15‑minute maintenance window each month, remove unused cables, and realign bundles. This routine ensures reliable cable management and effortless devices identification. Regular checks help maintain bandwidth-aware organization and prevent clutter from creeping back into your workspace.
Label Refresh Routine
Ever wondered why a quick label refresh each month keeps your no‑tool cable system running smoothly? You’ll find that a simple monthly routine of updating cord labels cuts troubleshooting time and boosts identification. By swapping faded tags for fresh, color‑coding Velcro sleeves, you keep organization tight without extra tools.
| Step | Action | Tool |
|---|---|---|
| 1 | Inspect existing labels | eyes |
| 2 | Note any faded or missing tags | pen |
| 3 | Print new labels or write on Velcro | printer |
| 4 | Apply fresh cord labels | hands |
| 5 | Verify color‑coding matches devices | check |
Stick to the 1st of each month, and your cable labeling stays crisp, your Velcro stays secure, and your setup stays hassle‑free.
Re‑Secure Loose Fasteners
Every month, set aside ten to fifteen minutes to hunt down and re‑secure any loose fasteners—whether they’re Velcro ties, cable clips, or adhesive‑backed strips—so your under‑desk and wall mounts stay tight and your cables don’t drift. Focus on the under‑desk raceways and wall‑mounted brackets where tension builds. Use no‑tools methods: slide Velcro ties back into place, press adhesive‑backed clips firmly, and snap removable clips onto power strips. A quick monthly check prevents wear, keeps cable routing clean, and maintains a tidy cable organization system.
- Inspect all Velcro ties and re‑tighten them before they lose grip.
- Press adhesive‑backed clips onto fresh surfaces to restore clamping force.
- Verify raceways and hooks stay aligned with your planned cable routing.
Frequently Asked Questions
What Tools Do You Need for Cable Management?
You just need Velcro command strips, BluTack, cable ties, command hooks, and extra extension cables—no drills or screwdrivers required. These adhesives and fasteners let you route, secure, and adjust wires effortlessly.
How to Organize Cable DIY?
You’ll start by grouping wires, then stick Velcro strips or command hooks under the desk, use BluTack for loose strands, and clip remaining cords into adhesive trays—adjust as needed, no drilling required.
Are Cable Management Boxes Worth It?
You’ll find cable management boxes worth it because they instantly hide mess, protect pets and kids, improve airflow, and let you reconfigure cords without tools—saving space and giving your setup a clean, professional look.
How to Manage Cables Without Buying Anything?
Grab tape, Velcro strips, or BluTack; wrap them around cords, stick them under desks or behind furniture, and bundle excess lengths together. Adjust as needed, keeping everything tidy without spending a dime.
In Summary
You’ve seen how ditching drills and brackets lets you set up, tidy, and tweak your gaming rig in minutes, not hours. With a few smart materials and everyday items, you keep cables out of sight, protect your gear, and stay flexible for upgrades. The routine check‑ups keep everything neat, so you spend more time gaming and less time untangling. No tools, no hassle—just a clean, efficient setup that lets you focus on the win.


