

Fill every fan slot with cheap low‑RPM fans—five‑fan packs for $20 work great—and keep the front mesh and side vents clear so airflow isn’t throttled. Set intake fans a notch faster than exhaust fans using a controller or splitter to create a gentle positive pressure that pushes dust out through gaps. Swap a single high‑RPM blower for several low‑RPM fans for quieter, higher‑volume flow, and avoid tight meshes by using wide, open intake grilles. Test the balance with an incense smoke test, and you’ll see the smoke exit through the exhaust vents. Keep reading to discover more tricks.
Install Cheap Case Ventilation Fans in Every Slot and Keep Them Clear
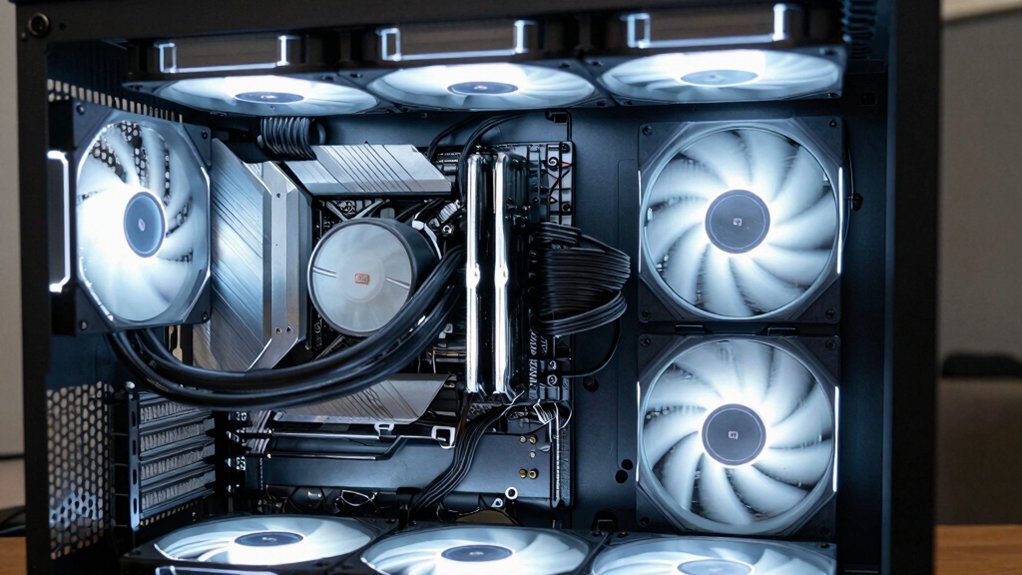
A good way to boost airflow is to fill every available fan slot with inexpensive fans—think bundles like Antec’s five‑fan pack for $20. You’ll want each slot packed with a low‑RPM unit, because more fans move more air while staying quiet. Keep the front intake mesh and side vents clear; any obstruction creates a pressure drop that chokes airflow. Additionally, ensure that the USB-C PD and charging considerations in the related surge-protector setups do not interfere with case fans or airflow paths USB-C Power Delivery.
Create Slight Positive Pressure by Matching Intake and Exhaust Fan Speeds
Ever wondered how a little extra airflow can keep dust out of your rig? You can achieve positive pressure by setting your intake fans to spin a notch faster than your exhaust fans. Use a fan controller or splitter to dial in the exact RPMs, balancing the front mesh resistance with the rear vent size. Aim for a gentle net inflow—just enough to push dust out through gaps instead of pulling it in. Test the balance with a smoke stick: the plume should exit cleanly through the exhaust vents. Adjust speeds iteratively, watching how case design elements like top venting affect the airflow. Fine‑tuning this ratio keeps the interior clean without adding noticeable noise. Positive pressure helps reduce dust buildup by encouraging cleaner intake air and can be supported by choosing fans with good static pressure for radiators and restricted paths.
Prefer Several Low‑RPM Fans Over One High‑RPM Blower for Quiet, High‑Volume Flow
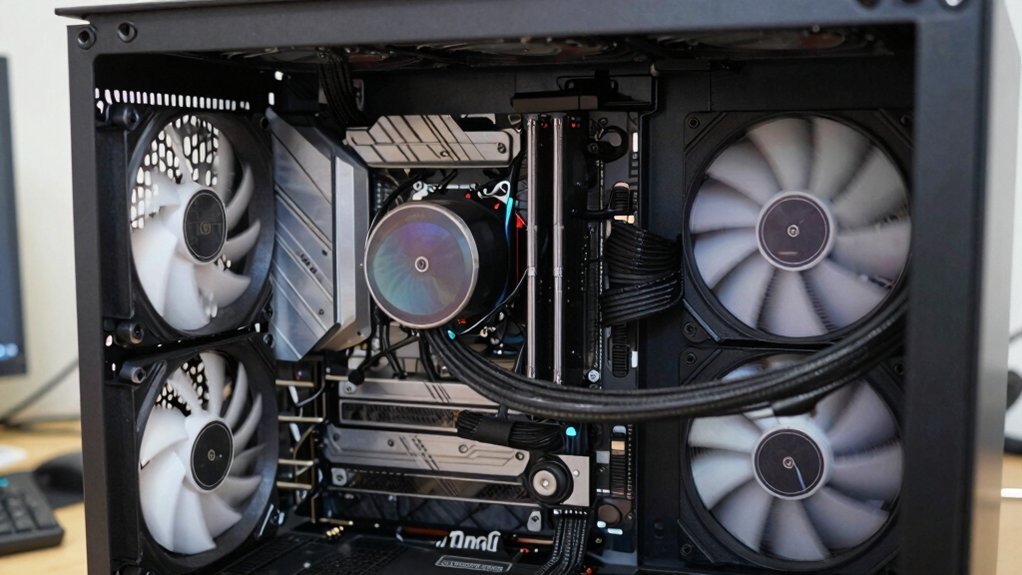
If you’ve already set a slight positive pressure, swapping a single high‑RPM blower for a few low‑RPM fans will cut noise while moving even more air. Low‑RPM units generate smoother airflow, and stacking three 140 mm fans often exceeds the volume a blower can push at the same decibel level. Because RPM drives airflow, each fan contributes its own pressure curve, letting you balance intake and exhaust without creating hotspots. The cooling setup should also consider heat ventilation design principles like maintaining open underside clearance to support airflow heat ventilation design and using materials with effective cooling properties to stay affordable. Choose fans with good static pressure and pair them with an exhaust that matches their combined output, then test with incense to spot any bottlenecks. The result is a quieter system that still delivers high‑volume cooling, keeping components at optimal temperatures without the whine of a high‑speed blower.
Keep Intake Paths Open: Avoid Tight Front Meshes and Use Large Openings
Why settle for a cramped front mesh when a wide, open intake can slash pressure drop and boost cooling? You’ll notice immediate gains when you replace dense perforations with a generous front intake opening. Large slots or mesh‑free grilles let air flow freely, keeping pressure low and cooling efficient.
A solid panel with tiny gaps starves the system of fresh air, forcing the exhaust fans to work harder and inviting dust through unintended cracks. By prioritizing unobstructed entry, you maintain neutral or slightly positive pressure, which reduces dust ingress while delivering higher volumetric airflow.
Skip the extra fans and focus on widening the intake; the result is smoother, quieter cooling that maximizes every watt of airflow without unnecessary turbulence. Properly positioned intake design can also contribute to reduced static buildup around sensitive components anti-static considerations and improve long-term reliability.
Verify Airflow and Pressure With a Simple Incense Smoke Test
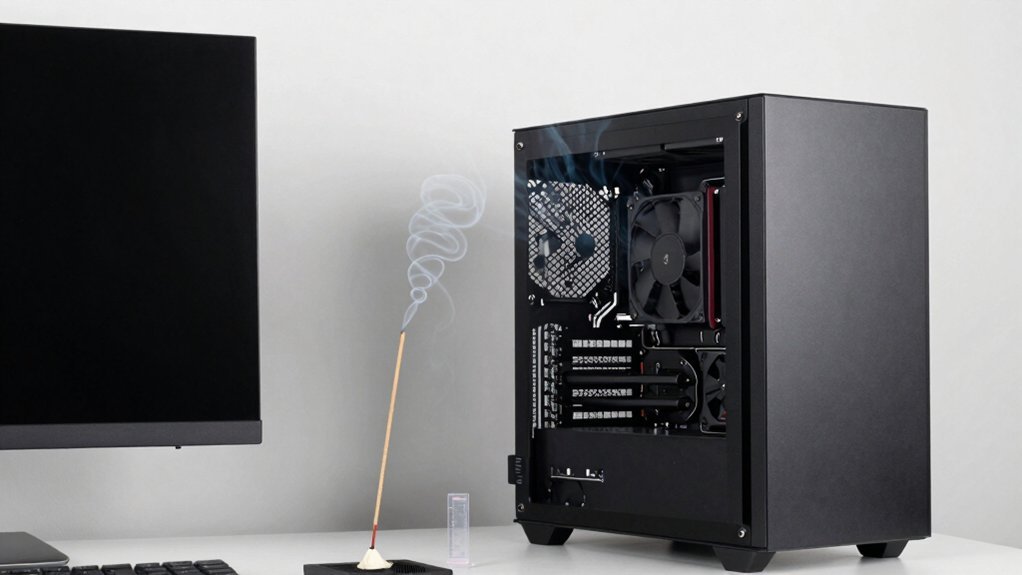
A wide, open intake gives you the airflow you need, but you still have to confirm that the pressure balance is right. Grab a stick of incense and light it near the front intake while the side panel is on and the system is off. Watch the incense smoke: if it drifts out, you have positive airflow pressure; if it’s sucked in through gaps, you have negative pressure.
Next, power the fans and repeat the test at the rear exhaust. The smoke should be pushed out, showing that intake fans are pulling air and exhaust fans are expelling it.
Compare an open front to a mesh‑covered one; the mesh will cause a pressure drop, slowing the smoke’s exit. Adjust fan RPMs until the smoke consistently exits, achieving a stable, slightly positive pressure for optimal cooling. Hall Effect
Frequently Asked Questions
Do I Need Dust Filters on Every Intake?
Yes, you should put dust filters on every intake. They block debris, keep components clean, and extend lifespan. Even cheap filters work fine, and you can replace them regularly for best airflow.
Can I Use PWM Fans for Better Speed Control?
Yes, you can use PWM fans for finer speed control; they let your motherboard or controller adjust voltage automatically, giving you smoother airflow and quieter operation while keeping costs low.
What Fan Size Fits a Typical Mid‑Tower Case?
You’ll find 120 mm fans most common in mid‑tower cases, but many also accept 140 mm or even 80 mm units. Check your case’s mounting points and clearance, then pick the size that fits those spots.
Should I Prioritize Intake Over Exhaust for Cooling?
You should prioritize intake, because fresh air lowers component temperatures faster. Then balance it with enough exhaust to remove hot air, keeping positive pressure to reduce dust buildup and improve overall cooling efficiency.
How Often Should I Replace Thermal Paste for Optimal Airflow?
You should replace thermal paste every two to three years, or sooner if temperatures rise noticeably; regular checks keep heat transfer efficient, ensuring your cooling system maintains optimal airflow and performance.
In Summary
By filling every slot with cheap fans, keeping them unobstructed, and balancing intake and exhaust speeds, you’ll create a slight positive pressure that pushes hot air out efficiently. Opt for several low‑RPM fans instead of one high‑RPM blower for quieter, high‑volume airflow. Keep front meshes loose and openings wide, then confirm everything works with a quick incense smoke test. This simple setup gives you cool, quiet performance without breaking the bank.


Leave a Reply