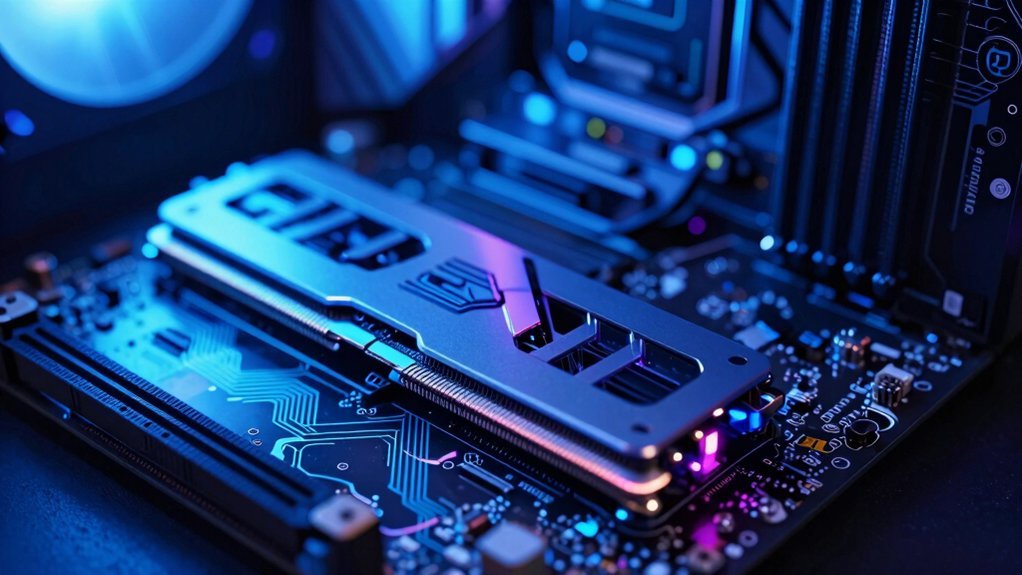
You boost cheap‑gaming performance by overclocking RAM because higher frequencies and tighter timings give the CPU more bandwidth and lower latency, letting it feed data to the GPU faster and smoothing frame‑time spikes. Enabling XMP/EXPO instantly lifts your memory to 3200‑3600 MHz, while a modest voltage bump and proper dual‑channel pairing keep it stable. Tightening CL values adds extra gains, and monitoring heat prevents throttling. Keep reading to discover the exact steps and safety checklist.
RAM Overclocking Basics: Definition & Budget Gaming Value
Speed and efficiency are the heart of RAM overclocking, where you push memory beyond its stock specs to squeeze extra performance out of a budget gaming rig. You’ll find that XMP profiles let you raise the memory frequency with a single click, turning a cheap kit into a faster, more responsive component. In budget gaming, those extra megahertz shave latency in memory‑heavy titles, even if FPS gains stay modest. Dual‑channel setups double the bandwidth, so pairing matched sticks beats a single stick any day. Yet higher speeds demand stability testing; run MemTest86 or AIDA64 after each tweak to catch errors before they crash your game. A modest voltage bump can seal the deal, keeping the system stable while you reap the performance boost. XMP/EXPO profiles offer an easy path to higher speeds without manual timing adjustments.
Enable XMP/EXPO: Quick Speed Boost Without Manual Tweaks
Looking to boost your gaming performance without diving into the BIOS? Just enable XMP or Expo and let the pre‑defined BIOS profiles do the work. These profiles sit on the RAM stick and automatically raise RAM speeds to 3200–3600 MHz with the correct voltage and timings, so you skip manual tweaking. On Intel boards, XMP unlocks higher frequencies with vendor‑validated settings; AMD users enjoy the same ease with Expo. The result is a quick bandwidth bump that sharpens loading times and speeds up CPU‑driven game tasks. Because the memory maker tested the timings, you get a safe, one‑click path to higher performance, leaving you more time for actual gaming. Endurance ratings can influence long‑term reliability as you push higher speeds, helping ensure stable performance under load.
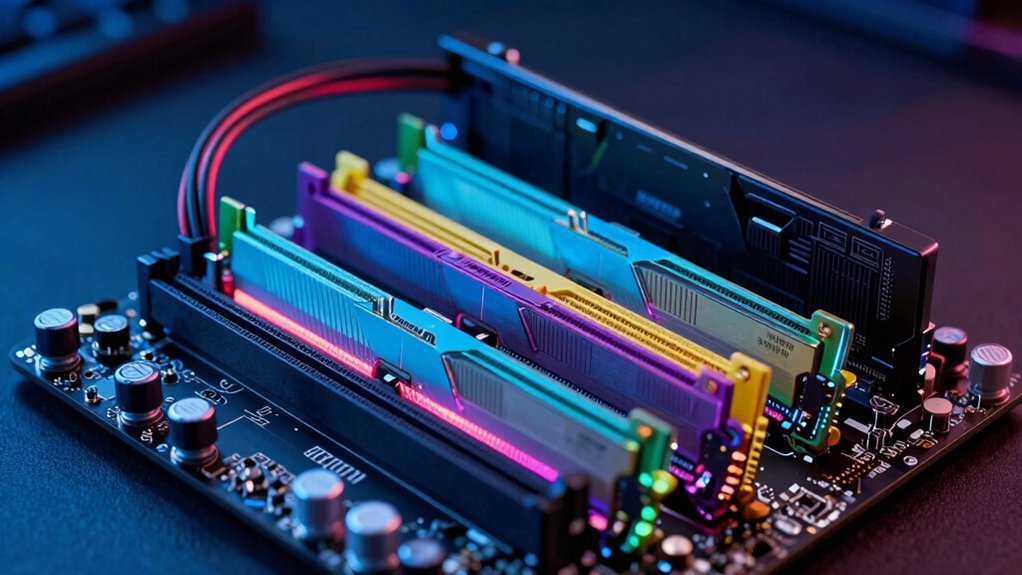
Dual‑Channel vs. Single‑Channel RAM Overclocking for FPS
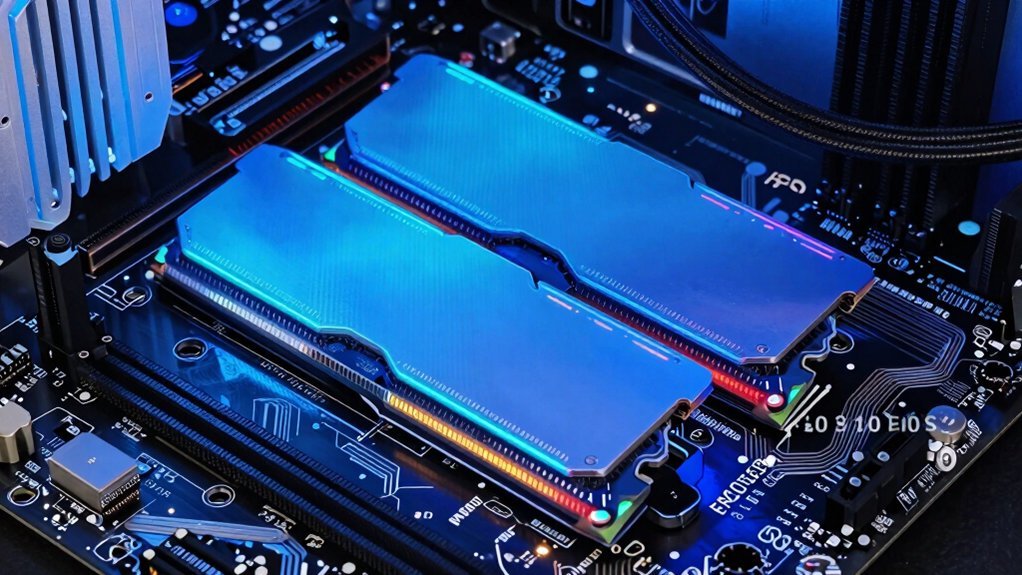
Ever wondered why a dual‑channel kit often outshines a single stick when you push the memory clock? You’ll see roughly double the memory bandwidth, and that extra headroom translates directly into higher FPS during overclocking. Enabling XMP or EXPO on a matched dual‑channel pair feeds the CPU more data per cycle, which matters most in CPU‑bound titles where bandwidth is the bottleneck. A properly paired kit with matched timings also helps maintain stable performance under higher clocks 3‑row layout and quality materials for durability. A single‑channel stick can’t deliver the same throughput, so even aggressive overclocking yields diminishing returns. Keep both slots populated with identical modules; mixing mismatched RAM or leaving a slot empty drops you back to single‑channel performance, erasing the FPS boost you’d expect from a true dual‑channel overclock.
Manual Timing: Tighten CL Values for Extra Gains
Why not shave a few nanoseconds off your memory latency by tightening the CAS timing? When you manually lower the CL value, you cut RAM latency, letting the CPU fetch data faster and keep frames steady. A compact and stable setup, like a sturdy table stand with a reliable base, can help you keep the system cool and stable while you push tighter timings stable base.
Pair a tighter CL with a 3200‑3600 MHz overclock and you’ll see the biggest boost, because the reduced CL latency compounds with the higher frequency.
Aim for CL14‑CL16 on a uniform kit; mixing modules can introduce uneven memory timings that erase gains.
Keep an eye on stability—aggressive CL reductions without adequate cooling may cause crashes, but a modest voltage tweak usually holds things together.
Adjust Voltage When Tightening Timings
You’ll raise the DRAM voltage in small steps—usually no more than 0.05 V—to keep tighter timings stable, but stay under the 1.35–1.45 V safety window.
Finding the sweet spot between voltage and latency is a balancing act: a modest bump can unlock lower CL, tRCD, and tRP, yet too much voltage brings heat and diminishing returns.
After each tweak, run MemTest86, AIDA64, or Prime95 to confirm the system stays error‑free under load.
Power, voltage, and current ratings must align with the memory modules and motherboard rail limits to prevent instability multi‑zone and ensure synchronized performance across DIMMs.
Voltage Increments
How much voltage should you add when you tighten your RAM timings? You’ll typically bump the voltage by 0.02–0.10 V above the XMP or JEDEC default, staying under 1.45 V for most DDR4 kits. Start with the smallest increase, run MemTest86, and watch for errors. If the test fails, raise the voltage a little more and retest; repeat until you hit a stable point. Additionally, ensure you monitor temperatures and consider the surface compatibility of your cooling setup to maintain system stability during overclocking.
Timing‑Voltage Balance
Ever wonder how much voltage you really need when you tighten RAM timings? You’ll find that a modest DRAM voltage bump often restores stability after you lower CAS, tRCD, tRP, and tRAS. Start with the XMP profile, then tighten the timings first. If the system crashes or you see errors, raise the voltage in 0.02 V steps, never exceeding ~1.45 V. Keep an eye on temperature; higher voltage means more heat and faster wear. Remember, each kit reacts differently because of IC quality and PCB trace layout, so fine‑tuning is essential for reliable memory overclocking. When you’re experimenting, you may also want to consider how power delivery components like the motherboard VRMs and the overall cooling environment can influence stability during aggressive timing adjustments. temperature management and robust cooling can support higher voltage swings without overheating.
Stability Testing Steps
Is your system still crashing after you tighten the timings? Begin stability testing by booting into MemTest86 and running a full pass; any errors mean your memory timing is too aggressive. Next, launch AIDA64 or a Prime95 blend for at least an hour while monitoring temperatures and voltages. If you see failures, raise the DRAM voltage in 0.01 V steps, never exceeding ~1.45 V to maintain voltage safety. After each adjustment, repeat the stress tests and add a gaming session to catch workload‑specific glitches. Once all tests pass without crashes or data corruption, you’ve verified that the tighter timings are stable. Remember, thorough verification across boot, gaming, and streaming scenarios prevents rare crashes later.
Stress‑Test Stability With Memtest86 & Prime95
Run MemTest86 for several passes to catch any hidden errors after you’ve tweaked the timings. Then crank Prime95’s CPU stress test to see how the memory holds up under heavy processor load. If both tools report clean runs, you’ve got a solid, gaming‑ready overclock.
Mem86 Stress Test
Wondering how to verify that your overclocked RAM is truly stable? Run MemTest86 from a USB stick and let it perform a full memory stress test. The tool boots outside the OS, scans every address, and flags any error the moment a faulty cell appears. For RAM overclocking, aim for zero errors after several passes—typically four to eight hours. Keep your case temperature low and watch the voltage sliders; a single error often signals marginal timings or insufficient voltage. If the test completes cleanly, you’ve passed the core stability testing phase and can move on confidently. Consistent error‑free runs confirm that your settings hold up under extended load.
Prime95 CPU Load
Ever wondered how to confirm that your overclocked RAM stays solid when the CPU is under fire? Prime95 throws relentless CPU load at your system, letting you watch stability in real time. Pair it with MemTest86, and you’ll see whether memory overclocking triggers crashes or errors under sustained pressure. Keep an eye on temperatures—Prime95 spikes power draw, so proper cooling prevents false‑positive failures. A healthy overclock passes Prime95 for hours without glitches, while MemTest86 validates RAM integrity separately.
- Launch Prime95, select “Blend” test for balanced CPU load.
- Monitor core temps and fan speeds with HWMonitor.
- Run MemTest86 after Prime95 to isolate memory errors.
- Log any freezes or blue screens; adjust timings if needed.
Manage Heat & Voltage for Safe Budget Overclocking
When you push your RAM beyond its stock speed, you’ll need to raise the memory voltage just enough to keep the modules stable, but not so much that heat and power draw spiral out of control. Aim for RAM voltage under 1.45 V to protect long‑term reliability while still gaining the extra bandwidth. Good heat management means adding a modest heatsink or directing airflow with a case fan; even a cheap fan can keep temperatures in check.
After each tweak, run stability testing with tools like MemTest86 or AIDA64 to spot errors before they cause crashes. For budget overclocking, start with the XMP profile, then fine‑tune frequency, timing, and voltage within safe limits, confirming each step with a quick stress test. This disciplined approach squeezes performance without burning out cheap hardware.
How Faster RAM Changes FPS in Real Games?
You’ll notice that boosting memory bandwidth lets the CPU feed data faster, which can lift FPS in CPU‑bound titles.
When you pair higher‑frequency, low‑latency RAM with a dual‑channel setup, the extra bandwidth often translates into smoother frame delivery and reduced micro‑stutter.
In GPU‑limited games the effect shrinks, but the gains are still measurable in the low‑percentile frame times.
Memory Bandwidth Gains
If you bump your RAM frequency, the resulting boost in memory bandwidth lets more data flow between the CPU and GPU each second, which can translate into higher FPS in memory‑bound games. Overclocking raises RAM speeds, and a dual‑channel setup doubles the pipe, so each frame receives textures, vertex data, and AI information faster. You’ll notice smoother spikes in titles that constantly stream assets, while modest gains still appear in CPU‑leaning scenarios.
- 3200 MHz × 2 = 64 GB/s vs. 2400 MHz × 1 = 19.2 GB/s
- Dual‑channel adds ~20 % bandwidth over single‑channel
- 10‑15 FPS lift in “memory‑bound” shooters at 1080p
- Diminishing returns once the GPU becomes the bottleneck at 4K
CPU‑Bound Game Boosts
Higher RAM speeds cut the time the CPU spends waiting for data, so you see a clearer FPS bump in titles that are limited by processing power rather than graphics. When you overclock RAM, memory bandwidth rises, letting the CPU‑bound engine pull textures, physics data, and AI scripts faster.
Dual‑channel setups double that path, slashing stalls during complex calculations and pushing frame rates up at 1080p or 1440p where the processor, the bottleneck. You’ll notice the biggest gains in strategy, simulation, and indie games that keep the pipeline fed, especially when you tighten primary timings instead of just cranking frequency.
Those overclocking benefits translate into smoother gameplay without needing a pricier GPU, making cheap rigs feel surprisingly snappy.
When RAM Overclocking Can’t Fix FPS: Spot GPU/CPU Bottlenecks?
Ever wondered why your FPS stalls despite a RAM boost? If the CPU or GPU is already maxed out, extra memory bandwidth won’t push frames higher. You need to spot the true bottleneck before you keep tweaking RAM.
Spot the real bottleneck—CPU, GPU, or bandwidth—before chasing faster RAM.
- CPU bottleneck – High‑frequency cores are already saturated; faster RAM only marginally eases data fetches.
- GPU bottleneck – At 1080p+ resolutions the graphics card’s own memory limits dominate, dwarfing any RAM gain.
- Memory bandwidth ceiling – Dual‑channel setups can lift FPS, but once you hit the GPU’s bandwidth ceiling, extra RAM speed stalls.
- Stability concerns – Overclocking past safe voltage or heat limits triggers throttling, erasing any performance win.
Identify which component caps your frame rate, then target that piece instead of chasing more RAM speed.
Practical Checklist: Safely Overclock RAM in a Budget PC
When the bottleneck isn’t the CPU or GPU, tweaking RAM can still boost performance—just make sure you do it safely. Start by enabling XMP/EXPO in the BIOS; the profile lifts memory frequency and tightens timings automatically. Then, raise the frequency in 100 MHz increments, pausing for stability testing with MemTest86 after each step. Keep DRAM voltage ≤ 1.45 V and watch temperatures. Use matched dual‑channel sticks, ensuring both modules share the same speed and timings. If a test fails, back off one step, adjust timings, or increase voltage marginally. Document each change so you can revert if needed.
| Step | Action | Target |
|---|---|---|
| 1 | Enable XMP/EXPO | Auto‑set profile |
| 2 | Increase frequency | +100 MHz |
| 3 | Run stability testing | MemTest86 pass |
| 4 | Check voltage | ≤ 1.45 V |
| 5 | Verify dual‑channel | Matched modules |
Frequently Asked Questions
Does Overclocking RAM Increase Gaming Performance?
Yes, overclocking RAM can bump your gaming performance, especially in CPU‑bound or memory‑latency‑sensitive titles, because higher bandwidth reduces bottlenecks and smooths frame delivery.
Is 128 GB RAM Overkill for Gaming?
Yes, 128 GB is overkill for gaming; you’ll see negligible FPS gains and focus on 16–32 GB, then boost speed and lower latency instead for more capacity.
Is 32 GB RAM Overkill Gaming?
You probably won’t notice a difference; 32 GB is more than enough for most games, and unless you stream, record, or run heavy mods simultaneously, it’s essentially overkill for pure gaming.
Will 32GB of RAM Increase FPS?
You’ll see only modest FPS gains; 32 GB helps if you were paging or using heavy mods, but without CPU or GPU bottlenecks the frame rate improvement is usually minimal.
In Summary
By cranking your RAM speed and tightening timings, you can squeeze extra frames out of a cheap gaming rig without spending a fortune on new hardware. Enable XMP/EXPO, stick to dual‑channel, and watch voltage and temps to stay safe. While RAM won’t cure a weak GPU or CPU bottleneck, a modest overclock can noticeably boost FPS in many titles, giving you smoother play on a budget.


Leave a Reply