
You’ll save up to 70 % by repurposing a bookcase, old table, or reclaimed pallets instead of paying hefty shipping fees and markup on commercial desks. Customizing the height, footprint, and ergonomics lets you match your space, keep the keyboard at a 90° elbow angle, and add cable‑management solutions that fit your workflow. You can even integrate a compact bike or mini treadmill while maintaining stability with reinforced brackets. Keep reading to discover how to balance cost, comfort, and fitness in your DIY build.
Saving Money on a DIY Standing Desk

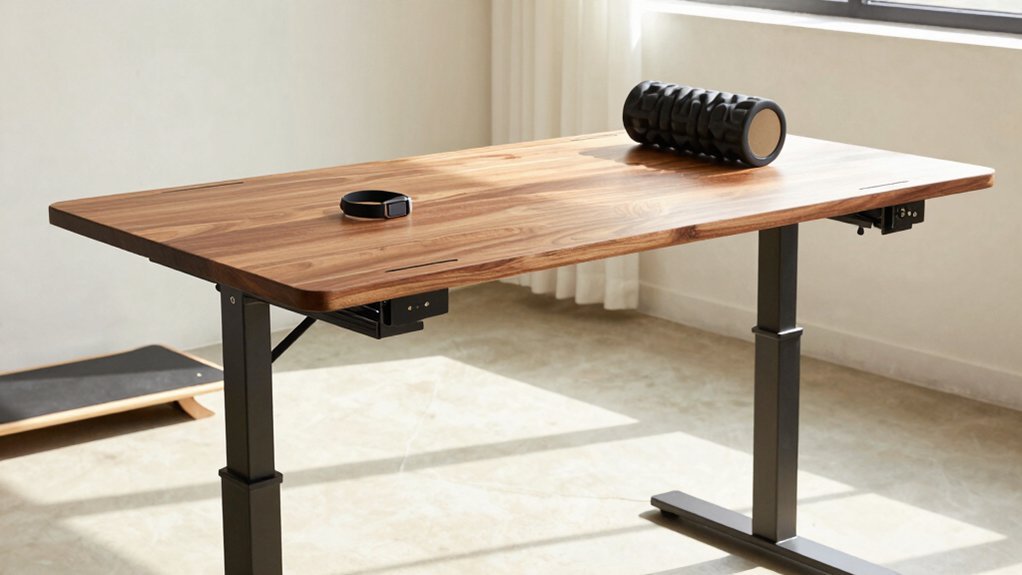
Looking to cut costs while upgrading your workspace? You can build a standing desk that delivers real cost savings by repurposing a bookcase, old table, or sturdy shelves. Start with a DIY plan that matches your space; you’ll dodge hefty shipping fees and eliminate markup on commercial models. Choose materials options that fit your budget—solid pine, reclaimed pallets, or affordable metal brackets work just as well as premium hardwood. By sourcing reclaimed lumber or discount hardware, you keep expenses low while still achieving a sturdy, functional surface. The trade‑off is a bit of time and effort, but the price difference is clear: a custom DIY standing desk often costs a fraction of a ready‑made alternative, giving you both ergonomic benefits and financial relief. Also, consider integrating budget desk organizers like a clamp‑on shelf or under‑desk drawers to keep cables tidy and the workspace efficient budget desk organizers.
Customizing Height, Footprint, and Ergonomics for Your DIY Standing Desk
How do you tailor a DIY standing desk to fit your exact height, footprint, and ergonomic needs? Start with standing desk customization by choosing a wall‑mounted wooden slab if you need footprint optimization; anchor shelf brackets to studs, using at least two per section for solid support. For ergonomic height, install adjustable‑height mounts or add reinforcing ribs when you plan tall configurations—this keeps DIY desk stability at maximum extension. A wrap‑around desk maximizes surface area while preserving a central, uncluttered zone for writing or crafts. Center most storage and work surfaces to maintain balance and reduce crowding, ensuring easy reach and proper posture. By aligning these choices, you create a workspace that feels personal, stable, and comfortably sized for every task. Anti-static
Adding Fitness and Movement Features to Your DIY Standing Desk
After you’ve nailed the desk’s height and footprint, you can start weaving fitness into the setup. Adding movement features to your DIY desk means you can place a compact bike or mini treadmill under the work surface, turning idle minutes into calorie‑burning intervals. Keep ergonomics front‑and‑center: maintain proper keyboard height, keep elbows at 90°, and ensure the frame stays stable under the extra load. Balance the weight of exercise gear with reinforced legs and a sturdy tabletop to avoid wobble. By integrating these elements, your standing desk becomes a dynamic workstation that encourages active breaks without sacrificing comfort or productivity. Integrating a configurable teleprompter setup can also help keep scripts visible during demonstrations of the desk in action, especially for video content creation and instructional walkthroughs Best for Screen Size / Large Display.
Choosing Between a DIY Build and a Ready‑Made Standing Desk
Ever wondered whether a DIY standing desk or a ready‑made model suits your workspace best? You’ll weigh cost, customization, ergonomics, and cable management before deciding. A DIY build saves money, lets you repurpose furniture, and lets you route cables exactly where you want. A ready‑made desk offers proven stability, memory height presets, and anti‑collision safety, which boosts ergonomics for daily use. Consider how often you’ll work, your budget, and whether you need professional support or a temporary solution. Below are four key factors to guide your choice:
- Cost vs. Value – DIY is cheaper; ready‑made adds long‑term durability.
- Customization – DIY lets you choose materials and cable management; ready‑made limits options.
- Ergonomic Assurance – Ready‑made desks meet testing standards; DIY may need extra reinforcement.
- Usage Frequency – DIY works for occasional use; ready‑made excels with consistent, daily work.
Frequently Asked Questions
What Is the 20/8-2 Rule for Standing Desks?
The 20/8/2 rule says you set your desk height so 20% of its total height is for standing, 8% for knee clearance, and 2% for hip ergonomic clearance, ensuring neutral posture.
Does Standing Desk Help With Sciatica?
Yes, a standing desk can ease sciatica if you alternate positions, keep your setup ergonomic, and move regularly; but severe cases need professional advice before relying solely on standing.
Is It Cheaper to Make Your Own Standing Desk?
Yes, you’ll typically spend less by repurposing a bookcase or table, cutting shipping and buying a new desk. However, you must factor in material costs, tools, and the time you invest.
Is a Standing Desk Good for a Herniated Disc?
Yes, a standing desk can help your herniated disc if you keep your monitor at eye level, maintain neutral wrist posture, and alternate short standing periods with sitting to avoid strain.
In Summary
By tackling a DIY standing desk, you’ll slash costs, tailor the height and footprint to fit your space, and embed fitness features that keep you moving. You control every ergonomic detail, ensuring comfort and productivity. Plus, building it yourself means you can upgrade or modify it whenever you want—something a ready‑made desk can’t match. In short, a DIY desk delivers savings, personalization, and flexibility all in one.

Leave a Reply