You can upgrade any desk with three cost‑effective DIY keyboard trays. First, attach Rockler platform slides to a 31‑inch‑wide oak tray, cut to a 12‑inch depth with 1.5‑inch side clearance, then finish it in Behr Juicy Passionfruit to match orange accents. Next, build a sturdy 12‑inch oak pull‑out tray, reinforce it with a 2×4 brace or 1×2 framing, and center it on a faux‑denza for smooth glide. Finally, craft an adjustable‑height tray using a 1×3 poplar frame, DIY legs, and Velcro brackets for easy removal. Keep reading to discover the step‑by‑step details.
Build a Budget‑Friendly Keyboard Tray With Rockler Platform Slides
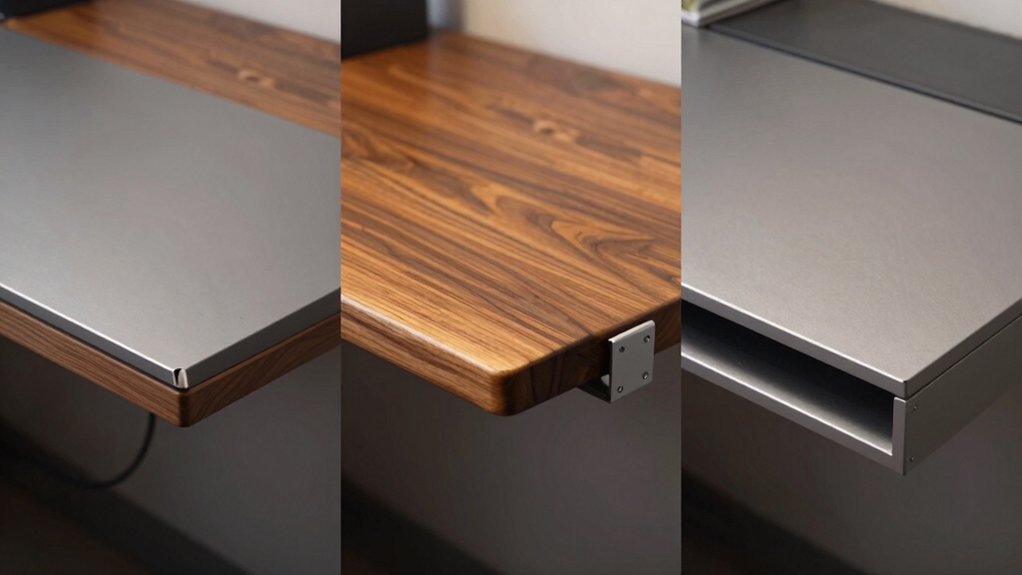
Ever wondered how to add a sleek, sliding keyboard tray without breaking the bank? You can build a budget‑friendly keyboard tray using Rockler platform slides and a fauxdenza base. First, cut an oak tray to 31 inches wide so it fits the 12‑inch depth and leaves 1.5 inches on each side for the slides. Mark the slide positions, drill pilot holes, and attach the platform slides to the tray ends. Then, center the oak tray on the fauxdenza, ensuring the slides glide smoothly. Finish the surface with Behr Juicy Passionfruit to match orange‑toned accents and hide clutter when the tray is tucked away. Remember to check the load capacity of the 12‑inch rails, especially for heavier keyboards, to keep the setup safe and reliable. Ensuring you have a stable charging solution for peripherals can extend the life of your gear and keep your desk clutter-free stability features.
Construct a 12‑Inch Oak Pull‑Out Keyboard Tray
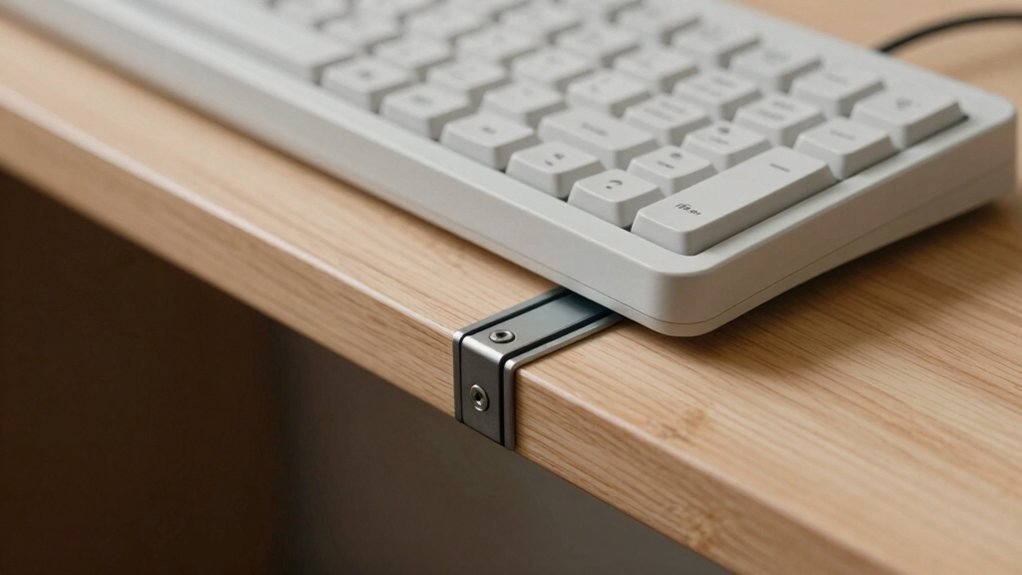
After cutting the 31‑inch oak board to fit the fauxdenza, you’ll mount the 12‑inch Rockler platform slides to each end of the tray, giving you a sturdy, full‑extension pull‑out. The slides let the oak pull‑out tray glide smoothly while the 12‑inch depth accommodates a full‑size keyboard. Add a 2×4 brace at the bottom or frame with 1x2s for extra strength, especially when you press elbows while typing. Finish with Behr’s Juicy Passionfruit to hide the keyboard when not in use and match your décor. Home Depot cuts the board precisely, saving you time and waste. three‑side design to reduce outlet congestion
Create an Adjustable‑Height Keyboard Tray Using DIY Legs and Velcro Brackets
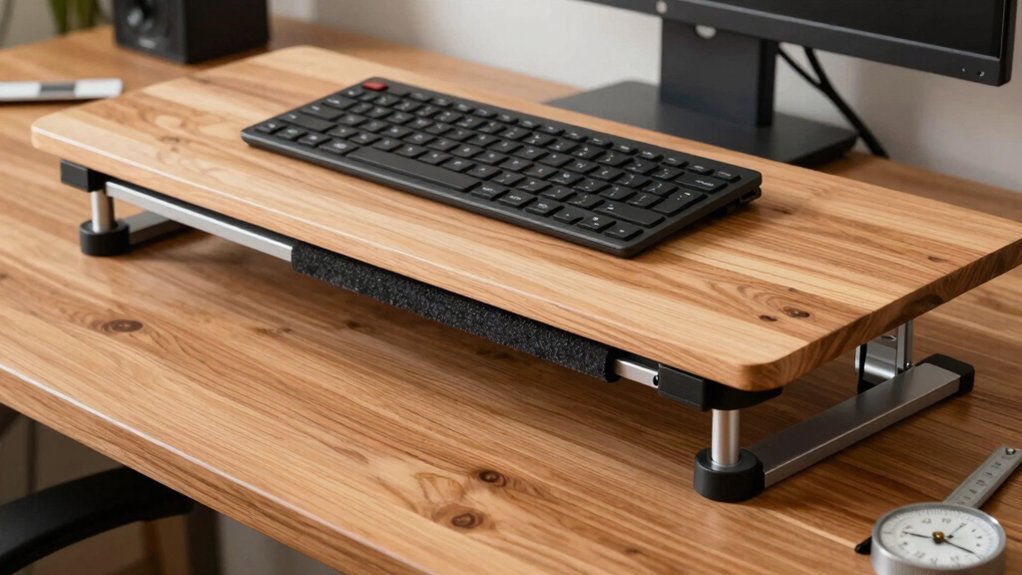
A simple, adjustable‑height keyboard tray can be built with a sturdy 1×3 poplar frame, a few DIY legs, and velcro brackets that let you snap the keyboard on and off without screws. First cut the 1x3s to the length that positions the tray about one inch below the desk bottom—usually six inches when the top sits five inches down. Attach the legs to the frame using pilot‑drilled holes, then reinforce the underside with 2x4s or 1x2s for rigidity. Mount velcro brackets on the tray surface and the keyboard base; they keep the keyboard secure yet removable. Adjust the leg height until your elbows form a 90‑degree angle, achieving an ergonomic desk setup that reduces strain while keeping the workspace tidy. Extendable handle
Frequently Asked Questions
How Much Weight Can a DIY Keyboard Tray Support?
You can expect a DIY keyboard tray to hold roughly 15‑20 pounds if you use sturdy wood or metal, secure brackets, and proper fasteners; exceeding that risks sagging or failure.
Can I Use Metal Slides Instead of Wooden Ones?
Yes, you can replace wood with metal slides; they’re stronger and smoother. Just ensure the brackets and brackets match, use proper fasteners, and verify the tray’s weight capacity won’t be exceeded.
What Tools Are Needed for Installing the Tray?
You’ll need a drill, screwdriver, level, measuring tape, pencil, and the appropriate screws or brackets. If you’re using metal slides, grab a metal‑cutting jig and a wrench for tightening.
How Do I Prevent the Tray From Wobbling?
Secure the tray with a level, tighten all screws, add shims under uneven legs, and use rubber pads on the bottom. Check the wall anchors, reinforce them if needed, and guarantee the desk surface is flat.
Is It Possible to Add Cable Management to the Tray?
Yes, you can add cable management by drilling small holes, attaching clips, or gluing a Velcro strip to the tray’s underside; just secure them firmly so they don’t loosen under weight.
In Summary
You’ve now got three solid DIY keyboard‑tray options that fit any budget, style, or ergonomic need. The Rockler slides give you a cheap, smooth glide; the oak pull‑out adds a classic, sturdy look; and the adjustable‑height version lets you fine‑tune posture with simple legs and velcro. Pick the one that matches your workspace, assemble it with basic tools, and enjoy a cleaner desk and healthier typing experience.


Leave a Reply