

You can grab a TRIMUI Smart Brick or Smart Pro for smooth retro emulation on a Linux handheld under $200, or pick the RG35XX SP for a clamshell Android device with HDMI output and PS2/Dreamcast support. A refurbished HP EliteDesk 800 G2/G3 with a 240‑256 GB SSD and 8 GB RAM runs Batocera Linux, delivering NES through PS2 cores. If you prefer hardware‑accurate play, build a Mister Pi or QMTech FPGA handheld. All these options stay under $200, and the next section shows how to boost performance and expand your library.
Handhelds That Offer the Best Value Under $200
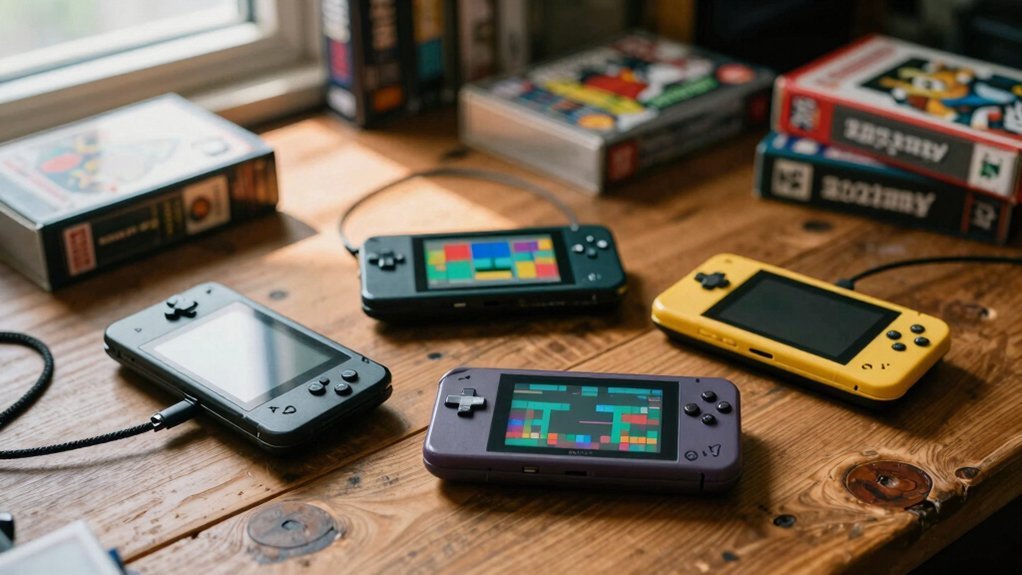
Looking for a handheld that gives you the most bang for your buck under $200? You’ll love the TRIMUI Smart Brick and Smart Pro, both Linux‑based handhelds that pack 3.2‑inch and 4.96‑inch screens respectively, delivering smooth retro handhelds and emulation performance without breaking the bank. In addition, the RG Cube XX and RG35XX SP options provide solid Android-based flexibility for a broader range of emulation needs tri‑mode compatibility to cover more systems. The Miyoo Mini Plus offers a 3.5‑inch 4:3 display, perfect for beginners who want a compact, easy‑to‑use Linux device for under‑$200 gaming.
Anbernic’s RG Cube XX brings a 3.95‑inch square screen, Android 13, and premium controls, while the RG‑35XX SP adds a clamshell design, HDMI output, and Android 12—all still under‑$200.
Even the tiny RG28XX, with its GBA‑style form factor, mini‑HDMI, and USB‑C controller, proves that affordable retro handhelds can deliver solid emulation experiences.
Mini‑PC Retro Emulators: Set Up Batocera Linux in Minutes
Ever thought you could turn a modest refurbished mini‑PC into a powerhouse retro console in just a few minutes? Grab an HP EliteDesk 800 G2 or G3, slap a 240‑256 GB SSD, add 8 GB RAM, and connect a DisplayPort‑to‑HDMI cable. Flash Batocera onto the SSD with Balena Etcher, pop the drive into the mini‑PC, and boot. Enter the BIOS, set the SSD as the primary boot device, and let Batocera launch. Inside, you’ll find pre‑loaded cores for NES, SNES, N64, Sega Genesis, Dreamcast, PS1, PS2, Wii, and even limited GameCube support. Plug a quality USB or Bluetooth controller, tweak controller mapping, and start your retro gaming marathon. The whole setup takes minutes, delivering smooth emulation without the hassle of a full OS, while a compact power strip can help manage cables and protect your hardware during long sessions. USB-C PD
DIY Retro FPGA Handhelds: Picking the Right Mister Clone
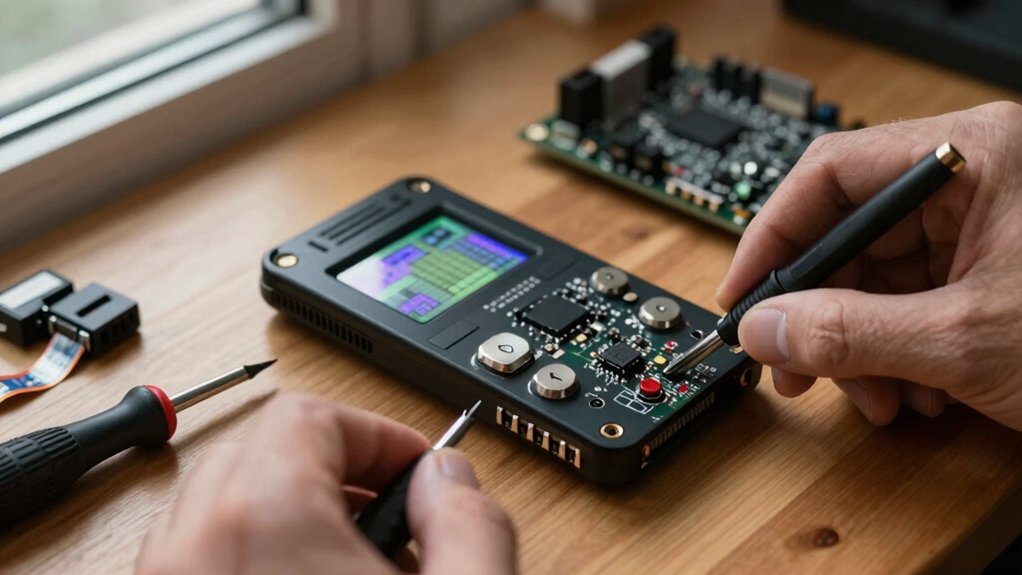
What makes a handheld feel truly authentic? You crave the exact timing and feel of the original console, and FPGA handhelds deliver that with hardware‑level precision. When you pick a Mister clone, weigh the trade‑offs between Mister Pi and QMTech variants. QMTech boards often push higher clock speeds and richer I/O options, while Mister Pi offers a solid entry point, abundant community guides, and decent power draw. Clone diversity matters: a broader ecosystem means more frequent firmware updates and broader core libraries. Consider heat management—some QMTech models run hotter—and check battery compatibility before you solder. Finally, verify that the ROMs you plan to use respect legal boundaries. Community guides can help you with setup and troubleshooting, making the process smoother and more enjoyable.
Top Clamshell Handhelds Under $200 That Run PS2 & Dreamcast
Hing a clamshell that fits in your pocket yet tackles PS2 and Dreamcast games under $200 narrows the field to a few standout models. The RG35XXSP leads the pack with a 3.5‑inch 4:3 Android screen, HDMI out, Bluetooth, and up to 512 GB TF storage, handling PS1 and Dreamcast smoothly. Its DS‑era hinge feels solid, and the price stays comfortably under two hundred. While the Odin 2 family shines for PS2, it sits just above the budget ceiling, so the RG35XXSP remains the go‑to clamshell handheld for true PS2/Dreamcast play. USB adapters commonly emphasize plug‑and‑play compatibility across Windows, Mac, Linux, PS4/PS5, Switch, and Raspberry Pi, which mirrors the broad reach you’d expect in a versatile handheld setup. Plug‑and‑play compatibility ensures quick, driverless use whether you’re loading ROMs or streaming classic titles.
How to Boost Performance and Grow Your Retro Game Library
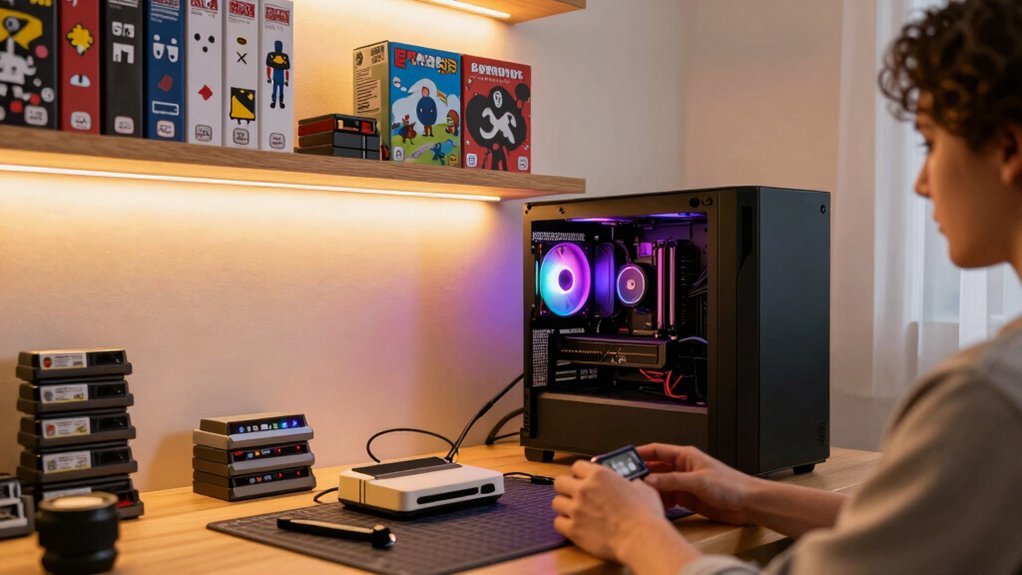
Looking to squeeze every frame out of your retro setup while expanding your library? Upgrade to a dedicated PC like an HP EliteDesk 800 G2/G3 with a 6th‑gen i5, 240‑256 GB SSD, and USB 3.0, then install Batocera Linux for smooth emulation performance from NES to PS2/Wii. Flash the SSD with Balena Etcher to streamline ROM management and access out‑of‑the‑box cores for NES, SNES, N64, Genesis, Dreamcast, PS1/PS2, and even some GameCube/Wii titles. Repurpose mini PCs or refurbished desktops for budget‑friendly platforms, keeping Batocera’s compatibility. For portable power under $200, grab retro handhelds like the RG28XX or RG35XXSP for on‑the‑go PS1/Dreamcast and GBA play. If you crave high‑fidelity PS2/PSP emulation, consider FPGA DIY options such as Mister FPGA clones or Mister Pi/QMTech. The success of these builds often depends on ensuring a stable power setup that can handle transient loads without tripping protection. Power supply protections and proper efficiency help keep temperatures down and maintain consistent performance.
Frequently Asked Questions
Do I Need a TV for Handheld Emulators?
You don’t need a TV; most handheldsulators have built‑in screens, so you can play anywhere. Just charge the device, load your ROMs, and enjoy gaming without any external display.
Can I Use a Bluetooth Controller With a Mini‑Pc Emulator?
Yes, you can pair a Bluetooth controller to a mini‑PC emulator; just enable Bluetooth, put the controller in pairing mode, select it in the emulator’s input settings, and you’re ready to play.
How Do I Update Firmware on a DIY FPGA Handheld?
You update the FPGA handheld’s firmware by connecting it to a PC via USB, launching the vendor’s flashing tool, selecting the latest .bin file, and clicking “Upload”; then power cycle the device.
Are There Legal Concerns When Downloading ROMS?
Yes, you must ensure you own the original game or it’s public domain; downloading ROMs you don’t own breaches copyright law, and many jurisdictions treat it as infringement, risking legal action.
What Power Source Works Best for Portable Emulation?
You’ll get the best results with a high‑capacity lithium‑ion battery pack, preferably 10‑15 Wh, paired with a power‑efficient USB‑C PD charger; it keeps your handheld running hours without bulk.
In Summary
Now you’ve got a solid range of options—from budget handhelds and mini‑PCs to DIY FPGA rigs and clamshells—that let you plunge into retro gaming without breaking the bank. Pick the device that fits your play style, set up your favorite emulator, and start expanding your library. With the right setup, you’ll enjoy smooth performance and endless classic adventures, all for under $200.


Leave a Reply