
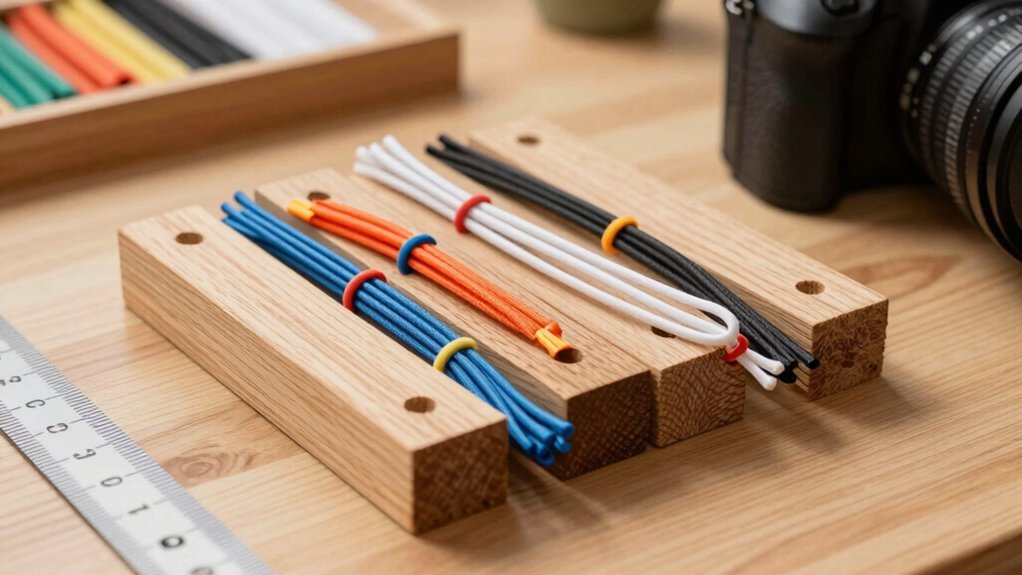
Grab a sturdy paper‑towel or wrapping‑paper roll, cut a neat strip the width of your cables, and save the cardboard core for extra tweaks. Wrap the strip with decorative tape or attach craft‑stick brackets for strength, then loop your cords, zip‑tie or Velcro them, and slide them into the roll. Secure the organizer under your desk with cup hooks or a wire basket, and guide excess length with self‑adhesive clips. If you keep going, you’ll discover how to add magnetic or 3‑D‑printed upgrades.
Gather Materials for a Budget Cable Organizer
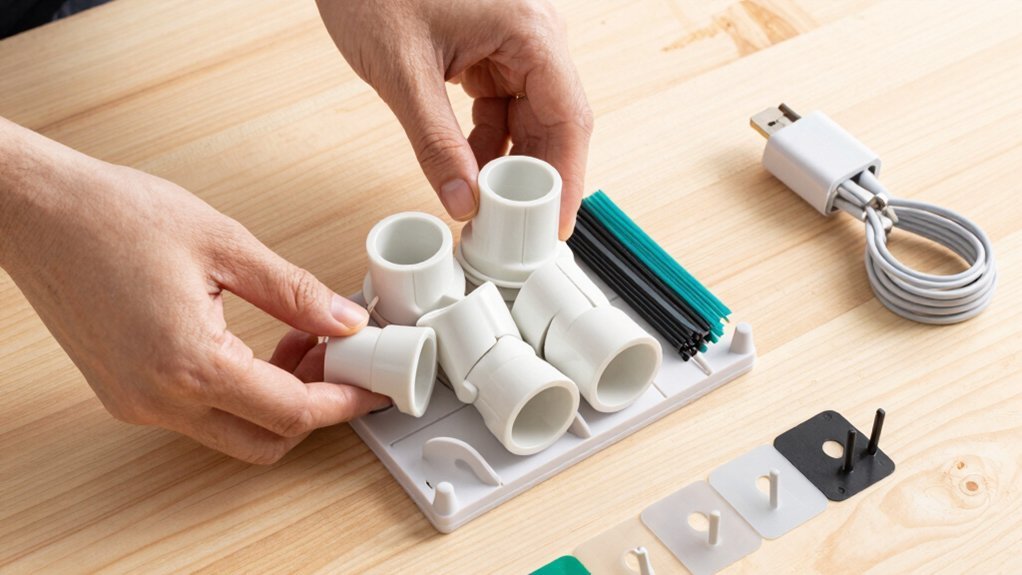
Looking for a cheap way to tame your tangled cords? You’ll need a paper towel or wrapping‑paper roll, a pair of scissors, and a clean workspace. Grab a roll that fits the thickness of your cables, then cut a neat strip from the side—keep the small cardboard piece for later tweaks. Add a personal touch with craft sticks or decorative tape; these simple accents turn a basic tube into a stylish cable organizer for your.. Surface Compatibility and Removal Lay out your chargers and cords, plug them into a power strip, and set the roll on a stable surface. Slide each cord inside, making sure they stay snug, then tuck the DIY organizer under your desk for tidy, accessible management.
Choose the Right Cardboard or Paper Roll for Your DIY Cable Organizer
Which roll will hold your cables without wobbling? Pick a sturdy paper roll or a wrapping paper roll that matches the length of cords you need to store. A typical paper towel roll offers a wide base, keeping the cable organizer stable while you load cords.
Measure the diameter and ensure the roll can accommodate the number of cables without squeezing them. If you have many thick chargers, choose a larger roll for extra space.
Before cutting, clear a workspace and have scissors ready, so you can trim the roll to the exact length you want. A solid base prevents wobble during use, and a clean paper roll makes decorating later a breeze. For longer-term projects, consider using a roll from a bulk supply that provides ample footage to maximize value while maintaining durability and reusability. durable bulk options
Cut Clean Strips With Scissors or a Craft Knife

Need a clean, straight strip for your organizer? Grab a paper towel roll or wrapping paper roll and lay it on a stable surface. Make sure the roll’s diameter fits the width you need for your cable management project. Position the roll so it won’t slip, then align your scissors or craft knife with the edge of the roll. Use steady, even pressure to slice through the material, aiming for a smooth, uniform edge.
If you’re using a craft knife, a ruler or straight edge can guide the cut and help you cut clean strips. Once the strip is free, set it aside—your next step will be to shape it into the final organizer. This quick, precise cut keeps the whole DIY process tidy and efficient. Budget drives can also influence your choice of tools and materials, ensuring you get the best value for long-term use. Durability and endurance can guide how you round or reinforce edges for repeated cable loading and disassembly.
Add Simple Decorative Touches That Strengthen the Organizer
Ever wonder how a few simple decorations can both personalize and reinforce your DIY cable organizer? You can turn a plain strip into a sturdy, stylish piece of cable management by adding lightweight, non‑conductive embellishments that stay glued during use. Work on a clean, flat surface, press the edges of each decoration firmly, and avoid covering the three‑hole and single‑hole openings so cords slide in effortlessly.
Add lightweight, non‑conductive decorations to personalize and reinforce your DIY cable organizer while keeping holes clear.
- Wrap decorative tape around the strip, aligning colors with your workspace theme for instant visual cohesion.
- Attach short craft sticks at the ends; they act like mini‑brackets, preventing the roll from unraveling.
- Place small stickers near each hole—choose non‑adhesive, lightweight designs that won’t interfere with cord insertion.
These simple touches boost durability while keeping your organizer functional and attractive. Durability benefits
Prepare Power Strips and Cords for Insertion Into the Organizer
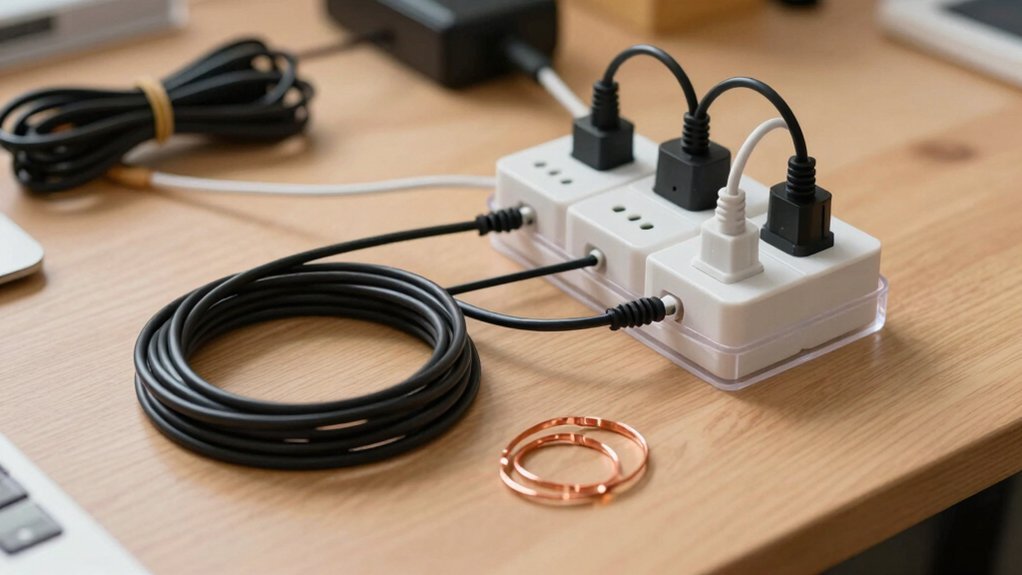
First, grab your power strip and any extension cords you’ll need, then sort the cables so they lie flat and untangled.
Next, loop zip ties or Velcro wraps around each bundle to keep them neat and ready for placement.
Finally, position the strip inside your basket or under‑desk holder, making sure the organizer is securely attached and the cords have a little slack for easy plugging.
To ensure long-term stability, consider choosing a footrest-inspired approach to cable management by using non-slip pads or a two-piece modular setup to keep everything firmly in place on varied floor types non-slip bottom.
Gather Power Strips
How do you keep your desk tidy while still powering multiple devices? First, focus on cable management by gathering the right power strips. Choose a strip long enough to bridge the desk edge and your wall outlet, then pull together every cord you’ll need—extension cords, USB cables, and any spare leads. Before you slip anything into the organizer, bundle each group with zip ties or Velcro strips so they stay neat and easy to route. Finally, decide on a stable base—under‑desk cup hooks, a small basket, or a mounted clip—to hold the strip securely once it’s inside the organizer.
- Verify strip length reaches the outlet.
- Collect all cords and accessories.
- Secure a mounting method for the strip. Precise angles
Arrange Cords Neatly
Now that your power strip is secured, start grouping the cords that will go inside the organizer. Pull each charger and device from the outlet strip and lay them on a stable surface. Sort them by length and type—power cords together, USB cables together—so you can see exactly what you have. Trim the roll or box to the right dimensions before you begin threading. Slide each bundle into the organizer’s tube or pocket, keeping the cables flat and aligned. As you insert, check that the cords stay contained and easy to identify; this step is the heart of effective cable management. When every bundle fits snugly, you’ve created a tidy, functional organization ready for the next stage. Continuous adjustability helps you tailor the setup as your device collection changes.
Secure Organizer Placement
Where should you set the organizer for maximum stability and accessibility? Position the roll‑based cable management system under or near your desk so the power strip stays within easy reach but out of the way. Secure the base or basket with zip ties or Velcro, then use desk‑mounted clips to guide cords straight into the roll. This prevents movement and keeps everything tidy.
- Place the power strip on a firm surface, then anchor it with zip ties or Velcro.
- Attach cord clips or holders to the desk to funnel each charger into the organizer.
- Coil longer cords neatly before threading them through the cut strip, ensuring no tangles.
Finally, double‑check that all cords sit inside the roll and that you can unplug devices from the power strip without hassle.
Insert Cords Into the Organizer and Secure Them
| Step | Action | Tip |
|---|---|---|
| 1 | Slide cords into channels | Keep ends flush |
| 2 | Align ends | Use color‑coding |
| 3 | Fold at crease | Ensure neat bundle |
| 4 | Attach snaps | Press firmly |
| 5 | Test closure | Verify cords stay inside |
Install the Cable Organizer Under a Desk or Behind a Setup
How can you keep your workspace tidy while still having easy access to power? Install the under‑desk organizer where it’s out of sight but within reach. First, secure a wire basket or base under the desk with cup hooks; this creates a sturdy anchor for your power strip and keeps cables from dangling. Next, thread cords through self‑adhesive clips on the desk legs, guiding excess length under the desk to prevent tangles. Finally, cut a corner of the basket or lay a rug path to route cords toward a wall outlet, ensuring the setup stays plug‑in ready.
- Attach basket with cup hooks.
- Clip cords to legs and run excess under desk.
- Create a clean exit path to the outlet.
This cable management method makes your workstation sleek and functional.
Troubleshoot Loose Cords and Over‑Sizing Issues
Even with the under‑desk basket in place, cords can still slip or become too long, creating a messy look and a tripping hazard. To fix loose cords, start by trimming excess length and then re‑wrap the remaining segment with the 3 mm felt sleeves you cut earlier. The stiff felt holds the wire, preventing sag. If a cord still slides, add a heavy‑duty snap at the sleeve’s edge; the snap clicks shut when you fold the organizer, locking the cable in place.
For over‑sized bundles, use a larger felt piece or double‑layer the material, then secure the ends with Velcro or additional snaps. Color‑code each sleeve to spot problems quickly, and you’ll keep cable management tidy without extra bulk.
Upgrade the Organizer With Magnetic or 3‑D‑Printed Add‑Ons for Any Desktop Setup
Looking to make your DIY cable organizer both sturdier and more adaptable? Add Magnetic or 3‑D‑printed upgrades to give yourself flexible attachment points and modular expansion. You’ll lock cords to metal surfaces, keep them from slipping, and design custom slots that match each connector’s shape. The result is a reusable, reconfigurable system that fits under‑desk mounts, pegboards, or monitor stands.
- Snap small magnetic discs onto the organizer base; they attract metal‑capped plugs and stay put.
- Print 3‑D‑printed clips sized for USB‑C, HDMI, or power cords; they snap into pre‑drilled holes.
- Combine both: embed a magnetic strip inside a 3‑D‑printed holder for extra grip and easy swapping.
These upgrades let you tailor any desktop setup without sacrificing stability.
Frequently Asked Questions
How to Organize Cable DIY?
You’ll sort cables by cutting felt pieces, punching holes, then folding and snapping them together; use color‑coded felt or Velcro for easy identification, and keep each organizer portable for travel.
How to Manage Cables Without Buying Anything?
You can reuse zip‑tie loops, binder clips, or old shoelace knots to bundle cords, label them with a Sharpie, and tuck them into existing drawers or cable trays, keeping everything tidy without spending anything.
How to Organize Cables Without Zip Ties?
You can slide cords into a paper‑towel roll, then secure them with decorative tape or removable craft sticks, creating a tidy, zip‑tie‑free organizer that stays in place under your desk.
How to Hide Cables Creatively?
You can conceal cables by routing them through decorative fabric tubes, painting them to match walls, attaching them under desks with adhesive clips, or embedding them in carved wood channels for sleek, hidden organization.
In Summary
Now you’ve got a tidy, budget‑friendly cable system that looks good and works great. By cutting the strips, adding a few decorative touches, and securing cords, you’ve eliminated clutter and protected your gear. Install it under your desk or behind your setup, troubleshoot any loose ends, and even upgrade with magnets or 3‑D‑printed add‑ons. Enjoy a cleaner workspace and the satisfaction of a DIY solution that actually sticks.


