
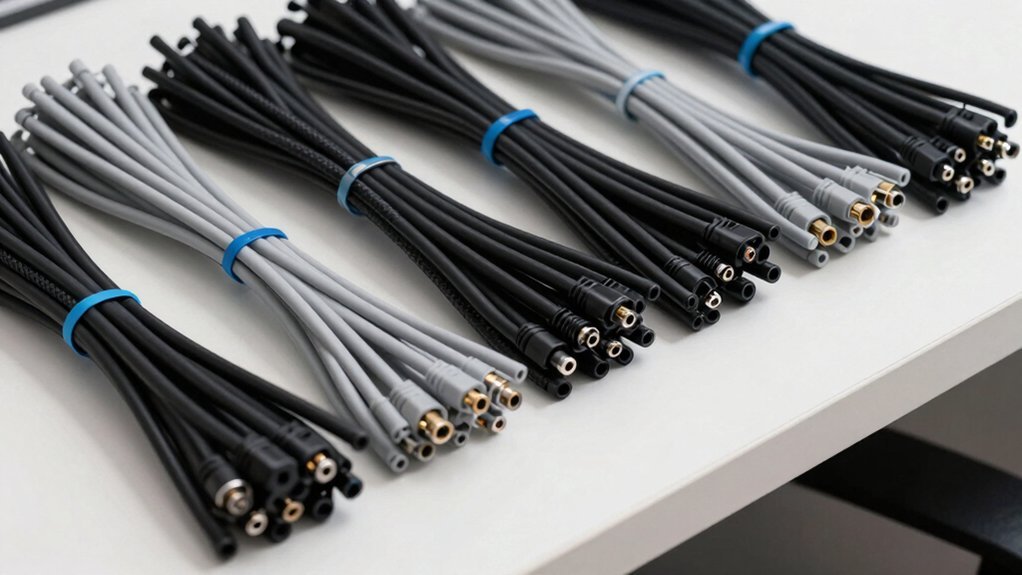
First, map your power, audio, and data cables into separate groups and route each along the desk’s back edge or under a leg for easy access. Measure the bundle width, then pick zip ties—4‑6 inches for small packs, 8‑12 inches for larger ones—and use heavier, UV‑resistant ties for power if outdoors. Pull ties snug but not tight, leave a bit of slack for movement, label or color‑code each bundle, and trim the tails flush. You’ll soon see how a few extra tips can keep everything tidy.
Plan Your Gaming Cable‑Management Layout
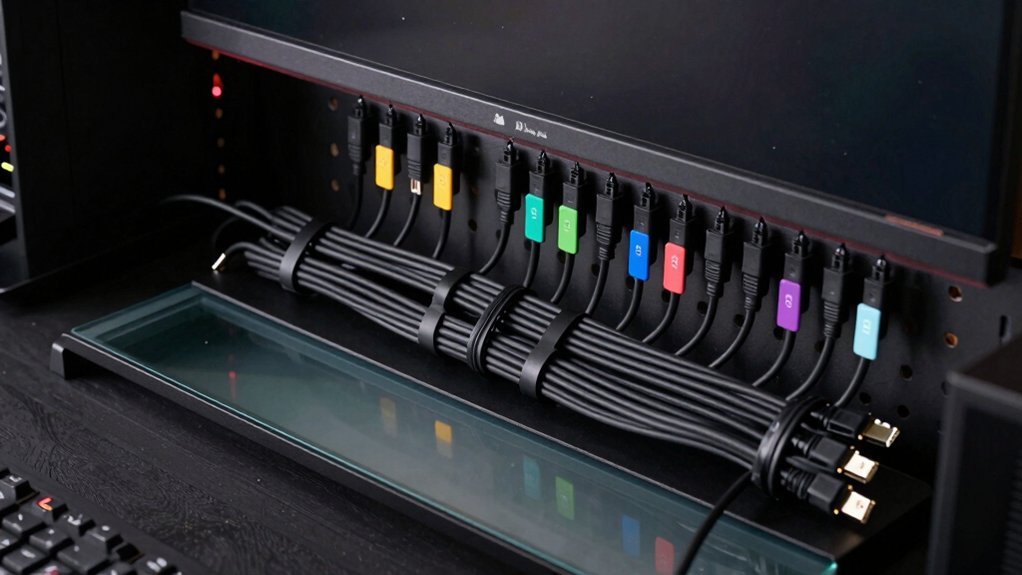
Where do you start? You sketch a layout for your gaming setup, grouping power cables together and separating data cables to cut interference. Then you map cable routes along the back edge of the desk or under the desk leg, keeping everything clean and accessible for future tweaks. Measure each cable bundle’s width and pick zip ties 8–12 inches long for medium‑sized groups, leaving slack for adjustments. Use reusable ties where you’ll reconfigure often—around the console, desk area, and any movable gear. Label each bundle or apply color‑coded ties so you can instantly spot power, audio, or data lines during maintenance. This disciplined cable management plan prevents tangles, speeds up upgrades, and keeps your gaming space looking sharp. Viewing Angle and other privacy screen specs from compatible monitor filters can inform how you route cables to accommodate additional accessories and screen mounts.
Select the Right Zip‑Tie Size for Each Cable Bundle
After sketching your layout and labeling each bundle, pick zip‑tie lengths that match the group’s size and function. For small cable bundles, choose a tie length of 4–6 inches; larger bundles need 8–12 inches or more to wrap securely without excess. Use heavier, higher‑grade zip ties for power cables, as they demand greater tie strength to stay tight under load. Data cables can get standard‑strength ties, but still select a length that leaves a modest slack allowance for movement and thermal expansion. When you work outdoors, opt for UV‑resistant or weatherproof ties to protect against the elements. Matching tie length and tie strength to each bundle’s weight and purpose prevents over‑tightening and makes future adjustments easy. For long‑term organization, consider tying in a way that allows easy reconfiguration of clips and cables as needs evolve cable size compatibility.
Bundle Cables by Function and Route Them Efficiently With Zip Ties
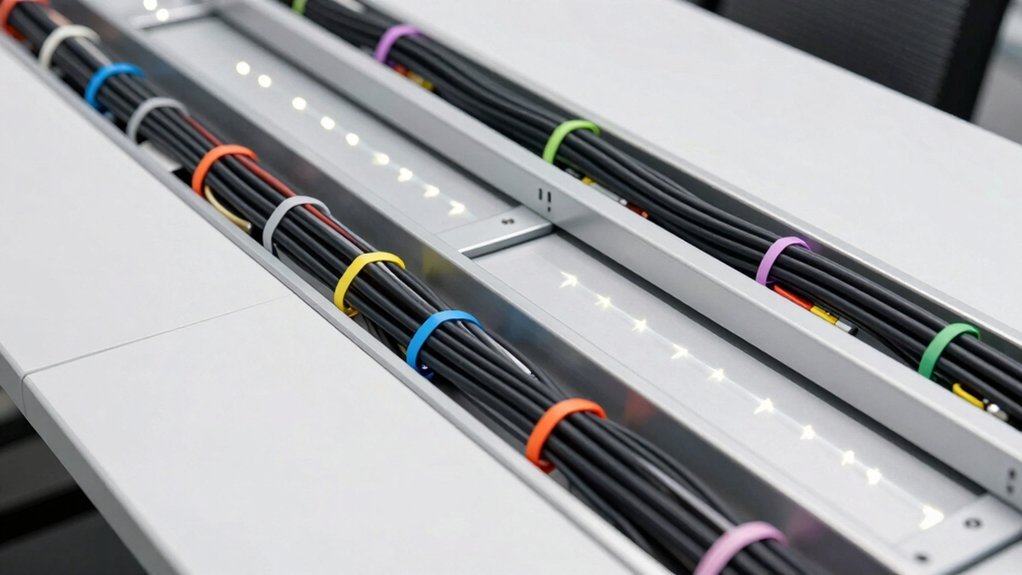
Typically, you start by separating cables into functional groups—power, data, and control—so you can keep interference low and troubleshooting simple. Once grouped, align each set, then use cable ties to bundle cables tightly while leaving a little slack for movement. Route efficiently by keeping power bundles away from data lines, and follow the shortest, cleanest path to your equipment. After you’ve secured the bundle, trim the excess tail for a neat finish and label it for future reference. For added durability in busy work environments, choose a reusable hook-and-loop option to allow quick reconfiguration without shedding waste reusable options.
Separate cables by function, align, bundle with slack, route away from interference, trim excess, and label.
- Choose 4–6‑inch zip ties for short runs, 8–12‑inch for longer stretches.
- Keep bundles parallel to airflow direction to avoid heat buildup.
- Verify that each bundle stays within its functional zone before final tightening.
Secure Bundles With Proper Tension and Slack to Protect Cables
How can you keep cables safe while still getting a tight, organized bundle? Pull each cable tie snug enough to hold the bundle, then stop before the cables are pinched. A little slack lets the cables move slightly and avoids strain, preserving insulation and preventing kinks. Start with gentle tension, then tighten in small increments until the bundle feels secure but not squeezed. Check the bundle for any signs of stress and readjust if needed. If you anticipate re‑routing, choose reusable or releasable cable ties so you can re‑tighten without damaging the cables. USB-PD 20W and ensuring you have a proper outlet layout consideration helps prevent plug interference and keeps gaming setups tidy.
Trim Zip‑Tie Ends and Reuse Them for a Clean, Budget‑Friendly Setup
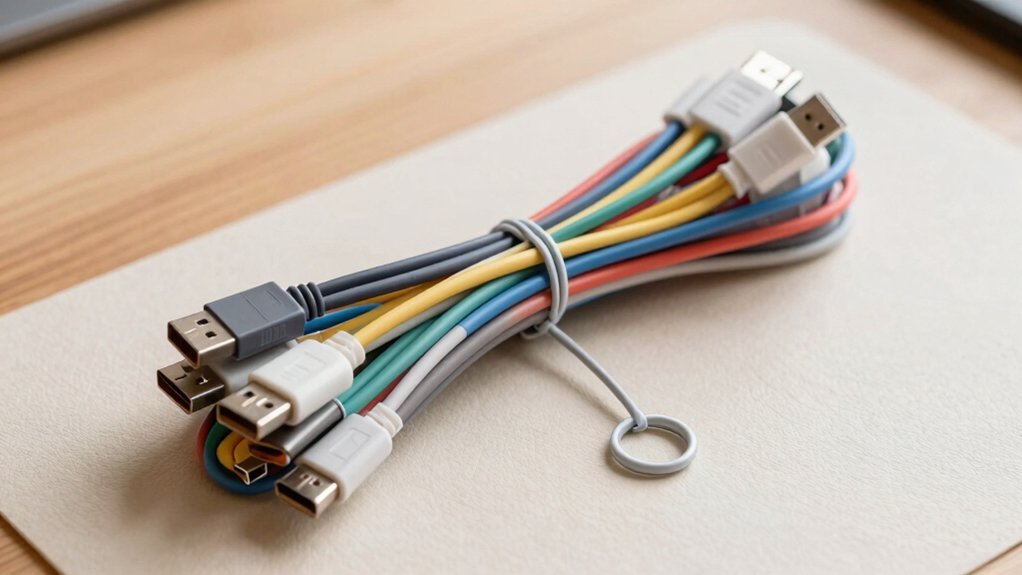
If you want a tidy, budget-friendly setup, trim the excess zip‑tie tail flush with the head right after securing the bundle. Using a dedicated zip‑tie cutter gives a clean finish and prevents sharp edges that could snag. Short tails keep your cable organization looking professional and reduce snag risk behind desks or entertainment centers. Reuse is simple: pick releasable ties or cut-and-replace old ones, preserving budget while maintaining a neat look. Periodically replace worn ties to avoid loosening. 1. Trim tails flush for a clean finish. 2. Use a cutter for straight, safe cable cutting. 3. Reuse or replace ties to stay budget‑friendly. These steps ensure a tidy, durable, and cost-effective cable system. Integrated power outlets and storage shelves can help centralize access and reduce cable clutter across multiple entertainment setups.
Frequently Asked Questions
How to Use Zip Ties to Organize Cords?
You start by grouping cords, picking a 4‑6‑inch tie for small bundles or 8‑12‑inch for larger ones, then loop the tie, tighten snugly, leave a little slack, and trim any excess.
What Is the Best Way to Organize Cables?
You should group cables by type, pick the right‑sized zip ties, bundle them tightly but leave a little slack, label each bundle, then trim excess tie ends for a clean, safe finish.
How to Keep Cable Ties Organized?
Store your zip ties in a dedicated bin, separate unused from used ones, and label each compartment by size or color. Keep a small, portable pouch for on‑the‑spot bundling, and never mix damaged ties with fresh ones.
How Do I Make My Cables Look Tidy?
You’ll sort cables by type, group them, pick appropriately sized zip ties, align and tighten each bundle with a little slack, trim excess, then label each bundle for a clean, tidy look.
In Summary
By planning your layout, picking the right‑size ties, bundling by function, and applying just‑right tension with a little slack, you’ll keep cables tidy and safe. Trim the excess and reuse the clips for a clean, budget‑friendly setup that looks professional and lasts. Your gaming station will stay organized, airflow will stay optimal, and you’ll spend less time untangling messes.


