You get a clear, durable window by choosing a thin 3 mm acrylic sheet, marking hole spots at least 5 mm from the edges, and drilling precise 4.5 mm holes for M4 screws or 3M double‑sided tape. Sand the surface progressively from 400 to 2500 grit, then polish it with a plastic compound for a mirror finish. Finally, seal with a compatible clear coat to stop yellowing and scratches. Keep the work area clean and tighten hardware just enough to avoid warping, and you’ll see why budget mods perform so well.
Select Materials and Tools for a Budget Acrylic Case Window
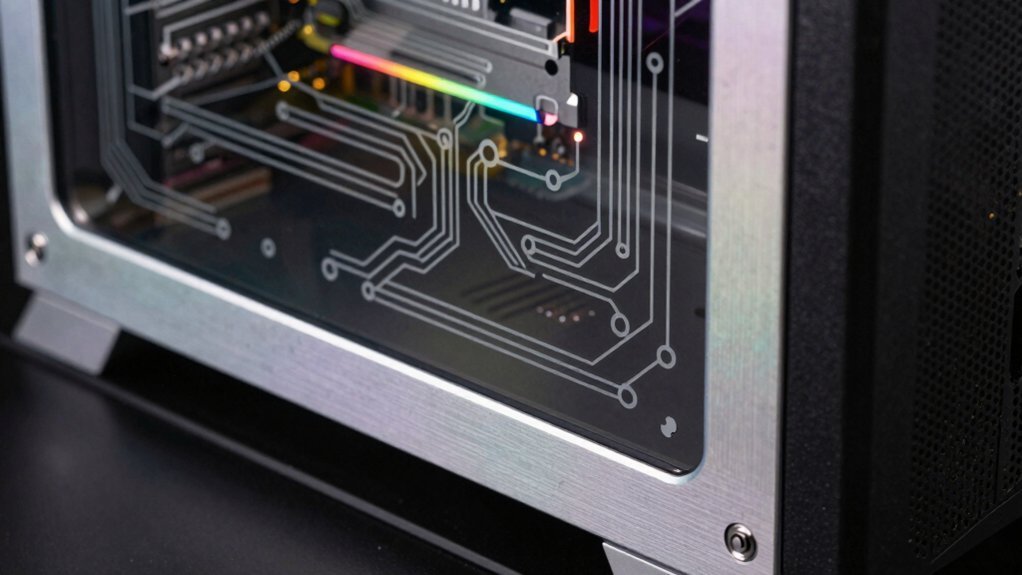
A budget acrylic case window starts with 3 mm clear acrylic sheet, M4 screws, and basic mounting hardware you can find at any hardware store. You’ll also need 3M double‑sided tape or a small set of bolts for flexible mounting, a ruler, masking tape, and a fine‑grit sandpaper kit (600‑800 then 1200‑2500 grit) plus plastic polish for a mirror‑like finish. Clean the sheet with soapy water, dry it, then wipe with isopropyl‑free spirits to prime the surface for paint. Measure carefully, marking hole locations at least 5 mm from the edges to avoid stress cracks. When you drill, use a sharp drill bit and deburr each hole, then attach the acrylic with the mounting hardware, tightening just enough to hold it flat without warping. This setup gives you a clear acrylic view that’s both sturdy and inexpensive. You can also consider using adhesive or magnetic cable clips to organize internal cabling and keep the panel clean and accessible without compromising the window’s visibility surface compatibility.
Cut, Fit, and Install the Acrylic Case Window
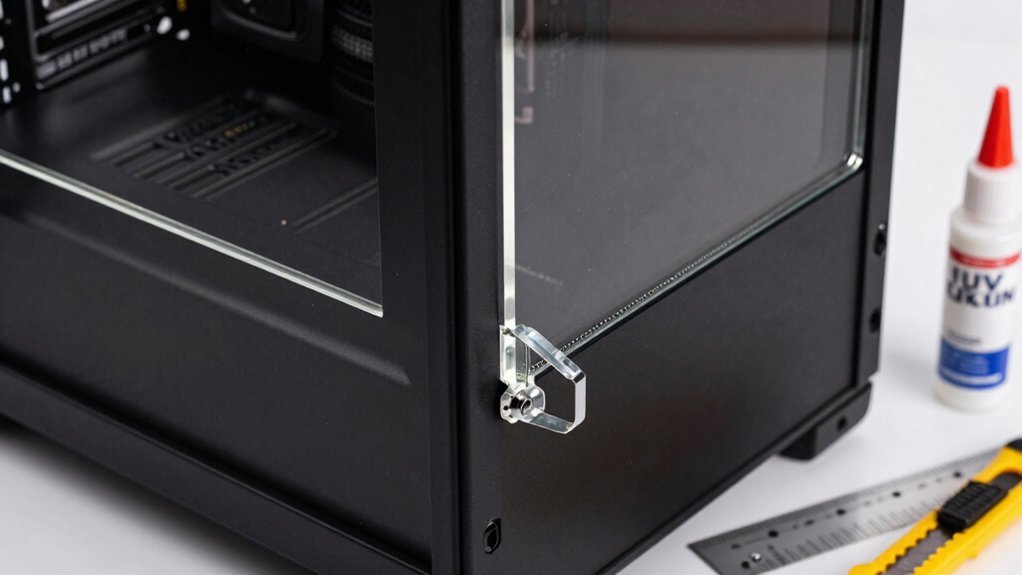
How do you turn a raw acrylic sheet into a flawless case window? First, mask the existing paint and cut the folded section and tabs carefully, preserving the upside panel for mounting. Measure a 5–15 mm inner overhang, set top/bottom overhangs at 10 mm, back at 40 mm, and front at 20 mm. Drill 4.5 mm holes with at least a 5 mm edge distance, then test‑fit M4 bolts to ensure alignment and avoid internal interference. Finally, secure the acrylic window with either M4 mounting hardware or 3M double‑sided tape, keeping the work area clean to prevent scratches.
- Mask, measure, and cut precisely.
- Drill correctly sized holes and test‑fit bolts.
- Mount the acrylic window using chosen hardware.
Paint, Sand, and Seal the Acrylic Case Window to Prevent Scratches and Yellowing
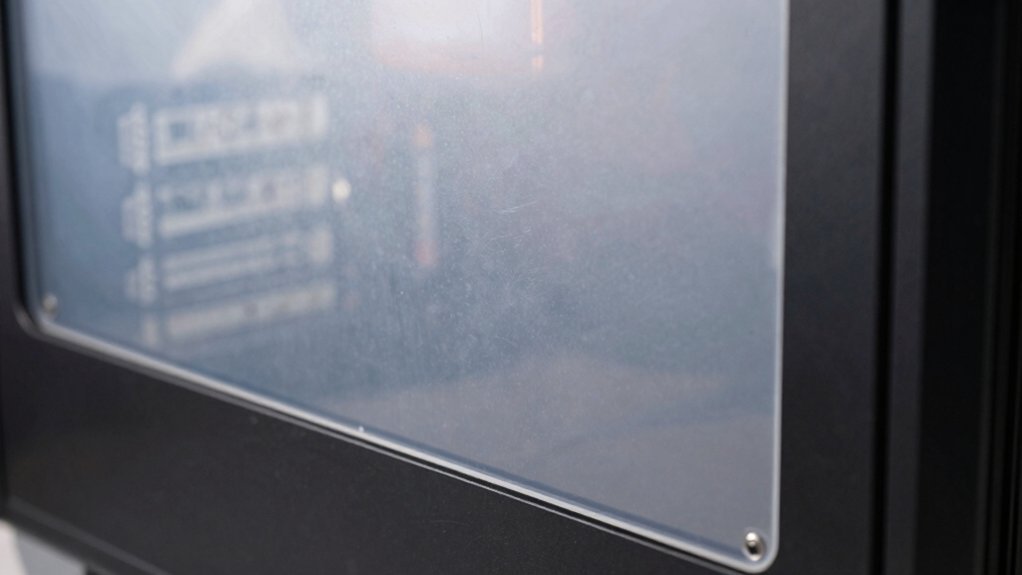
Ever wondered how to keep your acrylic case window looking pristine? Start with thorough cleaning: wash it in soapy water, dry it completely, then wipe it with methylated spirits to remove residues. Next, move to sanding. Begin with 400‑grit and progress through 600, 800, 1200, 1500, 2000, and finally 2500‑grit, sanding the edges and surrounding panel until the surface feels uniformly smooth. After sanding, apply a plastic polish or cutting compound on a microfiber cloth to achieve a mirror finish and erase micro‑scratches. Wear gloves and keep the workspace tidy to avoid dust that could embed in the paint. Finally, seal the window with a compatible clear coat, ensuring even coverage to protect against yellowing and future scratches. explained
Frequently Asked Questions
What Are the Disadvantages of Cheap PC Cases?
You’ll find cheap PC cases flex, warp, and misalign panels; their low‑quality acrylic obscures components; clearance is tight, making upgrades hard; finishes look cheap, and hardware mounting is weak, reducing durability.
Are PC Mods Legal?
You can legally modify your PC as long as you don’t violate warranties, local electrical codes, or resale regulations. Just guarantee you’re not infringing patents, and keep any modifications safe and compliant.
Is It Okay to Cheap Out on a PC Case?
You can cheap‑out on a case if you prioritize function over aesthetics, but expect lower durability, poorer airflow, and possible noise. Just guarantee the components fit, the panels stay secure, and you won’t compromise cooling.
Do Mods Slow Down Your PC?
No, mods don’t inherently slow your PC; they’re mostly aesthetic or cooling tweaks. As long as you keep airflow clear, maintain proper thermal paste, and avoid obstructing fans, performance stays unchanged.
In Summary
By picking affordable acrylic, cutting it precisely, and sealing it well, you’ll get a clear, durable window without breaking the bank. Sand and polish the edges, then apply a UV‑resistant coating to keep scratches and yellowing at bay. With the right tools and a bit of patience, your budget case window will look professional and last for years, proving cheap mods can be both effective and long‑lasting.


Leave a Reply