You save money by reusing cheap plywood or reclaimed boards instead of buying expensive solid‑wood parts, and you avoid retail mark‑ups and installer fees. Cutting the design to your exact desk dimensions eliminates waste, while simple MDF strips or carved channels give you cable management without extra accessories. Low‑cost laminates or matte paint finish the surface and protect it, and a modular layout lets you upgrade later without rebuilding the whole hutch. Keep reading to discover the exact steps and material list.
Build a Gaming Desk Hutch on a Budget
Ever wondered how you can add custom storage to your gaming setup without breaking the bank? You can build a DIY desk hutch using budget materials like plywood, MDF, or reclaimed boards, keeping material costs between $50 and $200. Start by sketching a simple design that fits your desk dimensions, then measure and cut the panels with a circular saw you already own. Use discount hardware—screws, brackets, and drawer pulls—to assemble cubbies and shelves, and finish with paint or stain that matches your existing setup. By reusing unfinished or surplus boards, you’ll see immediate cost savings compared to buying a pre‑made hutch. The whole project takes a weekend, so you avoid labor fees and end up with a tailored storage solution that fits your gaming space perfectly. Cable Clips can help manage cords neatly as you install or retroactively tidy the setup, ensuring a clean look and practical organization.
Reuse Old Wood to Cut Material Costs
You can tap into the wood you already have, cutting it to the exact dimensions you need for shelves and panels. By measuring precisely and planning each piece, you keep waste to a minimum. This approach not only slashes material costs but also gives your hutch a distinct, reclaimed‑wood character. Pairing budget-friendly cuts with proper airflow considerations from budget USB cooling fans can help keep hardware cool while you work, ensuring longevity and steady performance. dust management helps maintain cleaner surfaces during assembly and use.
Dverage Existing Materials
Looking for a cheap way to build a desk hutch? You can tap into reclaimed materials you already have, turning old garage boards or basement lumber into sturdy components for your DIY desk hutch. By repurposing 16 primed MDF sheets or scrap lumber, you slash purchase needs and eliminate waste, delivering immediate cost savings. Additionally, using a 30-pound-capacity, carbon steel-framed clamp-on shelf design from the knowledge set can help ensure stability and durability when mounting the hutch above or below your desk edge fence design to prevent items from sliding off.
Cut Precise Dimensions
How can you keep costs low while still getting a perfectly fitting hutch? Start by measuring your reclaimed boards and marking exact dimensions before you cut. Using a miter saw on reused lumber lets you make precise cuts that fit together without gaps, turning salvaged stock into a solid hutch. Accurate measurements—like two 25‑inch sides and three 54‑inch tops—maximise yield and cut down on scrap, delivering material savings with every slice. Your own tools keep labor costs low while ensuring repeatable, high‑quality edges. Proper planning also reduces waste, and choosing budget-friendly options like quick‑setting adhesives and non-conductive, carbon-based compounds in other projects can mirror the mindset of making inexpensive, reliable choices in DIY builds. accurate measurements
Minimize Waste Efficiently
Measuring and cutting your reclaimed boards precisely sets the stage for turning leftover wood into usable parts, which is the key to minimizing waste. You’ll find that a garage pallet or old workshop shelf can become a side panel when you map out dimensions before you start. By laying out the board’s grain and thickness, you achieve material efficiency and keep offcuts minimization front‑and‑center.
Use a miter saw to slice irregular ends into shorter supports, and repurpose any leftover plywood for backing or shelving. Planning board widths to match your hutch’s design reduces scrap, while leftover MDF fills gaps without extra cost. This disciplined approach lets you reuse old wood, cut material costs, and finish a sturdy, budget‑friendly desk hutch.
Trim Unnecessary Features to Save Money
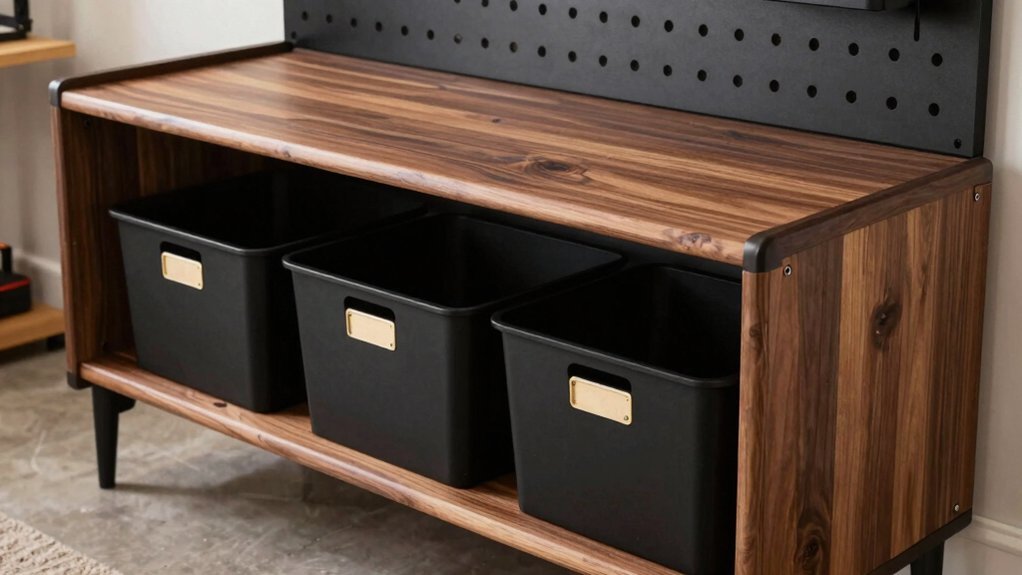
If you focus on essential storage and cable management instead of flashy extras, you can cut costs dramatically without sacrificing function. Skip RGB strips, motorized lifts, and custom hardware; they’re pricey upgrades that don’t improve usability. Choose particleboard, MDF, or plywood for a sturdy desk surface that’s cheap and light. Simplify the frame—fewer joints mean less hardware and quicker assembly. Reuse shelves, cubbies, or door panels from old furniture; they become DIY components that keep your budget in check. Notably, USB-C PD and fast charging considerations can influence component choice, ensuring you still support modern devices without overspending design efficiency.
Size the Hutch Precisely for Your Setup
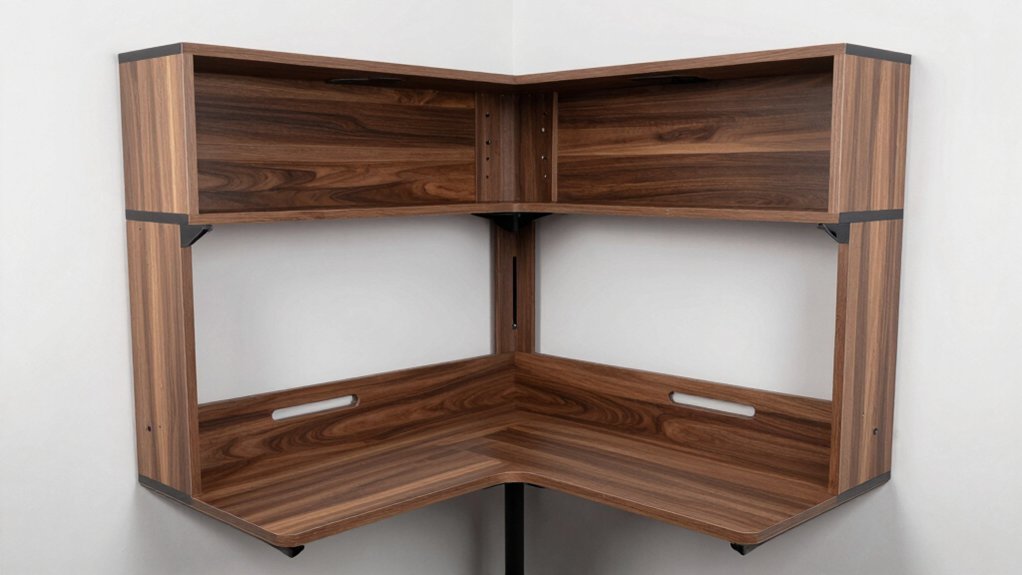
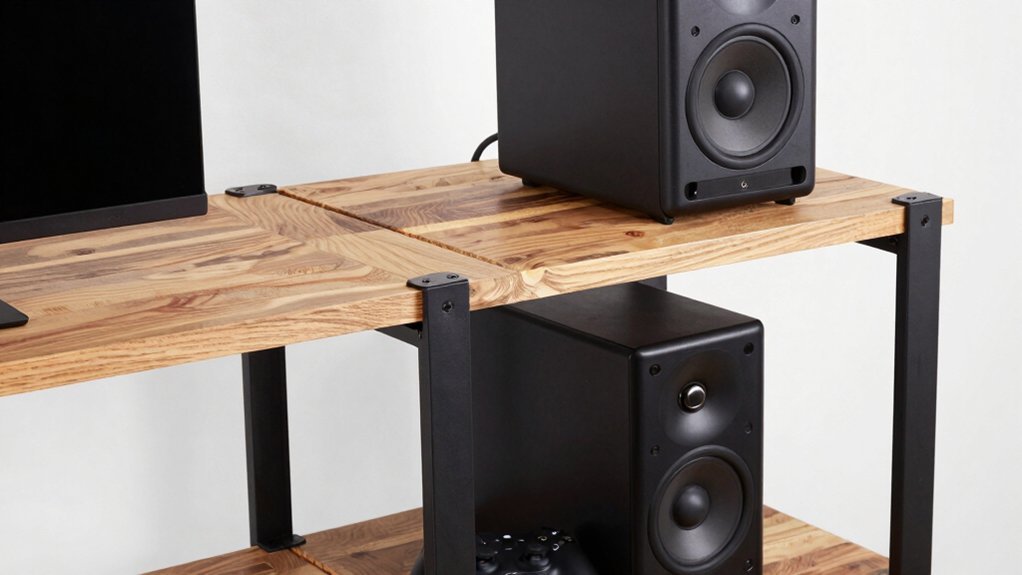
Measure your desk’s width accurately so the hutch sits flush without overhangs. Align the shelf height precisely, keeping the bottom shelf about 20 inches off the floor for cables and peripherals. Use exact panel lengths—like 54-inch top pieces and 25-inch sides—to create a square, stable frame. Ensure the chair’s weight capacity and ergonomic considerations are accounted for in your setup to maintain long-term spinal health ergonomic support features.
Measure Desk Width Accurately
Wondering how to assure your hutch fits perfectly? Start with precise desk measurements at the top edge where the hutch will attach, because front rails often vary. Grab a tape measure and record the exact distance between the outer edges, then subtract 1–2 inches on each side for room clearance.
If the front is beveled, measure the inner width between the uprights instead of the cosmetic outer width.
For dorm or compact setups, plan a hutch that’s 1–2 inches narrower than the desk to accommodate cable routing and prevent doors from hitting walls or chairs. This careful hutch sizing eliminates gaps, protects your equipment, and keeps the overall footprint tidy. Accurate measurements also help ensure your low-latency gaming accessories align properly with your setup, minimizing cable strain and interference precise desk measurements.
Align Shelf Height Precisely
Ever wonder how to keep your hutch from colliding with monitors or legroom? Start with precise measurements from the desk surface to the bottom of the first shelf. Use the chair height and foot position as a reference point, then mark every cut line before you cut. Consistent reference points guarantee uniform shelf alignment on both sides, while ½‑inch increments let you fine‑tune clearance. Plan for adjustable shelves so you can swap out speakers or monitor bases later without rebuilding. Test‑fit the whole setup before final assembly; if anything scrapes, lower the shelf a little. This method saves money and avoids costly re‑cuts.
| Step | Action | Result |
|---|---|---|
| 1 | Measure desk‑to‑chair height | Accurate clearance |
| 2 | Mark cut lines from desk top | Uniform spacing |
| 3 | Install adjustable shelves | Future flexibility |
| 4 | Fit test items | Verify alignment |
| 5 | Adjust in ½‑inch steps | Perfect fit |
Add Simple Cable Management Without Extras
When you build a DIY desk hutch, you can route all the cords through a simple hole‑saw opening and a few shallow channels cut into the plywood backer, eliminating the need for pricey cable‑management kits. Use a ¾‑inch hole saw to make a clean entry point near the power strip, then carve ¼‑inch wide channels along the backer for power and monitor cables. Slot the channels with cheap MDF strips or repurposed wood shims, securing them with a few screws.
The built‑in shelves act as natural cable trays, keeping adapters and strips in fixed spots. This cable management approach uses budget‑friendly materials, reduces desk clutter, improves airflow, and extends cable life—all without buying commercial trays or accessories.
Choose Durable, Low‑Cost Finishes
After routing cables through the hole‑saw opening, you’ll want a finish that protects the hutch without breaking the bank. Laminate finishes or MDF‑based panels shave 20‑40 % off the cost of solid wood yet still stand up to daily wear. Choose a satin or matte white laminate; it wipes clean, hides fingerprints, and pairs nicely with a light‑gray or white‑washed veneer for a sleek look.
Stock white paint or pre‑primed boards cut labor time and avoid pricey custom stains. Seal every joint and edge with a clear topcoat; this simple step blocks moisture, reduces scratches, and extends the life of low‑cost materials. The result is a durable, budget‑friendly hutch that feels premium without the premium price tag.
Design Modular Sections for Future Upgrades
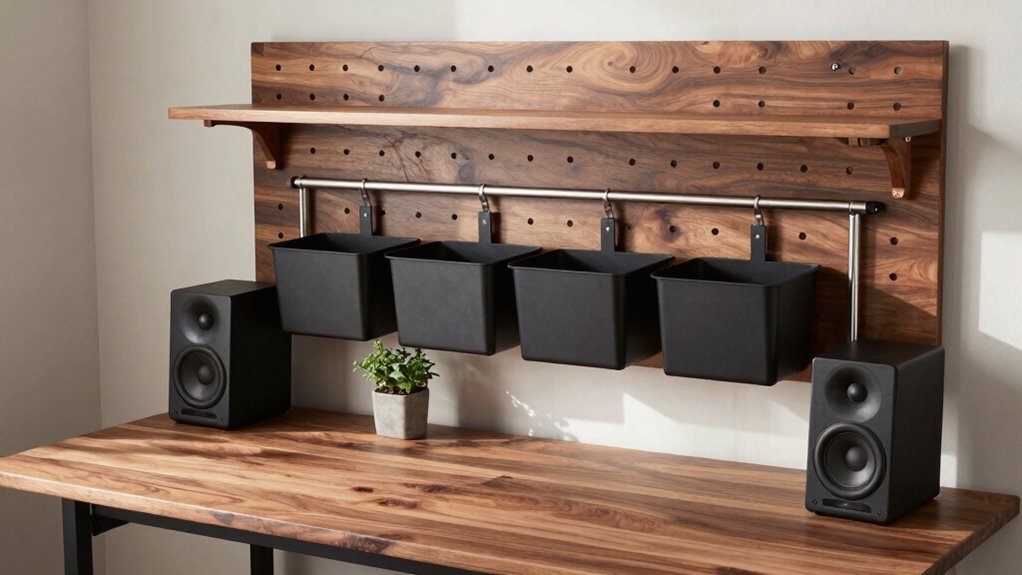
Designing modular sections now means you can upgrade or replace each part—hutch, cubbies, shelves—without tearing the whole desk apart, protecting your existing investment when you add new hardware or storage. You’ll design with modularity in mind, using standardized dimensions like 54‑inch tops and 25‑inch sides so future extensions line up perfectly. Attach points stay accessible and wall‑mount options add stability, letting you reconfigure a cramped dorm layout without a full rebuild. Keep a simple sheet of material lists, fastener types, and measurements; when you want a corkboard, pegboard, or extra shelf, you’ll match the new piece to the existing scheme instantly. This targeted approach cuts labor, material waste, and cost while keeping your setup ready for any future upgrades.
Compare DIY Costs vs. Store‑Bought Hutch
Ever wondered how much you’d actually save by building your own hutch? A DIY desk hutch can stay under $200, while premium store‑bought models often cost $300–$800. By selecting budget materials like plywood, MDF, or reclaimed boards, you slash material costs compared to solid‑wood units. You also dodge labor fees; assembling it yourself eliminates professional installer charges.
Precise measurements—say a 55.5″ × 25″ × 5.5″ design—prevent wasted space and unnecessary features that inflate retail prices. The result is clear cost savings: you control every expense, from standardized components to optional finishes. In short, a DIY desk hutch gives you a functional, personalized piece without the premium markup of mass‑market alternatives.
Frequently Asked Questions
Is It Cheaper to Make Your Own Standing Desk?
Yes, you’ll spend far less building your own standing desk—materials and hardware often total under $200, while comparable commercial models easily exceed $400, so you save hundreds of dollars.
Is a Standing Desk Worth It for Gaming?
Yes, you’ll find a standing desk worth it for gaming because it boosts posture, reduces fatigue, and lets you switch positions quickly, all while keeping your setup stable and your health better.
Should I Get a Desk Hutch?
Yes, get a desk hutch. It maximizes vertical space, keeps your gaming area tidy, and lets you customize storage. You’ll avoid clutter, improve cable management, and save money compared to buying a bulky, pre‑made unit.
What Are the Pros and Cons of a Gaming Desk?
You’ll love the spacious surface and ergonomic tweaks, but expect higher cost and heavier build. You gain better posture, cable organization, and immersive feel, yet you might sacrifice portability and budget flexibility.
In Summary
By building your own gaming desk hutch, you slash costs, tailor every dimension to your rig, and keep cable chaos under control—all without sacrificing durability. Reusing wood, trimming excess features, and picking budget‑friendly finishes let you get a sleek, functional setup for a fraction of the retail price. Plus, the modular design means you can upgrade piece by piece, ensuring your hutch stays as adaptable (and affordable) as your gaming needs evolve.


Leave a Reply