Keep a microfiber cloth and a tiny bottle of isopropyl alcohol handy, and wipe the surface every 2‑3 weeks, using a burst of compressed air on sticks and seams to loosen dust. Replace worn pads early, dab a Q‑tip with a little IPA on sticky spots, and lightly re‑lubricate with silicone grease every 6‑12 months. Protect the USB‑C port by avoiding constant charging and cleaning debris gently, and top up the battery shallowly instead of hitting 100 %. If you follow these steps, you’ll discover even more cost‑saving tricks.
How to Keep Your Controller Working Long‑Term

Ever wonder how to keep your controller humming for years? Start with regular maintenance: wipe the surface every 2–3 weeks using a dry or lightly damp microfiber cloth, keeping liquids out of seams. Give the stick stems and seams a quick burst of compressed air, then brush away loose dust and finish with a cotton‑swab dry‑wipe. If a sticky spot persists, dab a Q‑tip with a tiny amount of isopropyl alcohol—never spray directly on the board. Inspect the analog sticks, buttons, and triggers for drift, dead zones, or sluggish return; catch wear early and replace worn pads before they cause larger failures. Finally, protect the USB‑C port and battery by avoiding constant charging; top up partially and keep the port clear of debris with gentle cleaning. This routine extends performance and saves money. USB‑C connectivity and cross‑OS compatibility are also important factors to consider when choosing budget macro pads for long‑term use.
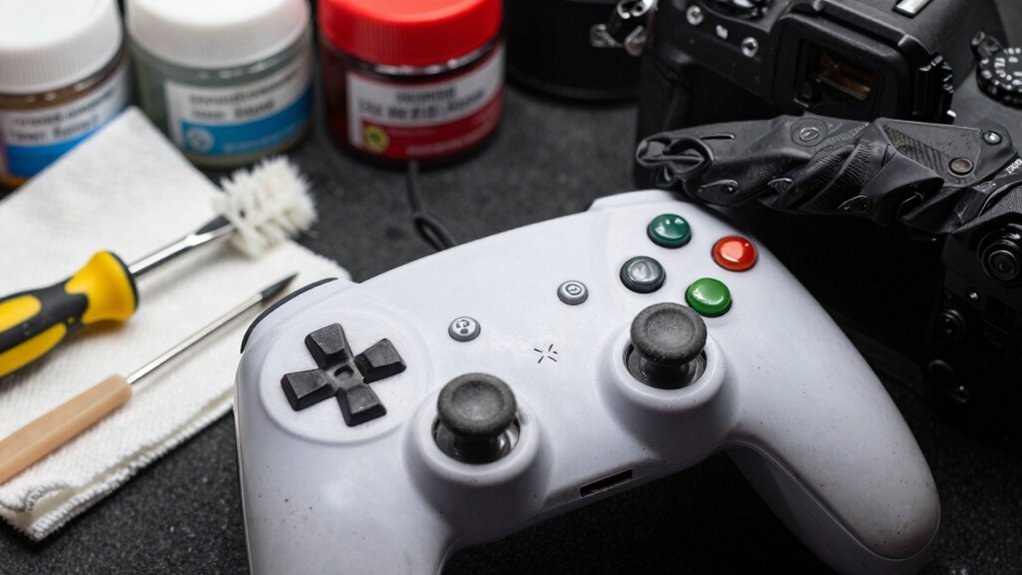
Essential Controller Tools Under $5
After you’ve set up a regular cleaning routine, grab a few inexpensive tools to keep the job quick and effective. You don’t need pricey gear; a few $5 items will do the trick and keep your controller spotless. For durable, long-lasting use, consider choosing tools with strong, residue-free adhesives and compatibility across common cables and surfaces general compatibility.
Disassemble Your Controller Without Stripping Screws
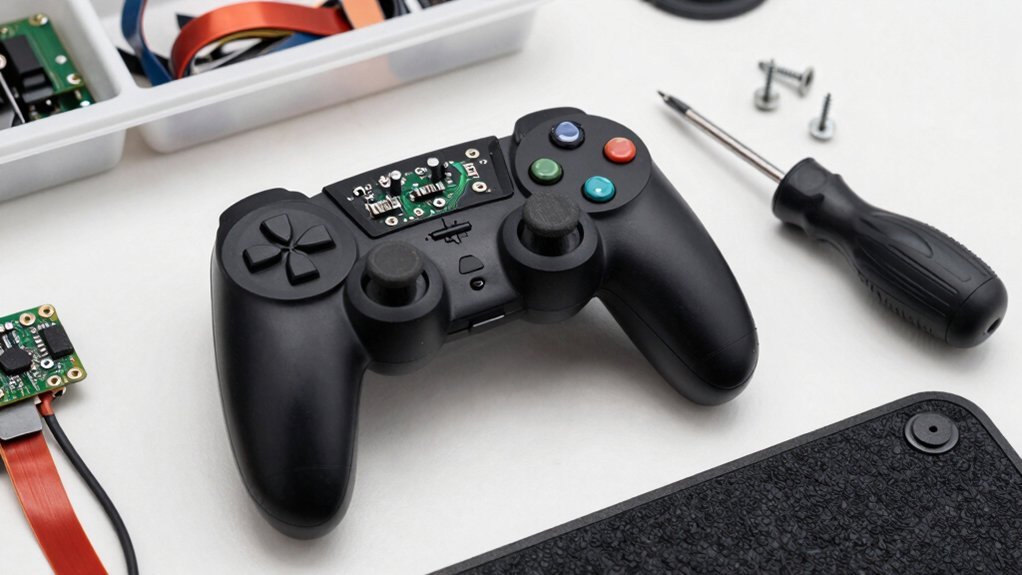
How can you open a controller without stripping its tiny screws? First, grab a precision screwdriver that matches the screw head exactly—usually a 1.5 mm Phillips. Apply steady, gentle pressure and turn clockwise just enough to loosen each screw; avoid forcing it. Keep the screws in a small magnetic tray so you don’t lose them. When you’ve removed all seven screws, separate the halves, noting the alignment tabs that keep the shell together. If a screw feels tight, pause, spray a tiny dab of isopropyl alcohol on the thread, let it seep, then try again. Reassembly follows the reverse order, ensuring each screw returns to its original hole with light torque to prevent warping. A careful approach reduces the risk of damaging delicate internal connectors and can extend the life of your budget-friendly gear low-latency options and keeps you from needing a costly replacement.
Safe Cleaning Methods for Controller Electronics
Wondering how to keep your controller’s electronics spotless without risking damage? First, unplug it and pull out the batteries so you won’t short anything. Then, use short bursts of canned air to blow dust out of seams, ports, and around buttons—no liquid spray. Finally, gently wipe the surfaces with a Q‑tip or cloth dampened with a tiny amount of isopropyl alcohol, then dry everything with a lint‑free towel. Spray canned air in quick bursts, never a continuous stream. Dampen a Q‑tip or soft cloth with isopropyl alcohol, avoid soaking. Use a soft toothbrush or toothpick to scrub seams and sticks lightly. You’ll remove grime, prevent corrosion, and keep the warranty intact. USB-C PD can help you understand fast charging options while you manage multiple devices safely.
Spot Early Controller Wear Before Failure

You’ll notice drift as the sticks drift after a release or menu selections slide past options, so keep an eye on those early nudges. A proper mounting approach and secure, padded supports can help prevent additional wear from resulting movement load capacity. Spotting these signs early lets you address the problem before it escalates.
Detect Drift Early
Ever notice your controller’s camera nudging after release or menu selections sliding past options? That’s the classic sign of drift, and catching it early saves you a costly replacement. When you feel a dead‑zone indicator—tiny movements that don’t register—it’s a warning that the analog stick’s sensitivity is degrading. Don’t just push harder or flick the stick; those tricks only accelerate wear. Instead, do a quick visual and tactile check: look for loose thumb pads, feel for looseness around the stick stem, and test the stick’s range in a neutral position. Inspect thumb pads and stick stems for looseness or wear. Test the stick in a neutral position to spot dead‑zone drift. Replace the analog module modularly if drift persists. Regular spot checks during cleaning keep drift from becoming a major fault. Bias Lighting can affect how you perceive screen alignment and control responsiveness during testing, so ensure your test environment remains consistent.
Monitor Button Responsiveness
How quickly do your buttons snap back after a press? You can gauge button responsiveness by running a simple baseline test: press each face button, D‑pad direction, and shoulder button ten times in rapid succession and note any lag or soft feeling. If a button takes longer to return or feels spongy, you’re seeing early wear. Tap triggers quickly and watch for inconsistent travel; a sticky or delayed actuation signals degradation. Pay attention to drift—if a thumbstick input lingers after release or the on‑screen movement doesn’t match your thumb position, that’s a misregistration clue. Document each oddity with a concise description, like “X button sticky return,” so you can spot gradual decline before a full‑blown failure. Regular calibration can help identify patterns in performance across sessions and devices baseline testing.
DIY Controller Stick & Trigger Lubrication
First, gather a lint‑free cloth, cotton swabs and a small bottle of silicone grease, then clean the stick and trigger mechanisms until they’re free of dust.
Next, apply a tiny bead of grease to the pivot points and moving contacts, being careful not to let any seep onto the PCB or battery area.
Finally, move the sticks and pull the triggers a few times to confirm smooth motion before you reassemble the controller.
Choose Use Prep Clean Materials
A microfiber cloth is your best friend for quick, liquid‑free cleaning of a controller’s shell and sticks, letting you wipe away dust and grime without risking seam damage. First, power down the controller and remove any detachable accessories. Use the cloth to sweep the surface, paying special attention to the analog sticks and trigger housings.
Next, inspect the thumb pads; if they’re worn, swap them for lightweight aluminum toppers to keep balance and feel.
Finally, after the controller is dry, you’re ready to apply a tiny dab of silicone grease to the mechanisms, restoring smooth actuation.
- Dry‑clean with a microfiber cloth, avoiding any liquids near seams.
- Replace worn thumb pads with aluminum toppers for balanced weight.
- Apply a minimal amount of silicone grease to sticks and triggers after cleaning.
Apply Silicone Grease Carefully
Applying silicone grease sparingly to the analog stick joints and trigger mechanisms after a dry clean eliminates squeaks and restores smooth actuation without changing the controller’s tactile feel. You’ll want a clean, soft tool—like a cotton swab—to dab a tiny dot of silicone grease onto each pivot point. Move the stick gently to spread the lubricant, then repeat on the non‑contact sliding surfaces of the triggers.
Avoid any contact with electronics, springs, or button contacts; a stray bead can cause corrosion or misreads. Once you’ve covered the critical joints, reassemble slowly, making sure each part seats correctly and no dirt falls in.
A light re‑lubrication every six to twelve months keeps inputs crisp without over‑doing it.
Test Movement Before Reassembly
Wondering if your controller’s stick and trigger will feel smoother after lubrication? Before you snap everything back together, test the stick movement and trigger actuation to confirm the grease is doing its job. A quick check saves you from re‑opening the case later.
- Rotate the sticks through full range, feeling for any hesitation or excess play.
- Press each trigger repeatedly, listening for consistent clicks and smooth return.
- Perform a few diagonal stick motions to verify all axes respond evenly.
If anything feels off, wipe away excess silicone grease with a lint‑free cloth and re‑apply a tiny amount. Record which components you tested—stick module, trigger assembly—so future maintenance stays on track. This simple step guarantees a smoother gaming experience and prevents costly re‑work.
Budget Thumb‑Pad & Topper Mods for Controllers
Ever thought a cheap thumb‑pad swap could feel like a factory‑installed stick? You can replace worn thumb pads on analog sticks with budget aluminum toppers that mimic the stock weight and feel. Since the controller’s modular design lets you pull out the stick assembly without full disassembly, you’ll just unscrew the cap, slide the old pad out, and snap the new one in.
For topper mods, shave off the tiny bumps with a sharp blade, working slowly to keep the shape uniform. The aluminum adds a slight heft that preserves precision while staying affordable. Reattach everything carefully, aligning the pad’s groove with the stick’s shaft, then test the movement before you close the case. This quick, precise upgrade saves money and extends your controller’s life.
Fix Controller Drift Without Soldering
You can start by wiping the stick stems with a little isopropyl alcohol to dissolve grime.
Then tweak the dead‑zone settings in your console’s software to compensate for any remaining drift.
Finally, add a thin layer of silicone grease to the stick mechanism so it moves smoothly without sticking.
Cleanen With Isopropyl Alcohol
Isopropyl alcohol—especially a 90‑99% pure grade—quickly dissolves the oils and grime that cause thumbsticks, D‑pads, and buttons to drift, and you can apply it with a cotton swab or lint‑free cloth without any soldering. First, grab a high‑purity IPA and a Q‑tip. Dab a few drops onto the swab—don’t soak it—then gently rub the stick base, D‑pad contacts, and each button’s contact points. Let the controller air‑dry for five to ten minutes; the alcohol evaporates, leaving clean, dry surfaces ready for testing.
- Use only a small amount of isopropyl alcohol per swipe.
- Keep the board and seams dry; avoid excess liquid seeping into electrical jacks.
- Allow full drying time before reconnecting power to prevent moisture‑related glitches.
Adjust Dead Zone Settings
How can you stop your joystick from drifting without opening the controller? Start by locating the dead zone adjustments in your console’s accessibility or the game’s control menu. Increase the minimum threshold—usually a 5‑20% range—to ignore tiny, unintentional stick movements. This recalibrates the neutral zone, letting the joystick stay centered even when the hardware shows wear. Most platforms let you fine‑tune the setting, so experiment until the drift disappears. Keep the firmware current; updates often improve input handling. If the problem lingers, a quick wipe around the stick base can help, but dead zone adjustments usually solve the issue without any soldering or part replacement. This low‑cost tweak saves you time and money.
Lubricate Stick Mechanism
Apply a thin layer of silicone grease to the analog stick after cleaning it, then move the stick through its full range several times to spread the lubricant evenly. This simple lubrication step cuts squeak and stickiness without swapping parts.
- Use just a dab of silicone grease; excess attracts dust and can stiffen the mechanism.
- Work the grease in by rocking the stick side‑to‑side and up‑and‑down for a few seconds, ensuring even coverage.
- Test the stick after the motion; if drift remains, check thumb pads and internal components for wear before considering replacement.
Protect the Battery and USB‑C Port to Extend Life
Guard the battery and USB‑C port by keeping the controller out of a constant 100 % charge, avoiding use while it’s plugged in, and opting for frequent, shallow top‑ups instead of full cycles. This battery care habit reduces stress on the cells and prevents the chemistry from aging prematurely.
When the charge drops quickly, treat it as a warning sign of possible cell failure and schedule a replacement before deeper damage occurs.
Keep the USB‑C connector snug but don’t tug the cable; a sturdy, well‑aligned plug minimizes pin movement and micro‑damage. Plug the controller into a surge‑protected outlet to shield both the battery and port from voltage spikes.
Prepare Your Controller for Repair Shipping
After keeping the battery and USB‑C port healthy, the next step is getting the controller ready for shipping. Turn it off completely and, if it’s wireless, pull out the batteries. Strip away thumb grips and any attachments, then nest the controller in a soft sleeve or wrap it so sticks won’t press against the box sides. Slip a short fault description—like “left stick drift when untouched”—into the package to speed up maintenance. Use a rigid box, line it with bubble wrap or foam, and make sure the sticks stay centered. Finally, label the parcel with the fault details, return address, and a contact email or phone for the service team.
- Remove batteries and grips, then protect with a soft wrap.
- Pack in a rigid box with cushioning, keeping sticks from touching sides.
- Include a concise fault note and clear labeling for quick maintenance.
Repair vs. Replace: Cost‑Comparison Guide
Wondering whether to fix your controller or buy a new one? You can weigh repair versus replacement by comparing parts, labor, and long‑term value. Modularity lets you swap thumb pads, analog sticks, or triggers without a full overhaul, keeping the core frame intact. If a USB‑C port or trigger fails, targeted repair often costs a fraction of a brand‑new unit, especially when the chassis is still solid. Use the table below to visualize typical costs.
| Component | Typical Cost |
|---|---|
| Thumb‑pad aluminium topper | $8 |
| Analog stick module repair | $15 |
| Trigger assembly refresh | $12 |
| USB‑C port replacement | $10 |
| Full controller replacement | $60 |
When repairs stay under half the replacement price, you save money and keep the feel you like. If damage is extensive or parts are unavailable, replacement becomes the smarter choice.
Frequently Asked Questions
Does WD-40 Clean Controllers?
No, WD‑40 doesn’t clean controllers; it leaves sticky residue, attracts dust, and can damage plastic. Use lint‑free cloths, isopropyl alcohol wipes, and canned air for safe, effective cleaning.
How to Maintain Your Controller?
You should unplug it, wipe it with an alcohol‑damp lint‑free cloth, blast seams with canned air, brush sticky spots, and repeat every one to two weeks, especially after heavy or shared use.
Can I Use 91% Isopropyl Alcohol to Clean My Xbox Controller?
Yes, you can use 91% isopropyl alcohol, but apply it sparingly with a lint‑free cloth or Q‑tip, avoid soaking seams, and dry the controller thoroughly before using it again.
What’s the Average Lifespan of an Xbox Controller?
You can expect an Xbox controller to last about six to eight years with regular cleaning and proper storage, though heavy daily use may cut that down to three to five years if you neglect maintenance.
In Summary
By following these simple, budget‑friendly steps, you’ll keep your controller humming for years without breaking the bank. Regular cleaning, early wear checks, and protecting the battery and port prevent costly failures. When drift or other issues arise, you can often fix them yourself without soldering, saving both time and money. And if a repair isn’t worth it, you’ll know exactly how the cost of a replacement stacks up. Stay proactive, and your controller will stay reliable.


Leave a Reply