
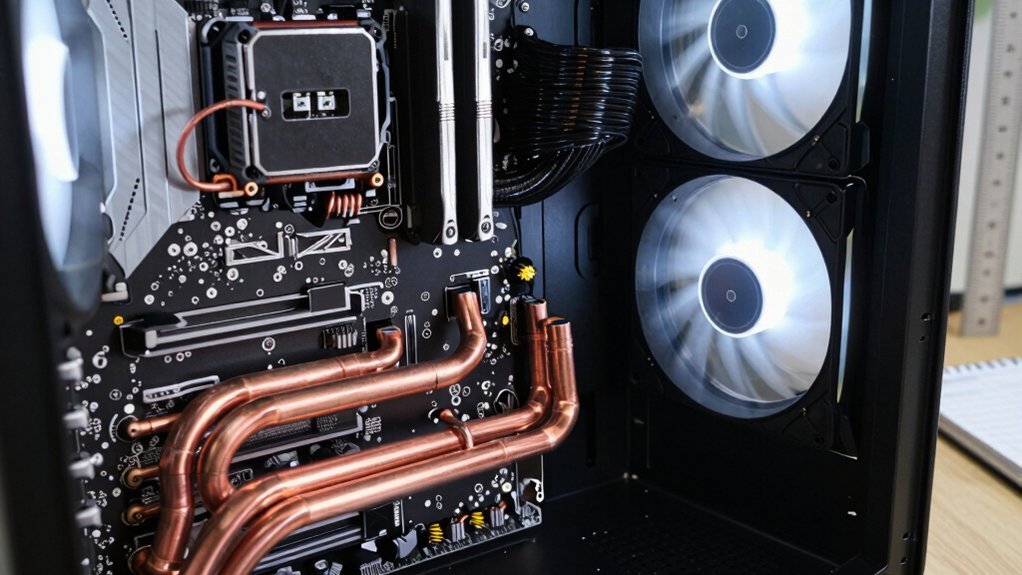
You keep your PC cool and quiet by routing cables neatly behind the motherboard tray, using zip ties or velcro straps to avoid blockages, and making sure intake fans outnumber exhausts so positive pressure prevents dust from entering. Apply a thin layer of high‑quality thermal paste with a few central dots, then seat the cooler firmly. Upgrade to an aftermarket cooler when temps regularly hit 75‑80 °C under load, and plan any water‑cooling loop with proper radiator placement, kink‑free tubing, and thorough leak‑testing. Following these steps will keep temperatures down and noise low, and the next sections show you how to fine‑tune fan curves and maintain the system.
Avoid PC Cooling Mistakes With Proper Cable Management
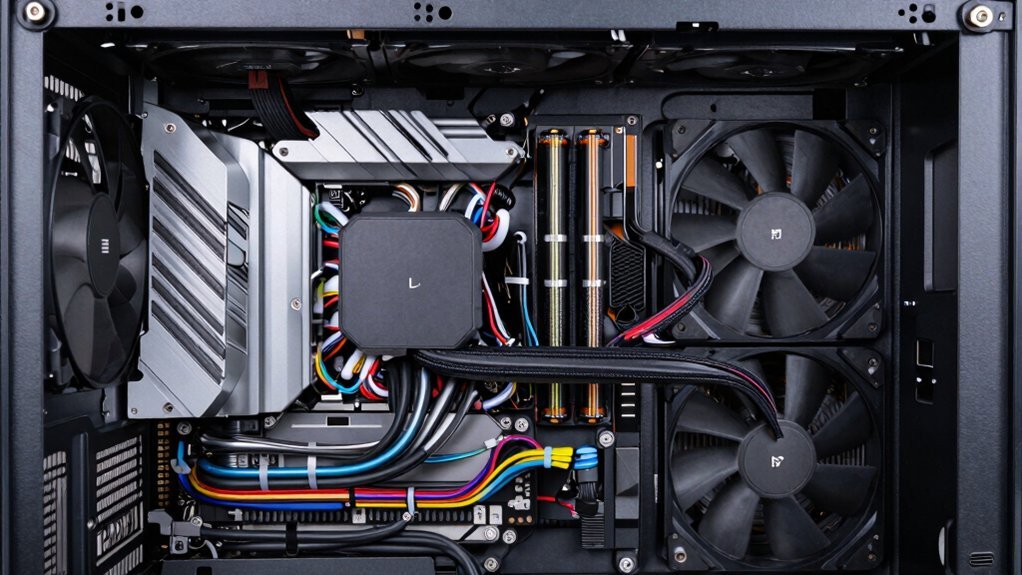
Ever wondered why your GPU still runs hot despite a powerful cooler? You probably missed proper cable management, which directly sabotages airflow. Route every cord behind the motherboard tray or through the case’s dedicated channels so intake fans can pull cool air unimpeded. Messy cables stir turbulence, create hotspots, and force the CPU and GPU to work harder. Grab zip ties or velcro straps and secure each bundle, keeping the paths clear. While planning your case layout, run cables early and double‑check that nothing blocks radiator or fan intakes and exhaust routes. This simple organization maintains the intended pressure balance, lets cool air sweep across critical components, and drops temperatures without extra fans. Power hubs can help centralize connections and reduce clutter in setups with multiple devices.
PC Cooling Mistakes: Positive vs. Negative Air Pressure
If you let intake fans outnumber exhausts, you’ll create positive pressure that pushes cool air over the CPU and GPU while keeping dust at bay; the opposite—more exhaust than intake—causes negative pressure, drawing unfiltered air in through gaps and forming hotspots. Positive pressure works best when front and bottom intakes feed fresh air through filters, and top and rear exhausts clear it, establishing clean airflow paths. Keep cables tidy, avoid blocking radiators, and tune fan curves to maintain that pressure. Good dust management means sealed filters and regular cleaning, preventing buildup that can choke airflow and cause overheating. In budget setups, selecting a macro keypad or stream deck with reliable USB-C connectivity can help ensure stable peripheral control without adding clutter that could disrupt airflow. USB-C connectivity can streamline integration and keep desk space organized while supporting plug-and-play operation.
How to Apply Thermal Paste for Maximum CPU Cooling
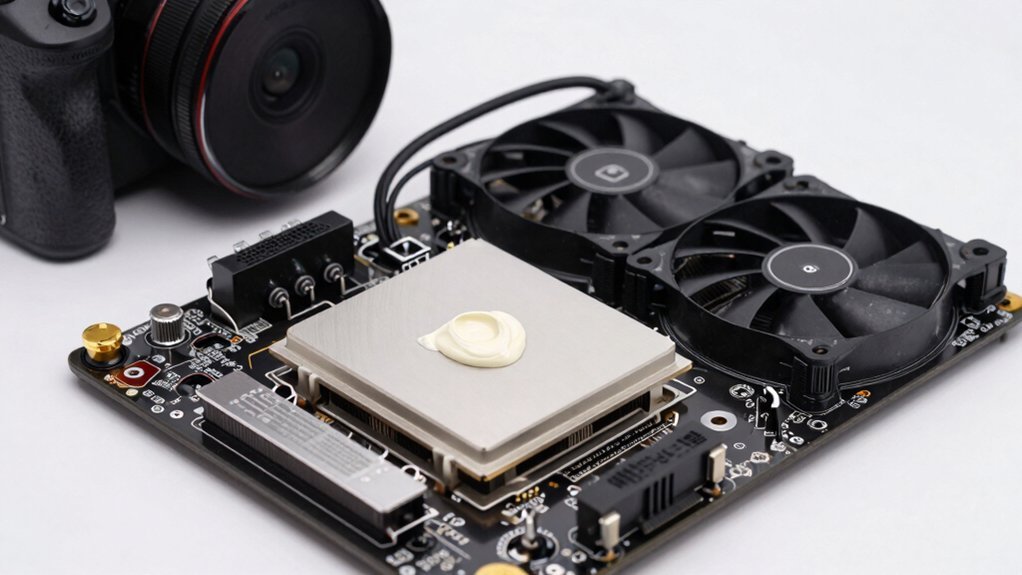
Balancing airflow is only half the battle; the final step to optimal cooling is applying thermal paste correctly. First, clean the CPU lid with isopropyl alcohol until it’s spotless; any residue will hinder heat transfer. Next, choose a high-quality thermal paste with excellent conductivity. For the application technique, place two or three small dots in the center of the CPU rather than a large blob. When you seat the cooler, the pressure will spread the paste into a thin, even layer, covering the entire surface without spilling onto the motherboard. Avoid excess—too much paste squeezes out and insulates instead of conducts. Reapply the paste every two years or whenever you remove the cooler to keep CPU cooling at its best. A clamp-on or under-desk organizer with a dedicated cable management system can help keep the workspace neat while you work on your build, reducing cable clutter that can affect airflow around the case cable management system.
When to Upgrade From Stock to Aftermarket CPU Coolers
When does your stock cooler stop keeping up with your CPU’s demands? You’ll notice it the moment temps climb past 80 °C under gaming or when sustained turbo pushes your chip into thermal throttling. At that point, cooling upgrades become essential to preserve performance and longevity.
Consistently high temperatures — If your CPU stays above 75 °C for extended periods, a stock cooler can’t keep pace.
Overclocking or heavy multi‑core workloads — Extra cores and higher frequencies demand more heat‑dissipation than a cheap cooler provides.
Noise and efficiency concerns — Stock fans spin up loudly as they struggle; an aftermarket CPU cooler offers quieter, more efficient cooling.
Switching to an aftermarket CPU cooler, paired with premium thermal paste, will shave several degrees off your temps, eliminate throttling, and give you headroom for future upgrades. Important concept
Plan Your Water‑Cooling Loop Before Installing Components
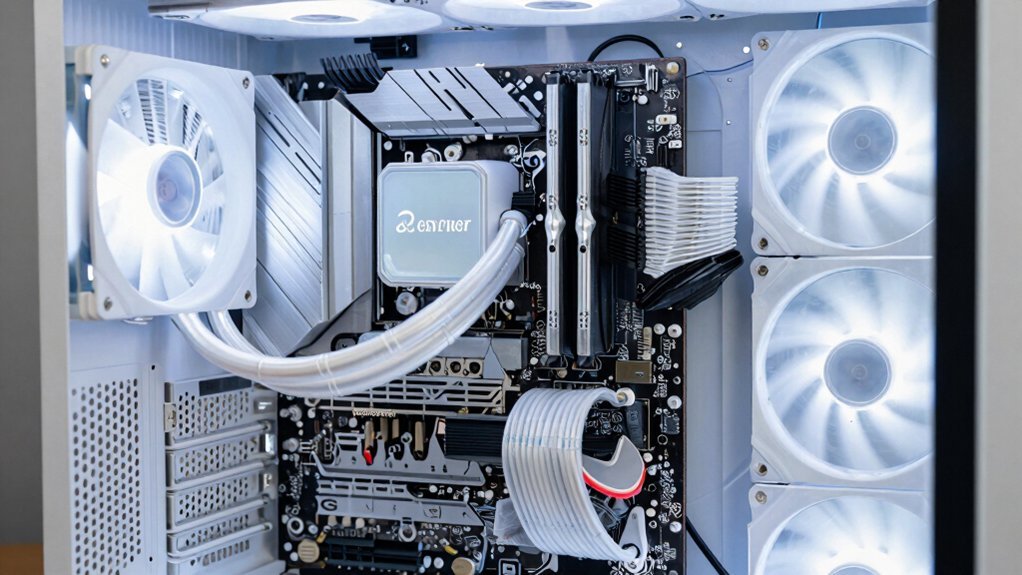
Before you start bolting anything in, map out the entire loop on paper or a digital sketch, using your case’s dimensions and component specs to verify clearances, radi tubing runs, radiator placement. Measure the distance between CPU block, pump, and reservoir, then draw each segment to see how tubing routing will weave through drive bays and cable management zones. Choose a radiator size that fits the case layout without crowding fans or obstructing airflow; a 240 mm unit may be perfect for a mid-tower, while a 360 mm could overwhelm a compact chassis. Sketch modular options like greenDRACAENA radiators, which let you swap panels if measurements change. Double‑check every angle and bend before ordering parts, so you avoid costly re‑drills, tight bends, or insufficient clearance later. This pre‑install plan saves time, money, and performance, and you can consider under‑desk cable management solutions to keep power and data routes tidy as you finalize the loop cable management.
Select PC‑Specific Coolant to Prevent Corrosion and Buildup
You should choose a PC‑specific coolant that already contains anti‑corrosion and anti‑fungal agents, because generic fluids let minerals and chemicals eat away at your loop. These formulated coolants stop mineral buildup in blocks, tubing, and pumps, keeping flow smooth and temperatures low. Budget-friendly options often emphasize easy availability and adequate protection, but selecting a proven formulation from a reputable brand helps ensure long‑term reliability brand reliability history.
Anti PC‑Specific Coolant
Why risk corrosion and mineral buildup by using generic fluids? Choose a PC‑specific coolant that contains anti‑corrosion, anti‑fungal, and anti‑foam agents. These formulas protect metals, plastics, and seals from deposits and electrochemical damage. Verify coolant compatibility with every component—your radiator, tubing, and water blocks—to avoid leaks and material degradation. Keep inhibitor maintenance on schedule; replace the fluid as the manufacturer advises to preserve its protective chemistry and loop cleanliness. Pick an anti‑corrosion coolant like GreenDRACAENA for reliable performance. Test coolant compatibility with all loop materials before filling. Follow a regular inhibitor maintenance routine to sustain protection, ensuring ongoing loop compatibility and long‑term system integrity.
Anti‑Corrosion Formulation
Generic‑specific coolants already contain the anti‑corrosion, anti‑foam, and anti‑fungal agents that keep metal blocks, fittings, and hoses from degrading, so you don’t have to mix risky automotive fluids or tap water. When you pick a PC‑specific coolant, you’re choosing a coolant formulation that’s balanced for the loop’s materials and temperature range. Look for products like GreenDRACAENA that list anti‑corrosion additives as a core ingredient; they coat copper, brass, and aluminum surfaces, stopping oxidation before it starts. Follow the manufacturer’s concentration guidelines and bleed the system properly—this is essential preventative maintenance that keeps air pockets out and ensures the anti‑corrosion chemistry stays active over months of operation.
Prevent Mineral Buildup
How can you keep your loop free of scale and corrosion? Choose a PC‑specific coolant with anti‑corrosion, anti‑fungal, and anti‑foam agents. Avoid tap water or automotive fluids; they introduce minerals that cause scale and deposits. Stick to premixed or concentrated greenDRACAENA premium coolants, and never mix incompatible coolant chemistries. Regular loop maintenance, including a coolant change every 1–2 years, prevents mineral buildup and keeps temperatures stable.
- Select the right coolant chemistry – use only PC‑grade, anti‑corrosion formulas.
- Replace the fluid on schedule – change every one to two years to stop residue accumulation.
- Maintain component compatibility – verify all radiators, pumps, and blocks are rated for your chosen coolant.
Install Tubing Without Kinks or Leaks for Reliable Flow
A smooth, kink‑free loop starts with careful tubing placement: use gentle, gradual bends for soft tubing and avoid sharp turns, while hard tubing should be measured precisely, heat‑bent to the desired shape, and secured with properly tightened compression fittings. Plan your loop to keep radii wide, route tubes away from sharp edges, and position the reservoir and pump so flow stays steady and air‑free. Check each fitting before powering up; tighten until you feel resistance, but don’t overtighten, which could crack the seal. If a joint feels loose, re‑seat it and verify that the tubing sits flush. These steps cut tubing kinks, boost leak prevention, and make your cooling loop reliable.
| Step | Tip |
|---|---|
| 1 | Use gradual bends for soft tubing |
| 2 | Heat‑bend hard tubing to exact shape |
| 3 | Tighten compression fittings correctly |
| 4 | Avoid sharp edges and tight spaces |
| 5 | Position reservoir/pump for even flow |
Mount Radiators for Optimal Intake/Exhaust Airflow
Mount your radiators where they follow the case’s natural airflow: front or bottom intakes pull fresh, cool air through the fins, while top or rear positions exhaust hot air out of the chassis. Good radiator placement respects case airflow and avoids disrupting other components.
Front‑mounted radiators act as intake, feeding ambient air directly to the fins for maximum heat removal.
Top‑mounted units should be set as exhaust, pushing hot air away from the motherboard and preventing recirculation.
Use high‑static‑pressure fans to force air through dense fins, and keep tubing clear of obstructions.
- Choose front intake for best cooling efficiency.
- Reserve top/rear for exhaust to clear hot air.
- Verify fans match radiator density and case airflow.
Bleed, Leak‑Test, and Maintain the Water‑Cooling Loop
After positioning your radiators for ideal airflow, the next step is to get the loop running cleanly. Fill the reservoir slowly, then briefly power the pump or jumper‑test it while you tilt the case to release trapped air. Rock and tilt repeatedly until coolant flows smoothly, then continue refilling until the reservoir and tubes show no air pockets.
Don’t power on major components until the loop is fully filled and leak‑free; a dry pump can burn out quickly. Once the initial bleed is done, conduct a leak‑test by running the pump with the system off for several hours or overnight.
During regular maintenance, inspect fittings, compression rings, and hose bends for tightness and gradual curves to prevent creeping leaks and flow restrictions.
Monitor Temps and Tune Fan Curves for Stable Gaming Performance
You’ll want to fine‑tune your fan curves while watching temps in real time, so the system stays cool without screaming. Start with all fans at max, then drop the speed by 5 % every couple of minutes and run a stress test to see how the temperatures respond. Adjust the setpoints in your fan software until you hit a stable peak around or below 85 °C during heavy gaming.
Optimize Fan Curves
By balancing intake and exhaust while watching real‑time temps, you can fine‑tune a fan curve that keeps the CPU in the safe range without screaming noise. Start with a max‑speed burst for five minutes to spot the coolest inlet/exhaust combo, then step down 5 % or 100‑250 RPM every one to two minutes. Use your motherboard or iCUE fan‑curve editor to map temperature setpoints to speeds, creating a smooth ramp instead of a constant blast. This approach fuels cooling optimization and preserves airflow balance, letting you keep peak CPU temps low while cutting noise.
- Run a short max‑speed test to find the best fan placement.
- Decrease RPM gradually, watching temperature stability.
- Fine‑tune mid‑range setpoints for quiet, stable gaming.
Track Real‑Time Temperatures
Now that your fan curve is tuned, keep an eye on the CPU and GPU temps in real time to catch any overheating before it hurts performance. Use a reliable monitoring tool that shows per‑core temperatures and VRM thermals, then watch for spikes during a 30‑minute stress test or actual gaming session. Aim for a stable range around 70–85 °C under load; if you see sudden jumps or throttling, your airflow is likely bottlenecked.
Compare readings after each hardware tweak—new radiators, cable routing changes, or adjusted fan profiles—to confirm the adjustments improve stability. Consistent temperature trends across cores indicate balanced cooling, while outliers signal a problem that needs fixing before you push your rig harder.
Frequently Asked Questions
Is 75 C Too Hot for a PC?
No, 75 °C isn’t immediately dangerous, but it’s a warning sign. Keep it below that during heavy loads, clean dust regularly, improve airflow, and use quality thermal paste to avoid long‑term throttling.
Is 90 C Too Hot for a CPU?
Yes, 90 °C is too hot for a CPU under load; it risks throttling and shortening lifespan. Keep temps under 85 °C, guarantee proper paste, airflow, and adequate cooling to avoid damage.
Is 84 C Hot for a CPU?
Yes, 84 °C is hot for a CPU. It’s near the thermal limit, can cause throttling, and may shorten lifespan. Improve airflow, upgrade cooling, and reapply paste to keep temps safer.
How to Prevent a PC From Overheating?
You keep your PC cool by routing cables behind the tray, balancing intake and exhaust fans, using dust filters, choosing high‑static‑pressure fans, fitting appropriate radiators, and bleeding any liquid‑cooling loop before powering on.
In Summary
By keeping cables tidy, balancing air pressure, and mastering thermal paste, you’ll dodge the most common cooling blunders. Upgrade to aftermarket coolers when stock struggles, and design your water‑loop before you start building. Install tubing without kinks, mount radiators for optimal airflow, and always bleed and leak‑test the loop. Finally, monitor temperatures and fine‑tune fan curves so your PC stays cool and performs reliably under any load.


