You can boost visibility, airflow, and style on a budget by adding a magnetic acrylic side‑window that snaps on without drilling, then fitting a magnetic strip for quick release. Upgrade the latch with a 3‑D‑printed snap‑in part, and give the panel a floating look using a black bezel. Mount a low‑cost strip fan behind the window for extra cooling, and finish with a removable vinyl frame to hide the edges. Keep reading to discover the full seven‑step guide.
Why Use a Cheap Magnetic Acrylic Side‑Window?
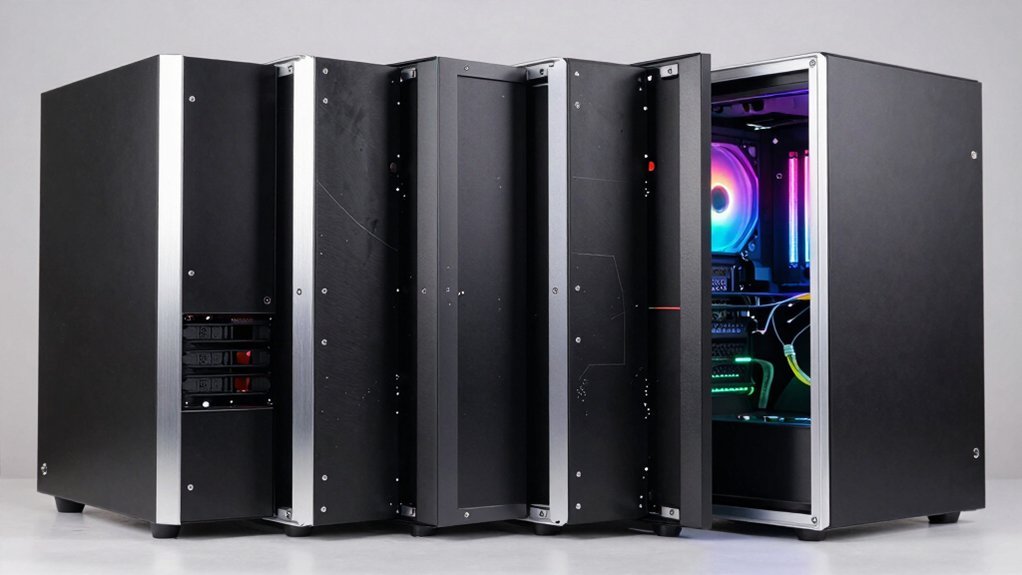
A cheap magnetic acrylic side-window gives you a clear, shatter-resistant view without the hazards of glass. You’ll love how the magnetic window snaps onto the case, letting you swap it out without drilling or screws. Acrylic panels eliminate sharp edges, so you avoid cuts when you modify the door. Painting the edges black hides the cut line and blends the window with the chassis, while sizing it to fit internal rails keeps the fit tight and the mounting secure. Because the panel is thin, it doesn’t block airflow, so your fans and intake stay efficient. The removable magnetic tape lets you reposition or remove the window whenever you need to, keeping your build both functional and stylish, fire-resistant materials and ETL-certified design considerations enhancing overall safety.
Add a Magnetic Acrylic Panel for a Cheap Side‑Window
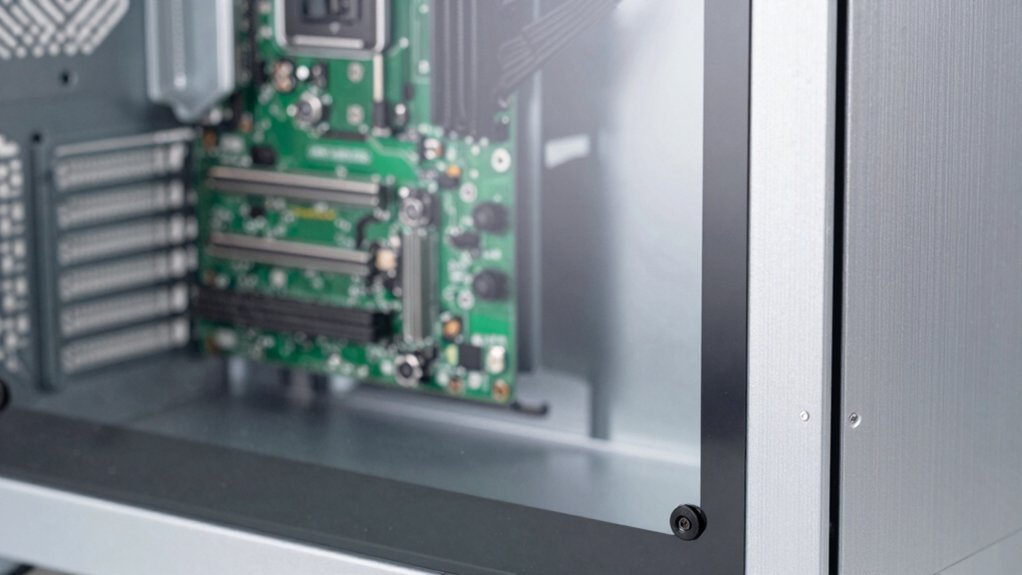
The magnetic acrylic side‑window you just learned about can be turned into a permanent, removable panel by cutting a slightly larger plexi sheet to fit inside the case’s side‑panel rails and sealing the edges with magnetic tape. First, measure the inner rail width, then cut the sheet a few millimeters larger so the magnets sit flush inside the side panel. Next, spray‑paint the edges black for a clean frame, masking the interior to keep the panel surface pristine. Finally, attach refrigerator magnets or double‑sided magnetic strips along the perimeter, leaving a small inset margin for airflow. Additionally, consider using a wrinkle‑resistant backdrop to reduce glare when streaming in a tight space easy setup and ensure you have a stable, quick‑access panel that can be deployed without tools.
Turn the magnetic acrylic side‑window into a removable panel by cutting, painting, and sealing with magnetic tape.
- Measure rail dimensions.
- Cut plexi, paint edges.
- Apply magnets, test fit.
Add a Magnetic Strip for a Quick‑Release Cheap Side‑Window
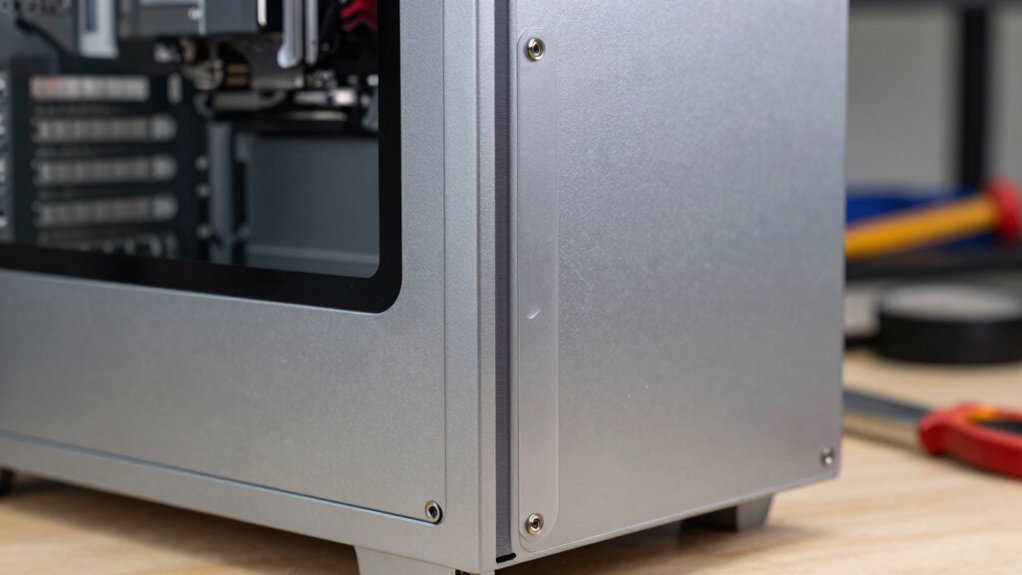
When you want a side‑window that snaps on and off without any permanent glue, a magnetic strip paired with double‑sided tape is the simplest solution. First, measure the panel and mark an inset about one inch from the edges; this keeps the strip clear of the exterior rim and aligns it with internal rails. Cut a magnetic strip to length, then stick it to the case using strong double‑sided tape. Paint the acrylic edges black and mask them so the tape stays straight. Press the strip onto the window, ensuring the magnets sit flush against the case.
The result is a quick‑release side‑window that you can pull off in seconds, leaving no residue or damage. This method beats glue for both speed and cleanliness.
Install a 3‑D‑Printed Latch on a Cheap Side‑Window
You can replace a cheap side‑window’s flimsy clip with a custom 3‑D‑printed latch that snaps into the existing rail groove, keeping the panel secure without any metal hardware. Design the latch to match the rail dimensions, then print it in PETG or ABS so it tolerates internal heat and won’t warp. After printing, sand the edges and apply a matching paint coat for a seamless look. The result is a smooth, snap‑fit action that feels as solid as a factory part. A properly designed latch also supports ergonomic stability during use.
- Model a sliding tab that engages the retainer groove.
- Size the latch to sit flush with the window edge.
- Use PETG for heat resistance and a matte finish.
Create a Floating‑Window Look With a Black‑Bezel Acrylic
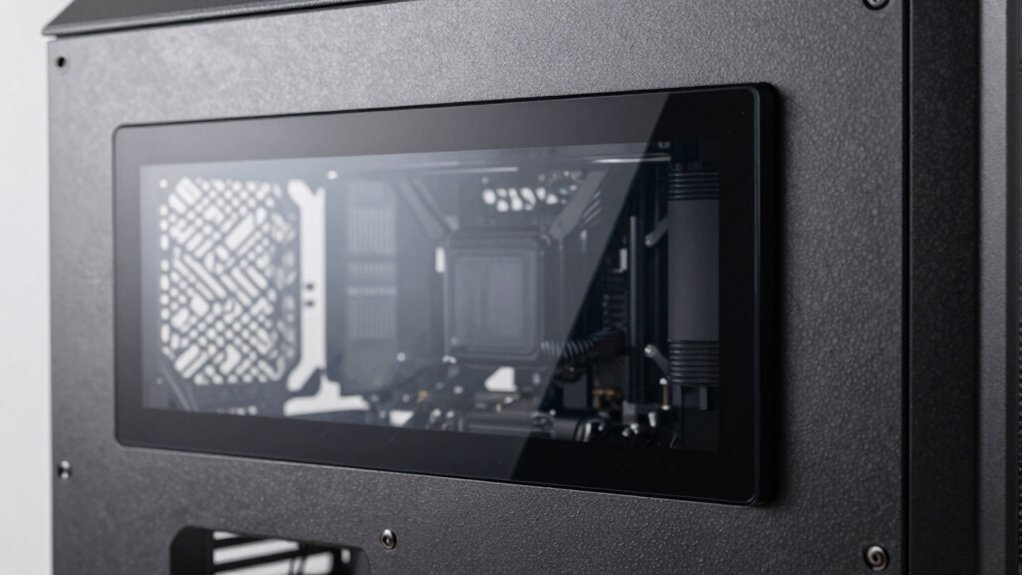
You’ll start by cutting a piece of acrylic to the exact dimensions of the side‑panel rails, then paint its edges black for that sleek, floating‑window effect. Secure the panel with magnetic strips or double‑sided tape, leaving a 1‑inch inset to align the magnets precisely. Keep airflow intact by preserving existing vents or widening the front intake if needed.Height Adjustment(3 heights) and the existing vented design help maintain cooling while you customize the appearance.
Floating‑Window Design Tips
Ever wondered how to give your case a sleek, floating‑window vibe without sacrificing accessibility? Start by measuring the internal rails, then cut a Lexan sheet to fit those guides, leaving a one‑inch inset for the magnetic tape. Paint the exposed edges black to form the bezel and block stray light. When you snap the panel in, the gap creates a genuine floating‑window design that looks high‑end yet stays removable. External power and quiet operation considerations from cooling fan concepts can inspire how you manage power and airflow behind the panel for a cleaner, unobtrusive install magnetic tape to keep the panel firmly in place.
Black‑Bezel Acrylic Finishing
After the floating‑window panel is in place, the next step is to give its edges a clean, black‑bezel finish that reinforces the illusion of levitation. Cut an acrylic sheet a hair larger than the panel, then mask the interior area so only the perimeter is exposed. Apply two to three thin coats of black spray paint, letting each coat dry completely before the next. Once the paint cures, peel the tape and attach magnetic tape along the inner edge; this lets you snap the black‑bezel display window onto the side panel without screws. The magnetic mount holds the acrylic flush while leaving a narrow gap, so the window appears to float, delivering a sleek, minimal bezel that looks professional and budget‑friendly. The choice of high‑density foam panels and their adhesive options from the related soundproofing products can provide insights into securing a clean finish without tools. adhesive options
Mount a Low‑Cost Strip Fan to Boost Airflow Through Your Cheap Side‑Window
Ever wonder how a cheap strip fan can turn a modest side‑window into a powerful airflow conduit? You can mount a low‑cost strip fan behind the side‑window to pull cool air from the front intake and push it into the case, offsetting the loss of venting from your modified panel. Use magnetic mounts or adhesive-backed tape to secure the fan to the inner edge without blocking RGB parts. Hook it to a 12 V header and control it via the motherboard or a fan controller, then compare CPU/GPU temps before and after to verify the gain.
Mount a cheap strip fan behind the side‑window, pull front air, and boost case cooling.
- Position fan to draw front air.
- Mount with magnetic or adhesive strips.
- Power via dedicated 12 V header, monitor temps.
ECC ensures reliable, consistent cooling.
Add a Removable Vinyl Frame to Conceal the Cheap Side‑Window
Mounting the strip fan behind the side‑window gives you a boost in airflow, but the exposed acrylic can look unfinished. To fix that, snap a removable vinyl frame over the panel. Choose a frame that stretches just enough to grip the edges tightly, so no gaps reveal the seam. Pick a UV‑stable matte or satin finish vinyl; it cuts glare and blends with most case colors.
Measure the panel’s height and width, accounting for any rails or protrusions, then trim the frame to fit. Make sure the design includes magnets or edge‑mounting tabs, letting you pull the side panel off without taking the frame off. This simple addition hides hardware while keeping the window’s look intact. The frame design will also align with the 270° panoramic tempered glass and dual tempered glass panels described in the knowledge, enhancing both aesthetics and airflow glass panel design.
Frequently Asked Questions
Will the Magnetic Panel Affect My Pc’s Grounding?
No, the magnetic panel won’t disrupt your PC’s grounding as long as you keep it away from the motherboard’s ground plane and avoid short‑circuiting any exposed contacts. It’s safe.
Can I Use This Modification on a Tempered‑Glass Side Panel?
Yes, you can apply the modification to a tempered‑glass side panel, but ensure the magnetic strip doesn’t press too hard, and verify the glass can handle the added stress without cracking.
What Tools Are Needed to Cut Acrylic Precisely?
You’ll need a fine‑toothed circular saw or a laser‑cutting blade, a straight edge guide, a clamp to hold the acrylic, safety glasses, a dust mask, and a ruler for precise measurements.
How Do I Prevent Dust Buildup on the Acrylic Surface?
You’ll keep dust off acrylic by wiping it regularly with a microfiber cloth, using a light dust‑repellent spray, and sealing edges with silicone; avoid harsh chemicals and store the case in a low‑dust environment.
Is the Latch Compatible With Existing Case Screws?
Yes, the latch fits the standard M3 screws most cases use; just align the holes, tighten the two provided screws, and you’ll have a secure, dust‑free closure in seconds.
In Summary
You’ve turned a cheap case door into a sleek, functional feature without breaking the bank. By adding magnetic acrylic, quick‑release strips, a 3‑D‑printed latch, a black‑bezel window, a low‑cost fan, and a removable vinyl frame, you’ve boosted aesthetics, airflow, and accessibility. These simple tweaks prove that budget‑friendly upgrades can deliver professional results, letting your build look and perform better than ever.


Leave a Reply