
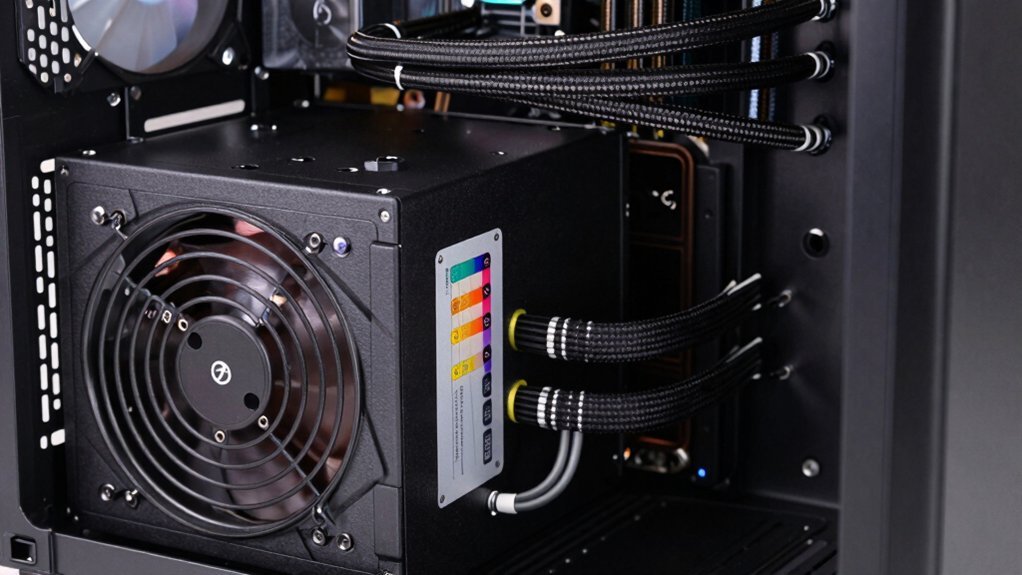
Pick an 80 Plus Gold (or better) PSU and size it about 30‑50 % above your typical gaming draw—around 450‑550 W for a 300 W load. Undervolt your CPU and GPU, set a modest power limit, and enable Windows’ balanced power plan with deep C‑states. Use a semi‑modular design, keep only needed cables, route them short and tidy to improve airflow. This cuts wall‑power waste by roughly 5 % (≈15 W), saving a few dollars a month and keeping the rig cooler. The next section shows how to calculate exact savings.
Understand 80 Plus Ratings for Gaming PSU Efficiency
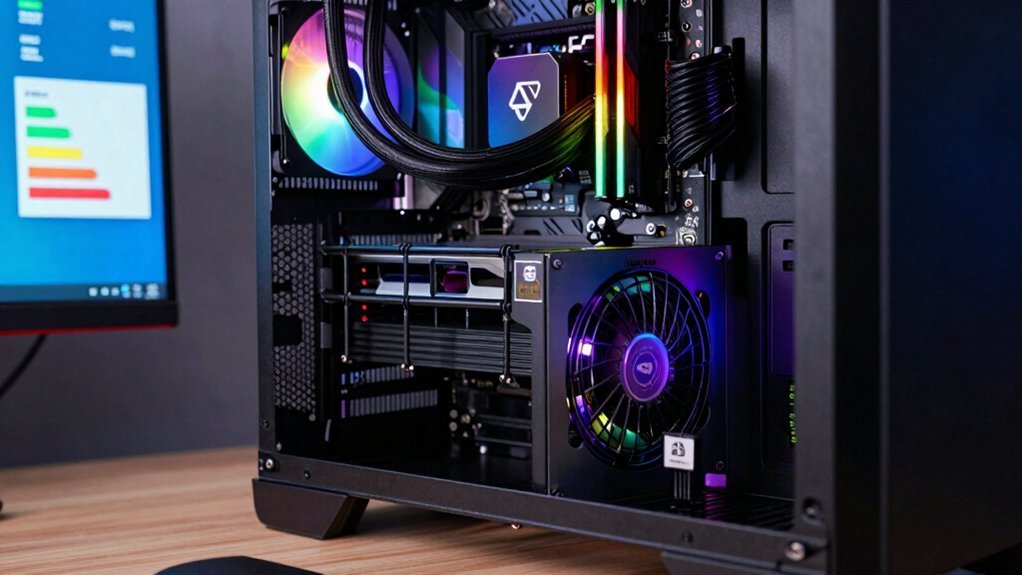
Ever wondered how 80 Plus ratings actually affect your gaming rig’s power draw? You’ll notice that an 80 Plus certification guarantees at least 80% at 20%, 50%, and 100% of the PSU’s rated load. The higher the tier—Bronze, Silver, Gold, Platinum, Titanium—the better the Efficiency. Moving from Bronze to Gold usually adds roughly a 5% bump, which means less wall power is wasted as heat when you’re pushing the system into the 60‑100% load range. A 500 W Bronze unit will draw more electricity to deliver the same output as a Gold‑rated one, so you’ll see higher bills and hotter components. For gaming rigs that run long sessions or stay on 24/7, aim for at least 80 Plus Gold to cut costs and keep temperatures down. Efficiency standards help researchers compare how much power a PSU wastes as heat across different loads.
Calculate Your Real‑World Gaming Load for PSU Efficiency
Knowing how 80 Plus ratings affect efficiency, the next step is to figure out how much power your gaming rig actually draws. Start by listing each component’s typical consumption: a 180 W GPU, a 95 W CPU, and about 25 W for motherboard, drives, and fans. Add them up to a 300 W theoretical load. Then compare that to your PSU’s rating—say a 500 W unit—yielding roughly 60 % utilization during normal gaming. For heavy GPU tasks like Folding@Home, expect up to 90 % of the GPU’s capacity, pushing overall load higher. Track idle, gaming, and peak periods, calculate the average percentage, and apply the 5 % efficiency gain from Bronze to Gold to estimate real‑world savings. This model lets you budget Power and Efficiency accurately. USB-C PD 20W
Select the Optimal PSU Wattage to Maximize Gaming Efficiency
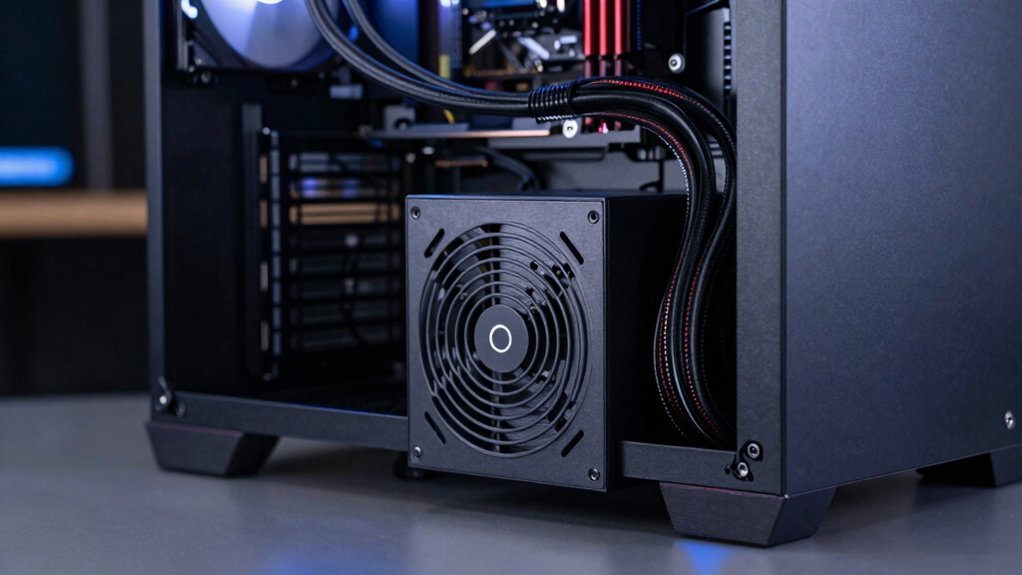
You should pick a PSU that sits a comfortable 30‑50 % above your typical gaming draw, keeping you near the 50 % load sweet spot where efficiency peaks.
This headroom lets the unit stay in its optimal efficiency zone without the waste of an oversized charger. For budget builds, also verify that the chosen unit has solid protection features (OVP, OCP, OTP, SCP) to guard against power spikes and transient loads Protection Circuits while staying within your case’s space and cable management preferences.
Ate Wattage for Load
How much wattage should your PSU actually deliver for a 300‑W gaming load? Aim for a unit that sits comfortably above the peak draw, typically in the 400–500 W range. This headroom lets the PSU operate near its efficiency sweet spot—around 50 % of its rated capacity—so a 450–550 W model often outperforms a lower‑capacity one on a 300 W system. Upgrading from 80+ Bronze to 80+ Gold can shave roughly 15 W off your wall bill, and a semi‑modular design improves airflow, cutting heat‑related losses. For budget setups, consider models with a robust warranty and readily available replacement parts to support long‑term reliability. Efficiency headroom ensures sustained performance under mixed CPU/GPU loads.
- Choose a 450–550 W PSU for optimal mid‑load efficiency.
- Target 80+ Gold certification to gain ~5 % efficiency.
- ensure stable performance under sustained 300 W GPU+CPU load.
- Favor semi‑modular units for better cooling and reduced heat loss.
Efficiency‑Optimized Power Headroom
When you size a PSU, aim for enough headroom that your typical gaming draw stays around the 50 % mark of the unit’s rating; a 450‑550 W supply for a system that peaks near 300 W keeps the PSU in its most efficient band, reduces waste heat, and lets you reap the extra 5 % efficiency boost of an 80 Gold model without over‑paying for unnecessary capacity. Use an efficiency‑calculator approach: estimate typical load, then compare wall power for 80 Bronze vs. 80 Gold. A semi‑modular design cuts cable clutter, lowers internal temperature, and helps maintain efficient power delivery. 24‑Inch Privacy Screen Filter with Blue Light Protection and other privacy screen options emphasize controlled viewing angles and glare reduction, which parallels the idea of managing exposure and efficiency in a system build.
Compare Wall‑Power Draw of Bronze vs. Gold PSUs for Gaming
Ever wondered how much wall‑power you actually save by swapping an 80+ Bronze for an 80+ Gold PSU? You’ll see roughly a 5 % drop in wall power at full load—about 15 W on a 300 W gaming rig. The Bronze S12III pulls 259 W from the outlet, while the Gold Focus 450W trims that to around 244 W, thanks to better power efficiency. That reduction means less heat, quieter fans, and a modest boost to your electricity bill. A higher efficiency rating also means more usable DC power for components SATA/PCIe efficiency and better overall system reliability under load.
Run the 80 Plus Efficiency Calculator to Convert Watts to Dollars
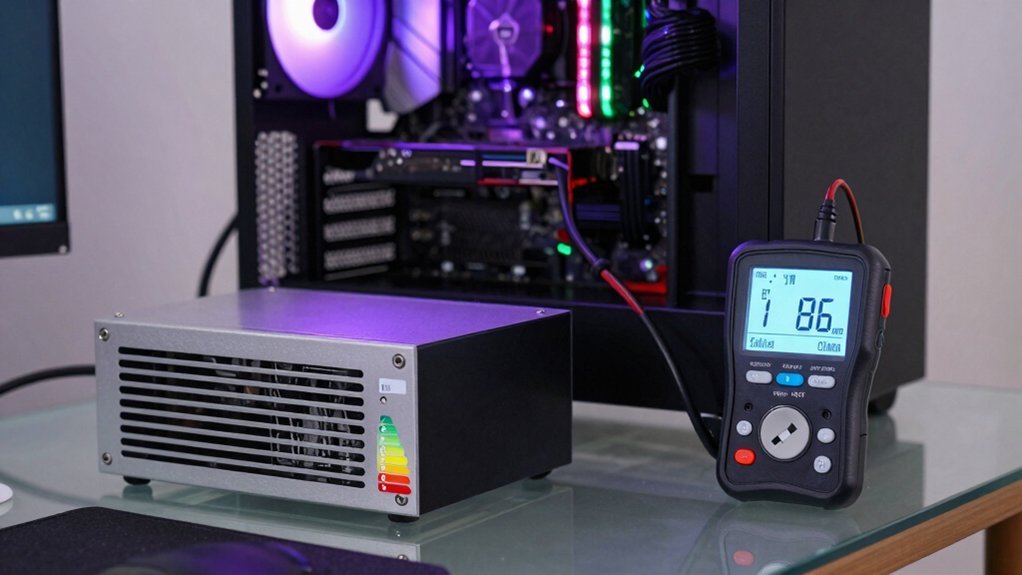
Wondering exactly how those saved watts turn into dollars? Grab the 80 Plus efficiency calculator and plug in your system’s average load—20 %, 50 % or 100 %—plus your local electricity rate. Say you run a 300 W rig and upgrade from Bronze to Gold; the calculator shows a ~15 W reduction at full load. Multiply that by the hours you game each month, then by your $0.18/kWh rate, and you’ll see the monthly and yearly cost drop. The tool also lets you test different loads, so you can compare payback periods for higher‑priced PSUs efficiency upgrades and other power‑delivery improvements. By quantifying the wall‑power savings, you decide whether the upfront PSU cost pays off over time.
Enable Semi‑Modular Cabling for Better Airflow
You’ll notice that cleaning up excess cables lets air flow freely, so temperatures drop.
By connecting only the wires you need, you cut clutter and keep the case cooler under load.
This semi‑modular setup gives you the benefits of modular design without the full price of a premium unit.
Cable Management Improves Airflow
Because a semi‑modular PSU lets you leave out the cables you don’t need, you can route only the essential power lines and keep the interior of your case clear. This directly boosts PSU Efficiency by letting waste heat escape faster, while tidy cable management prevents airflow blockages around the GPU and CPU cooler. A cleaner layout also curbs dust accumulation, keeping temperatures stable under load.
- Omit unused SATA and peripheral cables to free space for fans.
- Bundle remaining power leads with Velcro straps for a streamlined path.
- Route cables behind the motherboard tray to avoid obstructing intake vents.
- Use short, modular connectors to reduce slack that creates turbulence.
These steps let your system breathe, lower fan workload, and ultimately save energy.
Reduced Clutter Lowers Temperatures
Cable management already cleared the case, so the next gain comes from cutting out the cables you never use. By switching to a semi‑modular PSU like the Focus Gold 450W, you enable only the essential connections, which unclutters the interior and boosts airflow. Less tangled wiring means cooler air can sweep past the GPU and CPU, shaving a few degrees off peak temperatures and letting fans spin slower. The result is a modest power‑draw reduction that improves PSU efficiency and extends component life. Keep the layout tidy, and you’ll see a steadier, cooler system without extra expense.
| Benefit | Effect |
|---|---|
| Fewer cables | Improved airflow |
| Shorter runs | Better heat dispersion |
| Organized interior | Lower fan speeds |
Modular Design Enhances Cooling
When you opt for a semi‑modular PSU like the Focus Gold 450W, you instantly cut out the unused wires that would otherwise block airflow. That removal improves Airflow/Cooling and boosts Power Efficiency because the fans can move air unhindered, keeping components cooler under load. With fewer hard‑wired cables, you also reduce noise and simplify troubleshooting.
- Connect only the cables you need, eliminating clutter that hinders case fans.
- Route the remaining cables along the case walls to create direct airflow paths.
- Keep the interior tidy, making it easier to spot and fix cooling bottlenecks.
- Enjoy lower component temperatures, which translates to better performance and longer hardware lifespan.
Pair a High‑Efficiency PSU With Undervolting and Power‑Limit Tweaks
Why settle for just any power supply when you can boost efficiency by pairing a high‑efficiency PSU with undervolting and a fixed power limit? Start by installing an 80+ Gold (or better) unit, then apply undervolting to your CPU and GPU. Lower voltages keep baseline clocks steady, so you preserve performance while cutting wall draw. Next, set a conservative power limit that caps peak consumption, preventing throttling during intense gaming sessions. Test stability, monitor frame rates, and tweak the limit until you see the same performance with fewer watts. Because the PSU’s power efficiency rises with load, you’ll notice the biggest savings when the system approaches full load. This two‑step approach squeezes extra juice out of every watt.
Turn On Windows Power Plans and C‑States to Slash Idle Power
Ever wondered how much power your PC wastes while you’re not gaming? You can cut that waste by tweaking Power plans and enabling C‑states. First, open Control Panel → Hardware and Sound → Power Options and pick a balanced or power‑saving profile. Then, dive into Advanced settings: lower the minimum CPU percentage, set a modest maximum, and turn on deep C‑states for aggressive idle shutdowns. Remember that higher C‑states add a tiny exit latency, but modern chips handle it smoothly, delivering net savings. Finally, create separate profiles for gaming and idle use, swapping automatically when performance isn’t needed.
- Adjust CPU utilization limits
- Enable deepest C‑states in BIOS
- Control PCIe link power state
- Set hard‑drive inactivity timers
Compute Payback Period Using Your Electricity Rate
You’ll first calculate the yearly energy cost by multiplying the PSU’s watt‑difference by your annual usage hours, converting to kWh, and applying your electricity rate.
Then divide the extra upfront price of the higher‑efficiency PSU by that annual savings to get the payback timeline.
This quick formula lets you see exactly how many months or years it will take to recoup the investment.
Energy Cost Calculation
How much will you actually save by swapping a Bronze PSU for a Gold one? You calculate the energy cost difference by multiplying the power efficiency gap (≈15 W at full load) by your annual usage hours and the electricity cost per kWh. For a 300 W gaming rig running 24 / 7, that’s 15 W × 8,760 h ≈ 131 kWh, which at $0.18/kWh saves about $24 a year. If you sell the old PSU for $20, the net upfront expense drops, shortening the payback. Use a calculator to compare 80 Plus Bronze vs. Gold at 20 %, 50 %, and 100 % loads, input your local rate, and see how load patterns affect electricity cost.
- Determine average daily runtime
- Apply the 5 % efficiency gain at each load level
- Convert watt‑hour savings to kWh
- Multiply by your electricity cost per kWh for annual savings
Payback Timeline Estimation
Want to know how quickly a Gold‑rated PSU pays for itself? Compute the payback period by dividing the extra upfront cost by the annual energy savings. First, calculate the wall‑power difference between your current Bronze PSU and the Gold upgrade—about 15 W for a 300 W system. Multiply that by 8,760 hours and your local electricity rate (e.g., $0.18/kWh in Connecticut) to get roughly $20 per year in efficiency savings. If the Gold unit costs $40 more, the payback is $40 ÷ $20 ≈ 2 years, assuming 24/7 operation. Higher usage hours or a higher rate will shrink the timeline, while intermittent use will stretch it. Adjust the numbers to match your actual run‑time and local electricity cost for an accurate estimate.
Decide If Upgrading Is Worth It for 24/7 Rigs vs. Casual Gaming
Is upgrading your PSU worthwhile? If you run a 24/7 rig, the 5 % efficiency gain from 80+ Bronze to 80+ Gold translates to about 15 W saved on a 300 W load. At $0.18/kWh, that’s roughly $0.24 per day, cutting the payback period to a few years. For casual gamers who power on a few hours nightly, the same upgrade yields only a few dollars a year, making the payback far longer.
- Continuous operation maximizes watt‑hour savings.
- Higher‑efficiency units reduce heat, extending component life.
- Semi‑modular designs improve airflow and cable management.
- Electricity cost and runtime dictate whether the upgrade pays off.
Frequently Asked Questions
How to Make a Gaming PC More Energy Efficient?
You’ll cut power use by picking an 80 + Gold (or better) PSU, matching wattage to your components, using efficient CPUs/GPUs, disabling unused peripherals, and optimizing cable management for airflow.
How Long Will a $2000 PC Last?
You’ll likely get ten to twelve years before performance feels outdated, assuming you keep up with driver updates and occasional component upgrades, but heavy gaming or new tech could shorten that lifespan.
Does Leaving a Computer on 24/7 Cost More Than $100 Year in Electricity?
You’ll probably spend under $100 a year if your rig idles most of the time; only a constantly max‑load system with a low‑efficiency PSU can push the bill past that threshold.
Is a 1600 Watt PSU Overkill?
Yes, a 1600‑watt PSU’s overkill for most gamers. You’ll rarely exceed 600‑800 W, so you waste money on a larger unit, higher cost, and extra heat without real performance gains.
In Summary
By picking a high‑efficiency PSU, matching its wattage to your actual gaming load, and tweaking power settings, you’ll slash both idle and load draw. The savings add up quickly—especially with 80 Plus Gold or Platinum units—so the payback period can be just a few months for 24/7 rigs. Even casual gamers benefit, making the upgrade a smart, cost‑effective move.


Leave a Reply