
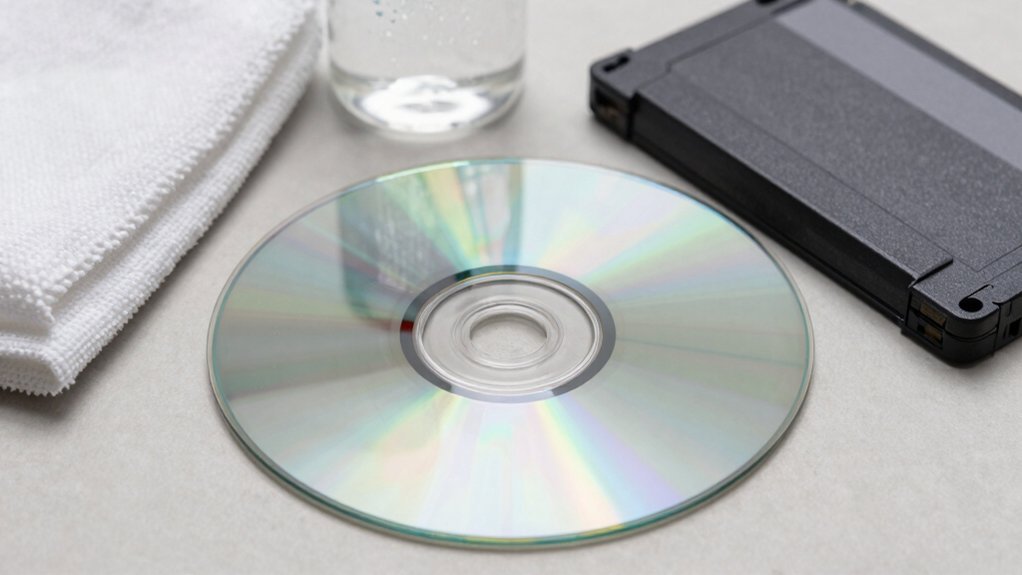
Set up a clean, dry table with a lint‑free cloth, a small tray, rubbing alcohol, cotton swabs, and Goo Gone. Gently pry off sticker corners, apply a thin layer of Goo Gone, let it sit 30 seconds, then rub the residue with a soft rag. Open the cartridge, erase the pins with a clean eraser, and wipe them with an alcohol‑dampened swab. For discs, wipe straight from center to edge with a lint‑free cloth, polish light scratches with toothpaste or a disc‑repair machine for deeper marks, and clean console lenses using a lens‑cleaning kit and a barely dampened cloth. Keep going and you’ll discover more detailed steps.
Set Up a Clean Workspace and Gather Essential Tools
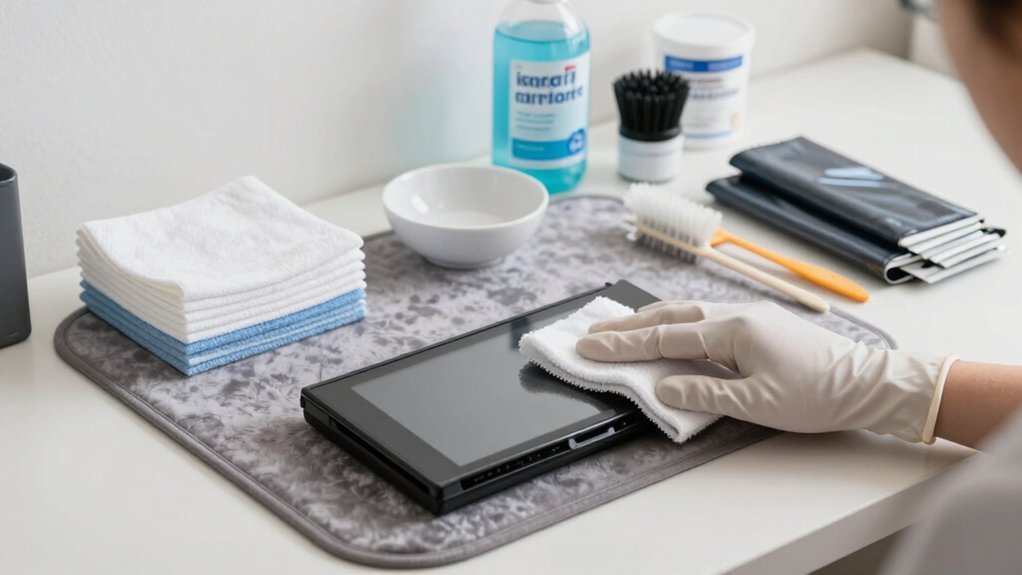
Usually you’ll want a workspace that can tolerate rubber debris and keep all your tools within arm’s reach, so interruptions won’t slow you down. Clear a sturdy table, lay down a soft cotton cloth, and spread a lint‑free rag for later cleaning. Gather rubbing alcohol, cotton swabs, and a small container for screws and parts; keep them together in a tray to avoid misplacement. Have Goo Gone handy for stubborn residue, and ensure the cartridge can be opened so you can access contacts without damage. Arrange the tray so loose components stay contained, and keep the area free of clutter. This setup lets you focus on the cleaning process, minimizes hazards, and speeds up disassembly. Integrated outlets can help power any attached cleaning lights or devices without clutter, especially on stands with built‑in storage.
Remove Stickers and Residue Without Damaging Cases?
You’ll start by gently prying the sticker’s corners with a smooth edge, lifting it without tearing the case. Then, apply a thin layer of Goo Gone, let it soak, and rub the residue off with a lint‑free rag. Finish by wiping the area clean to ensure no sticky spots remain.
Gentle Pry Techniques
A few gentle pries with a smooth edge can lift a sticker’s corners without tearing the case, so you’re careful near edges and hinges. You’ll want a plastic credit‑card or a thin metal ruler that won’t scratch the surface. Work slowly, easing the tool under the corner and lifting just enough to break the adhesive bond. Once the sticker lifts, you can address any remaining residue without harming the plastic. Proper technique can also help prevent damage to under‑the‑hood components and maintain long‑term device integrity low latency connectivity.
Goo Gone Application
After lifting the sticker’s corners with a plastic card, apply a small dab of Goo Gone directly onto the remaining adhesive. Let it sit for thirty seconds, then use a soft rag to rub the area in circular motions. The solvent breaks down the glue, so you’ll see the residue lift without scratching the plastic case. Before you start, remove any paper inserts or booklets to keep the liquid from seeping into seams and causing damage. If the sticker proves stubborn, gently pry another corner and repeat the Goo Gone application. When the adhesive disappears, wipe the spot with a clean rag to eliminate any leftover film and avoid a slick surface. This method leaves your case spotless and ready for the next cleaning step. For added protection, ensure you use a non-conductive method to minimize static buildup on electronic surfaces ESD-safe.
Lint‑Free Rag Finish
A lint‑free rag is your safest tool for wiping away stickers and adhesive on plastic cases without leaving fibers behind. You’ll first peel the sticker gently, using a smooth edge to lift the corners and avoid cracking the case. If any residue sticks, dampen a fresh lint‑free rag with Goo Gone, rub lightly, then wipe the area clean with another dry section. Finish by swabbing the surface with an alcohol‑moistened rag to dissolve any lingering stickiness, and use cotton swabs for tight corners. Pry stubborn corners with a smooth tool before applying any cleaner. Apply Goo Gone to a lint‑free rag, rub gently, then wipe with a fresh rag. Finish with alcohol on a lint‑free rag and cotton swabs for edges. Power Delivery can influence the longevity and stability of system components when upgrading or running high‑end GPUs, so ensure the case area around power connectors is kept clean to prevent debris from interfering with airflow and assembly.
Clean Used Cartridge Cases With Rubbing Alcohol
Rubbing alcohol and a lint‑free rag are all you need to clean a cartridge case’s exterior without damaging any paper inserts.
First, peel off stickers; if adhesive remains, dab a little Goo Gone on the rag, rub, then wipe the spot with alcohol.
Peel stickers, apply a touch of Goo Gone, rub gently, then finish with an alcohol wipe.
For plastic cases, dampen the rag lightly—don’t soak it—to avoid seepage into the interior. Gently wipe the whole surface, paying attention to corners where dust gathers.
Use a cotton swab for tight edges, ensuring it’s dry before reassembly.
If the case shows scratches or severe wear, swap it for a replacement jewel CD case to preserve integrity.
This cleaning routine keeps the case looking fresh while protecting the game’s paper components. 3-Speed USB Desk Fans
Open the Cartridge and Clean Its Pins Safely
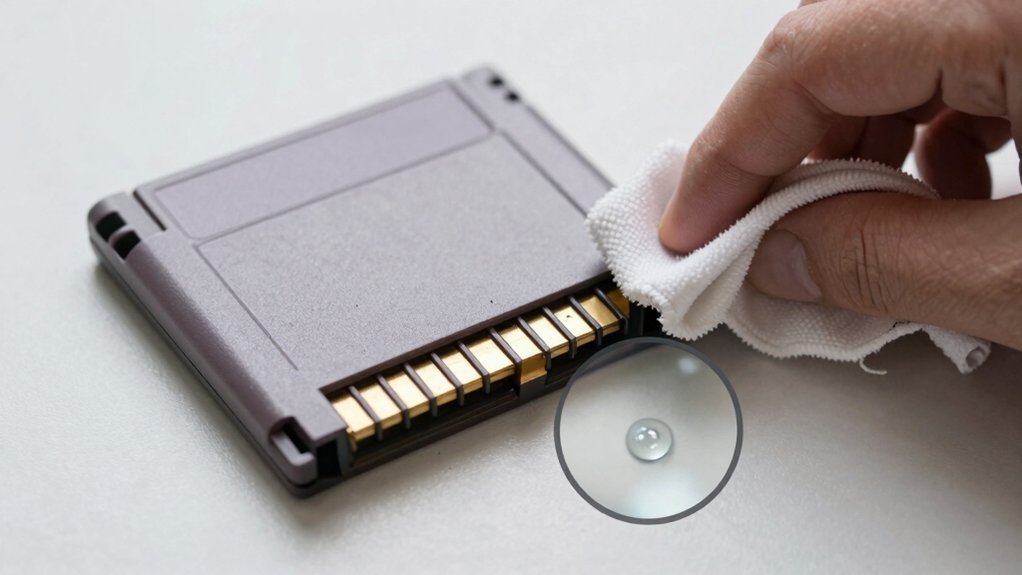
You’ll first expose the cartridge’s pins by gently opening the case, making sure you can see both sides without forcing anything.
Then, use a clean eraser to sweep across the contacts, followed by a dry lint‑free cloth to clear any residue.
If stubborn grime remains, lightly dab a cotton swab with isopropyl alcohol, let it dry completely, and reassemble before testing the game.
Additionally, ensure you work on a clean, dry surface and avoid excessive moisture near any conductive contacts to prevent damage fire‑resistant materials.
Expose Exposed and Safely
Ever wondered how to open a game cartridge without losing a screw or damaging the board? You’ll need a small Phillips head, a clean workspace, and a container for tiny parts. First, loosen each screw slowly, noting its position; a magnetic tray helps keep them together. Next, gently pry the shell apart, watching for clips that might snap. If the board feels stuck, wiggle it lightly rather than forcing it apart. Finally, inspect the contacts—center, end, and side—for grime before you start cartridge cleaning. A 120-piece bulk set of cable clips emphasizes how important precise sizing and secure fastening can be when organizing small components in tight spaces surface compatibility and removal and helps ensure you have the right grip and spacing for delicate electronics work.
Pins Cleaning Technique
How can you safely clean a cartridge’s pins without risking damage?
First, open the cartridge carefully, noting every screw and fastener so you can reassemble it later.
Expose the circuit board and locate all contacts—center, end, and side.
Inspect each for dirt, corrosion, or oxidation.
Then, grab a clean, soft eraser and gently rub it across every contact, applying even pressure to lift debris without scratching the metal.
Avoid liquids; they can seep into the board and cause damage.
After erasing, let any residue dry completely—never use rubbing alcohol or ammonia, especially on vintage units.
Finally, double‑check that the contacts are clean and dry before reassembling, ensuring reliable performance and long‑term reliability.
Clean Used Discs – Straight‑Line Wipe With a Lint‑Free Cloth
Wondering how to keep a used disc from skipping? Grab a clean, lint‑free cloth and hold the disc by its edges. Wipe in straight lines from the center hole outward, never using circular motions. This method prevents fingerprints and data errors. If smudges linger, dampen the cloth with a little rubbing alcohol—never spray the disc directly—and continue the center‑to‑edge strokes. After wiping, inspect the surface, then let the disc dry for at least two minutes before loading it.
- Use a lint‑free cloth, holding the disc by the rim.
- Wipe straight from center to edge, avoiding circles.
- Apply alcohol‑dampened cloth for stubborn spots, then dry fully.
Polish Used Discs to Remove Light Scratches
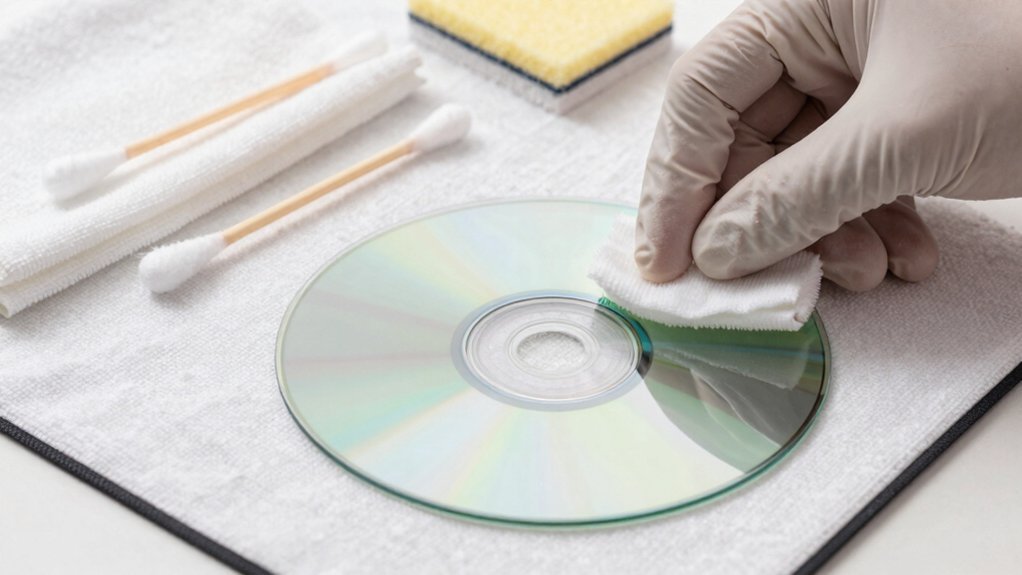
When a disc shows light scratches that cause occasional skips, a gentle polish can often restore smooth playback.
First, make sure the disc is clean; wipe the surface with a lint‑free cloth in straight, center‑to‑edge strokes to remove dust.
If a faint haze remains, dab a small amount of toothpaste onto a fresh cloth and rub in the same straight lines for about thirty seconds, then let it sit for five minutes.
Rinse the disc thoroughly with warm water, then dry it with another clean, lint‑free towel, avoiding any circular motion.
For stubborn grime, lightly dampen a swab with rubbing alcohol and glide it across the data side, never touching the label.
After polishing, test the disc; if skips persist, the scratches may be too deep for this method.
Repair Deep Disc Scratches With a Disc‑Repair Machine
Ever tried rescuing a game disc with a deep scratch using a disc‑repair machine? You’ll find the process straightforward but limited. A disc‑repair device like Disk Doctor clamps the disc, spins it, and polishes the underside, smoothing surface flaws. Success rates are high for light marks, yet deep scratches or cracks often survive the polish, leaving a permanent pattern on the disc’s bottom side. Commercial alternatives exist, but none guarantee full restoration of heavily damaged media. Use the machine as a last resort after cleaning, and be prepared for possible failure if the damage penetrates the substrate.
Disc‑repair machines smooth surface flaws, but deep scratches often remain, risking permanent playback errors.
- Secure the disc firmly in the machine’s cradle.
- Turn the crank steadily for the recommended duration (usually 30–60 seconds).
- Test playback; if errors persist, consider replacement rather than further polishing.
Clean Video‑Game Console Lenses Without Disassembly
How can you keep your console’s optics crystal‑clear without opening it up? Start by grabbing a lens‑cleaning kit that includes a soft brush or a can of compressed air. Gently sweep the brush across the lens to lift loose dust, then give a short burst of air from a safe distance. If the kit provides a cleaning swab, dab a tiny amount of the recommended solution onto the swab—never spray directly onto the lens. Lightly wipe the surface with a barely dampened, lint‑free cloth, following the manufacturer’s instructions. Avoid excess liquid and never touch internal optics or remove protective panels. After cleaning, power on the console to check readability. If read errors remain, consult repair guidance. Regular cleaning prevents picture degradation and reduces the need for deeper servicing.
Dust Vents, Heat Shields, and Store Used Games Properly
Is your console overheating because dust has clogged its vents? You can keep it cool and your games pristine by tackling dust vents, heat shields, and storage together. First, grab a soft dusting brush and sweep away loose particles from the vents and heat shield; this restores airflow and prevents heat buildup. Next, lightly wipe the casing with a dry cloth, then use a barely dampened cloth—spray glass cleaner onto the cloth, not the console—to clean the exterior without risking liquid ingress. Finally, store discs and cases in their original packaging or a dedicated shelf to avoid new contamination.
- Brush dust vents and heat shield gently.
- Wipe exterior with a dry, then a lightly damp cloth.
- Keep games in proper containers after cleaning.
Frequently Asked Questions
How to Clean Used Video Games?
You should wipe each disc from the center outward with a lint‑free cloth, use a little rubbing alcohol for stubborn grime, avoid circular motions, let it dry fully, and never polish the label side.
Can I Use Windex to Clean a Game Disc?
No, you shouldn’t use Windex. It can leave residues and damage the disc surface. Stick to isopropyl alcohol, plain water, or a lint‑free cloth, applying the liquid to the cloth, not directly on the disc.
What Causes Old Consoles to Turn Yellow?
You’re seeing yellow consoles because UV light, heat, and aging trigger photo‑oxidation in the polycarbonate, while brominated flame retardants, smoke, dust, oil, moisture, and harsh cleaners accelerate the discoloration.
Can You Use Hydrogen Peroxide to Clean DS Games?
You can’t use hydrogen peroxide on DS cartridges; it’ll damage the plastic and label. Stick to a mild, isopropyl‑alcohol cleaner applied with a lint‑free cloth, then let it dry completely.
In Summary
Now you’ve got a spotless workspace, the right tools, and a step‑by‑step routine for every part of the game—cases, pins, discs, lenses, and vents. By handling each component carefully, you’ll keep your collection looking fresh, running smoothly, and ready for endless play. Store everything properly, and your games will stay in top shape for years to come.


Leave a Reply