
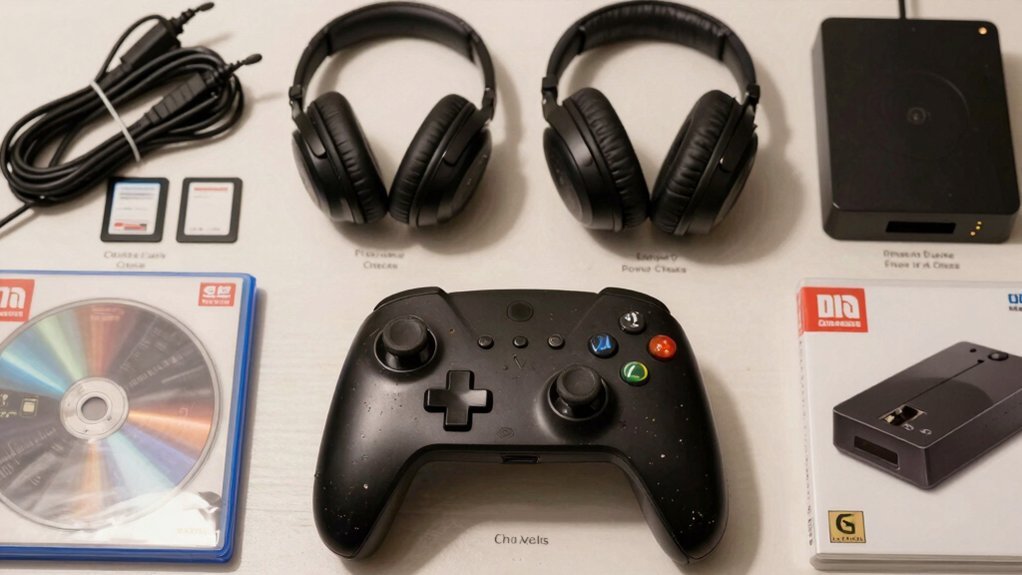
First, confirm the exact model and revision to match the console’s compatibility matrix, then inspect the casing for scratches, button wear, and corrosion. Next, verify every original part and accessory is present, with serial numbers matching documentation. Test wired power supplies for stable voltage and wireless gear for battery health and range. Check all ports and connectors for secure, flicker‑free connections under load. Review the seller’s refurbishment grade and warranty terms, and you’ll discover the full checklist.
Verify Model and Revision of Used Game Accessories
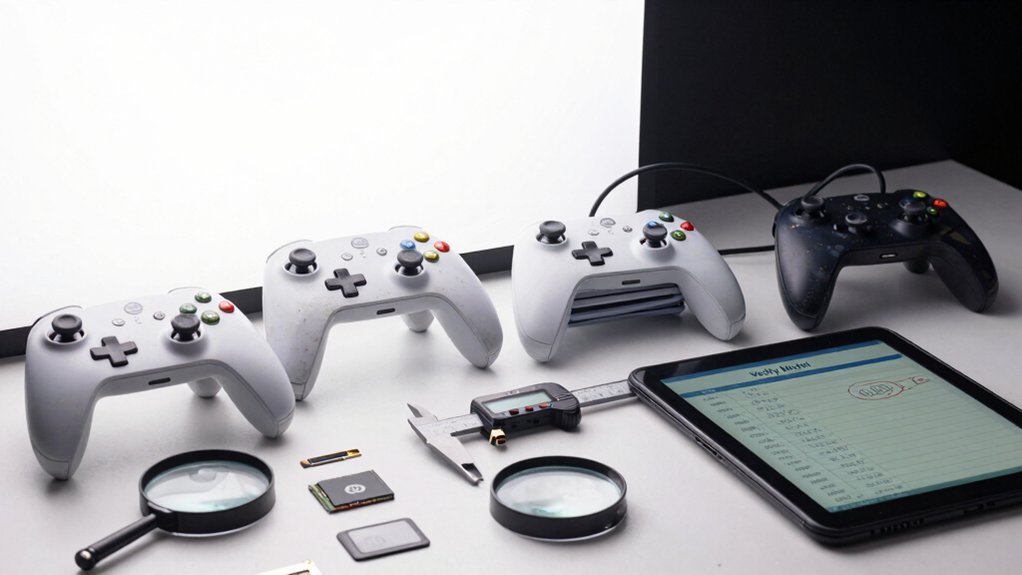
What model and revision are you holding? You start by reading the label, noting the exact model number and hardware revision. That info tells you whether the accessory will match the console’s compatibility matrix and which peripherals it can support. Early revisions often run hotter or use outdated components, so you anticipate different cooling needs and potential failure modes. Compare original versus Slim versions to gauge power draw, footprint, and port layout. Record every detail in your documentation as you intake the item; this ensures refurbishment crews select the right replacement parts and apply version‑specific tuning. By logging the revision early, you avoid mismatched parts later and keep the repair pipeline efficient. Surface Compatibility & Removal considerations can guide how to handle adhesives or mounting surfaces during refurbishment.
Inspect Physical Condition and Wear Levels of Used Game Accessories
You’ll notice surface scratches that hint at how much the accessory’s been handled, so examine the casing closely. Test each button’s responsiveness to ensure they register presses without lag or sticking. Finally, pull and wiggle the cables and plugs to confirm they’re solid, unfrayed, and free of corrosion. Regularly check for any BIOS or firmware updates to ensure compatibility with current hardware and improve stability firmware updates.
Surface Scratches
Ever wondered how a few surface scratches can reveal a controller’s history? You’ll notice that deeper, more numerous marks usually signal heavier use and rough storage. A quick cosmetic andwear assessment helps you decide if the blemishes are merely aesthetic or if they affect fitment. Pay special attention to contact points like ports and USB connectors—scratches there can cause intermittent connections. Compare the scratches to a reference image, classifying them as minimal, moderate, or pronounced. Photograph each angle to back up your grading and any return discussions.
- Scan plastic housings for overall scratch density.
- Examine buttons for wear that might affect tactile feel.
- Inspect contact points for gouges that could interrupt signals.
- Rate severity against a known‑good sample.
- Capture clear photos from multiple perspectives.
Button Responsiveness
Scanning each button’s travel while applying firm, repeated presses reveals stick drift, unresponsive inputs, and inconsistent actuation; a quick tactile test lets you spot excessive wear, sticky residue, or flattened targets that signal internal dirt or failed lubrication. You’ll feel the tactile feedback and note any delayed spring‑back, which directly impacts button responsiveness. Run the test on every face, shoulder, trigger, and D‑pad, listening for distinct clicks and watching for ghosted signals when you press in rapid succession. Cosmetic gaps or wobbling buttons also hint at shell wear or chassis issues, so give them a gentle wiggle. Regular maintenance with quick cleaning can help preserve performance over time, especially when you store and rotate your components as part of a budget-friendly organization plan Storage Planning and ensure you check for signs of moisture or corrosion before use.
Cable Integrity
Is the cable’s exterior showing signs of wear? You’ll want to gauge whether the damage is a significant cosmetic issue that could affect durability or just a minor cosmetic blemish that doesn’t impact performance. First, examine both ends for bent pins, corrosion, fraying, or exposed conductors—these are red flags for internal wire damage. Next, run a quick continuity test with a multimeter; consistent voltage confirms proper insulation. Also, feel for stiff or brittle sections that hint at overheating. Finally, check the connectors for wobble or loose seating, because a faulty plug can cause intermittent loss of signal.
- Bent pins or corrosion at the connectors
- Frayed or exposed conductors along the length
- Kinks or excessive flex near strain reliefs
- Discoloration or heat‑softened insulation
- Loose, unevenly clicking connectors that don’t seat securely
Confirm All Original Parts and Accessories Are Included
You should run through an original‑parts checklist to make sure the console, power adapter, cables and any controllers are all present. Verify that serial numbers match and that every accessory looks authentic, not a third‑party copy. Finally, confirm the original packaging, manuals and seals are included so nothing’s been swapped or omitted. Fireproof to 1382°F
Original Parts Checklist
Wondering whether the bundle truly includes everything you need? A solid Original Parts Checklist helps you navigate the purchase, increase your chances of getting a functional set, and save money by avoiding hidden costs. Start by matching each component—power adapter, HDMI/AV cable, controller—to the console’s model and revision. Cross‑check serial or part numbers against the documentation to confirm authenticity. Inspect connectors for corrosion, bent pins, or wear, and test every accessory for responsive input and reliable power. If any non‑original parts appear, verify they’re disclosed and consider how they affect warranty and resale value. Ensure you verify the presence of a functioning display and compatible mounting options for accurate setup part verification and confirm the item’s refresh rate and connectivity align with your needs before purchase.
Accessories Completeness Verification
How can you be sure every original component made it into the box?
Start by pulling the item list from the manufacturer’s website and matching each piece—main unit, power supply, cables, controllers, and bundled accessories—to the description.
Examine every part for wear, cracks, or broken pins, and test that cables connect cleanly.
Look for the branded manual, warranty card, and any inserts; digital copies count if they’re authentic.
If a piece is missing or replaced with a third‑party part, note it and ask the seller for confirmation or a price adjustment.
This cross‑check guarantees you receive a complete, functional set and protects you from hidden gaps.
Test Power Supply and Battery Life of Wired and Wireless Gear
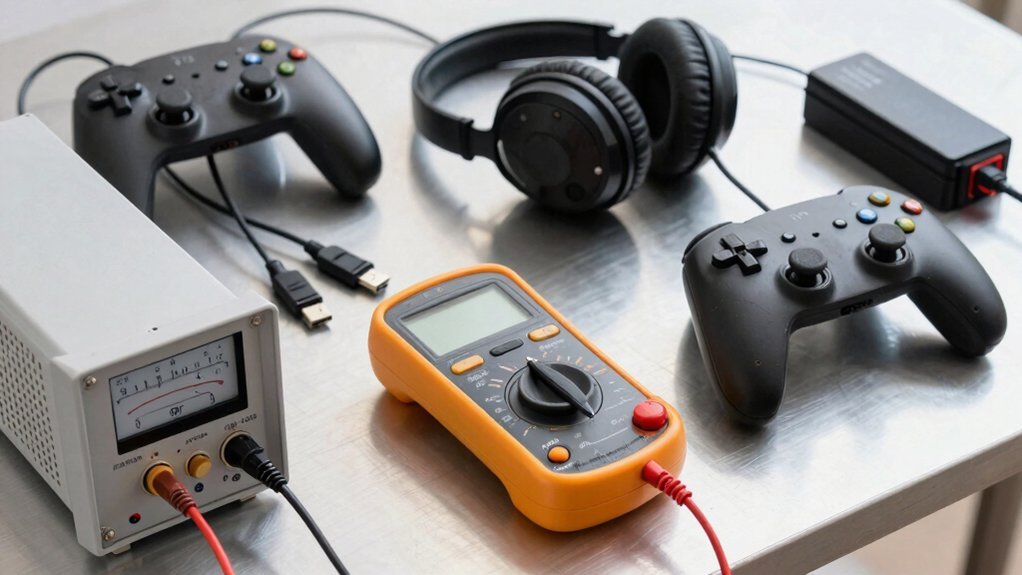
Is the power source reliable enough to keep your gaming session uninterrupted? You’ll want to confirm that a wired supply powers on every time without flicker, and that its voltage stays within ±5 % of the console’s rating under load. For wireless gear, fully charge the battery, then time a typical gaming session and compare the result to the manufacturer’s claim. Feel for warmth, fraying, or loose connections on bricks and cables, and use a multimeter to check for ripple or noise that could destabilize the console. Finally, run a full discharge‑recharge cycle on rechargeable batteries to gauge capacity retention and spot swelling. Power stability can be an indicator of overall reliability in multi‑device setups.
Test Accessory Connectivity and Console Compatibility
Ever notice a cable that flickers or a controller that drops inputs just as the game intensifies? First, plug each accessory into the console and watch for stable connections—no flickering lights, no intermittent signals. Test every port—HDMI, USB, AV, power—by running a quick benchmark or a demanding game scene; the voltage should stay steady, and the device shouldn’t short out. Verify that the accessory matches the console’s revision; newer models may have altered ports or require specific adapters. For wireless gear, pair it, then move around the room to confirm range, check battery health, and make sure sticks stay centered with responsive buttons. Finally, monitor the console for overheating or louder fan noise, and ensure LEDs or on‑screen icons indicate proper operation. Port compatibility is a key factor when assessing how well accessories will perform with a given console.
Look at the Seller’s Refurbishment Grading Details
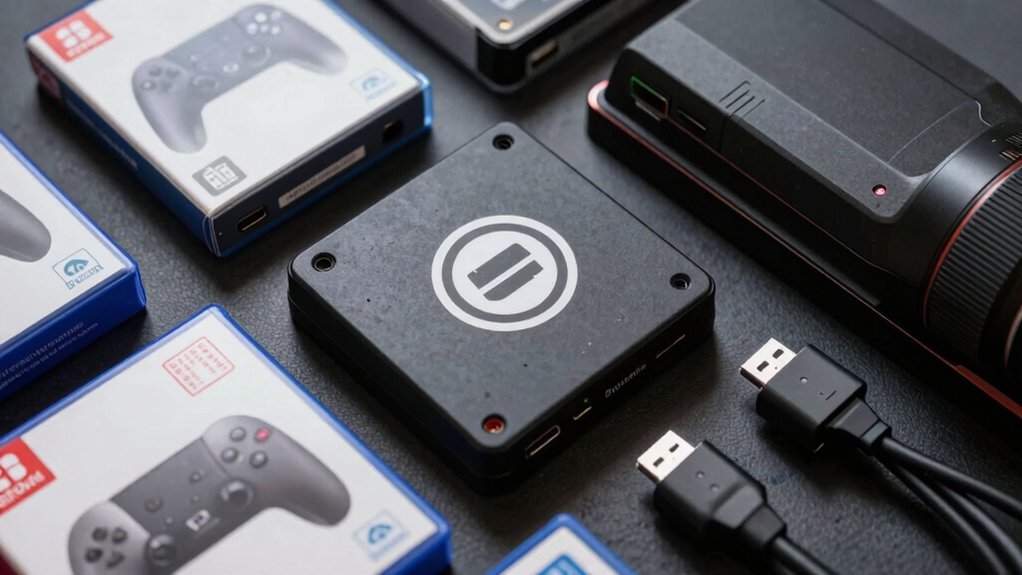
After confirming that each accessory plugs in cleanly and works under load, turn your attention to the seller’s refurbishment grading. The grading tells you how the item looks after restoration and whether it meets functional expectations. Excellent means it’s practically new, with tiny blemishes and full performance. Good allows minor cosmetic flaws but still runs flawlessly. Fair shows visible wear; you’ll see a “TESTED” badge confirming it works despite the look. Poor indicates heavy wear and possible functional quirks, so the badge becomes essential. Keep an eye on replacement part standards—OEM parts are preferred, and high‑quality aftermarket parts appear only when necessary.
- Understand the four grade levels: Excellent, Good, Fair, Poor.
- Check for “TESTED” badges on Fair or Poor items.
- Verify that OEM components were used for replacements.
- Note any cosmetic wear described in the listing.
- Relate the grade to your resale or collector goals.
Check Warranty, Return Policy, and Post‑Purchase Support
Wondering how to protect yourself after buying a refurbished accessory? First, verify the seller’s warranty length and coverage—longer terms that explicitly cover DOA and non‑functioning parts are safest. Then, check the return‑policy window (typically 14–30 days) and any restocking fees, so you can send back a misrepresented item. Confirm who pays return‑shipping costs and whether free returns are offered. Finally, look for post‑purchase support: repair options, part availability, and clear communication channels. Make sure the listing notes genuine OEM components and warns if third‑party repairs void the warranty.
| Aspect | What to Look For | Why It Matters |
|---|---|---|
| Warranty | Length, DOA coverage, component guarantee | Protects against early failures |
| Return Policy | Window, fees, shipping responsibility | Ensures you can recoup if unsatisfied |
| Support | Repair options, part stock, contact channels | Guarantees long‑term usability |
Frequently Asked Questions
What Are the Big 3 in Gaming?
You’ll find the Big 3 are Nintendo, Sony, and Microsoft—each dominates its console ecosystem with exclusive franchises, massive libraries, and loyal fanbases that shape buying, resale, and collector markets.
What Is the Rarest Video Game Item?
You’ll find the rarest video game item is a factory‑prototype cartridge or sealed test unit with original developer documentation, because only a handful ever existed and collectors prize the authentic provenance.
What to Check for When Buying a Used PS4?
You should verify the PS4 model and hardware revision, test power‑on stability, check disc‑drive and storage performance, inspect for overheating or fan noise, and ensure controllers and accessories work without drift or battery issues.
What Equipment Do I Need to Be a Gamer?
You need a console or handheld, a compatible controller, an HDMI or AV cable, a reliable power supply, a tested game or disc, plus a multimeter, USB tester, microfiber cloth, and flashlight for inspections.
In Summary
By double‑checking the model, condition, parts, power, connectivity, grading, and warranty, you’ll avoid nasty surprises and keep your gaming setup running smoothly. These seven quality checks give you confidence that the used accessory will perform like new, fit your console, and be backed by reliable support—so you can focus on playing, not troubleshooting.


Leave a Reply