You’ll find a refurbished gaming PC often comes with a locked BIOS, proprietary motherboard, and pre‑wired PSU that block newer GPUs and limit CPU upgrades. Deep cleaning and OS reinstall are fine, but older‑gen boards and non‑upgradable OEM parts restrict future performance. Check BIOS settings, firmware version, and power‑rail headroom before you buy. Understanding these roadblocks lets you plan a realistic upgrade path and avoid costly surprises later. Keep going to discover how to future‑proof your rig.
What Makes a Refurbished Gaming PC Different From a Used One?
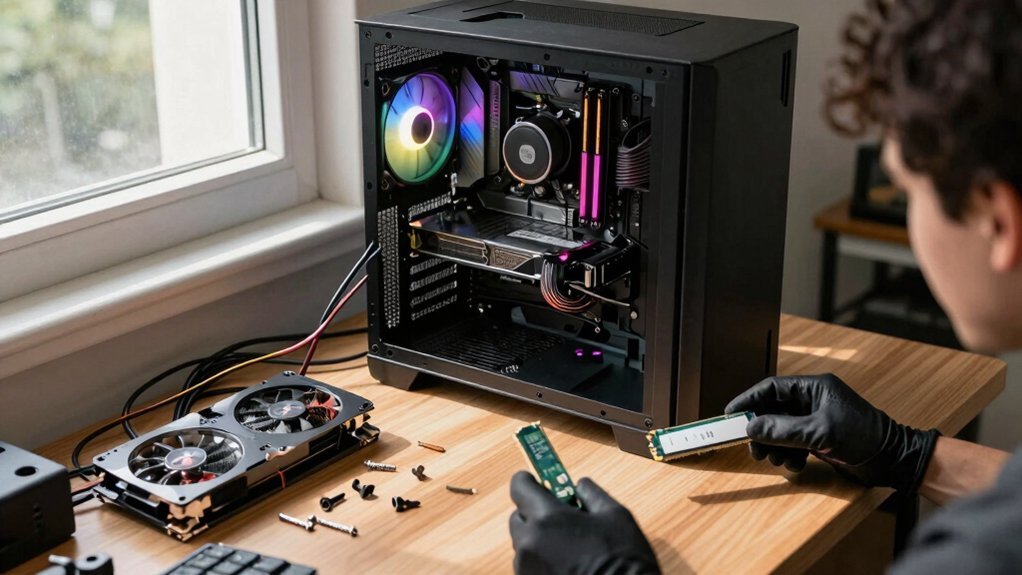
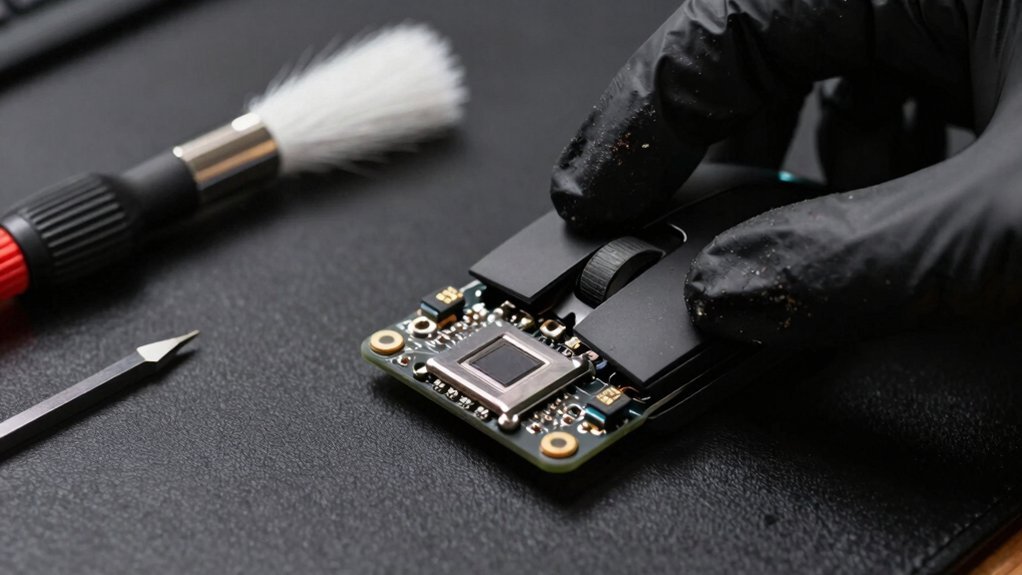
Ever wonder how a refurbished gaming PC truly differs from a used one? You’ll notice the refurbishment process starts with deep cleaning, secure OS installation, and driver updates, then moves to systematic parts replacement for any faulty components. Quality checks follow each step, ensuring every screw, fan, and circuit meets a like‑new standard. After the hardware is restored, rigorous testing and validation confirm stable performance under gaming loads. Unlike a typical used machine, the refurbished unit comes with a warranty that backs you up if something slips through, and the seller often offers post‑sale support. These documented procedures give you confidence that the PC isn’t just “as‑is” but a professionally vetted, reliable system ready for play. This approach mirrors the care shown in durable headset mounting options, where proper installation, load capacity, and material quality determine long-term reliability. Warranty-backed support and post‑sale service further distinguish refurbished PCs from purely used devices.
Which Refurbishment Steps Can Limit Future Upgrades?
Why do some refurbishment steps end up blocking your upgrade path? You might think a fresh look guarantees easy upgrades, but hidden choices can trap you in a dead‑end.
- Refurbished configurations that swap in older‑generation motherboards limit motherboard compatibility with newer CPUs and RAM.
- Locked BIOS settings prevent you from flashing newer firmware, curbing CPU or memory expansion.
- Proprietary cooling solutions tie you to specific radiators and pumps, making standard aftermarket coolers a painful retrofit.
- Non‑upgradable OEM parts—like pre‑wired power supplies or fixed‑form‑factor cases—force you to accept the original limits or replace the whole system.
These steps may look fine on paper, yet they lock you out of future performance gains. Anti-static/ESD
Refurbished Gaming PC BIOS & Firmware Limits
You’ve already seen how locked BIOS settings and proprietary cooling can stall upgrades; now the firmware side of things can be just as restrictive. BIOS limitations often stem from the original motherboard platform, capping CPU compatibility and feature support. When you try a newer GPU or NVMe drive, you may discover the system runs an outdated firmware version that blocks the hardware, forcing you to hunt for a firmware update. In cross‑brand refurbishments, boot‑order quirks and recovery procedures can further complicate the upgrade path. A BIOS reset or vendor‑specific flash utility might be required, and without that tool you risk bricking the board. Addressing these firmware issues early saves time and keeps your refurbished gaming PC viable Cable Management Kit.
Refurbished Gaming PC Proprietary Components That Block Modern GPUs
Proprietary motherboards, power supplies, and cases are common in refurbished gaming PCs, and they often lock you out of modern GPU upgrades. You’ll find that these proprietary components dictate which cards fit, and the BIOS/power design can cripple GPU compatibility. The result is a tangle of upgrade obstacles that force you to replace more than just the graphics card. Understanding these barriers helps you plan a realistic path forward without costly surprises. BIOS limitations
How to Determine the Required PSU Wattage for Upgrades?
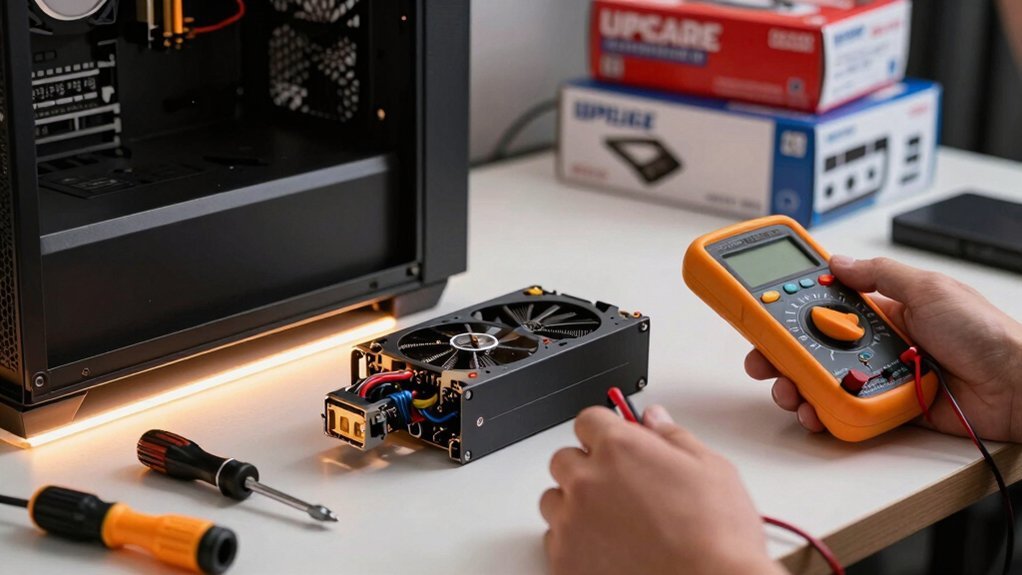
How can you confidently upgrade a gaming PC without overloading its power supply? First, list each new component’s TDP—CPU, GPU, and any power‑hungry peripherals—and add a 20–30 % safety margin. Then check your current PSU wattage and rail distribution, especially the +12V rails that feed the GPU and CPU, to confirm they’ve enough headroom for peak loads. Use a reputable wattage calculator or the manufacturers’ guidelines for your specific parts to estimate total draw under load. Aim for a PSU that exceeds that figure by 100–200 W, giving you room for future upgrades. Finally, verify the unit’s efficiency rating (80 Plus Bronze or higher) and stable rail output to keep long gaming sessions safe Protection Circuits.
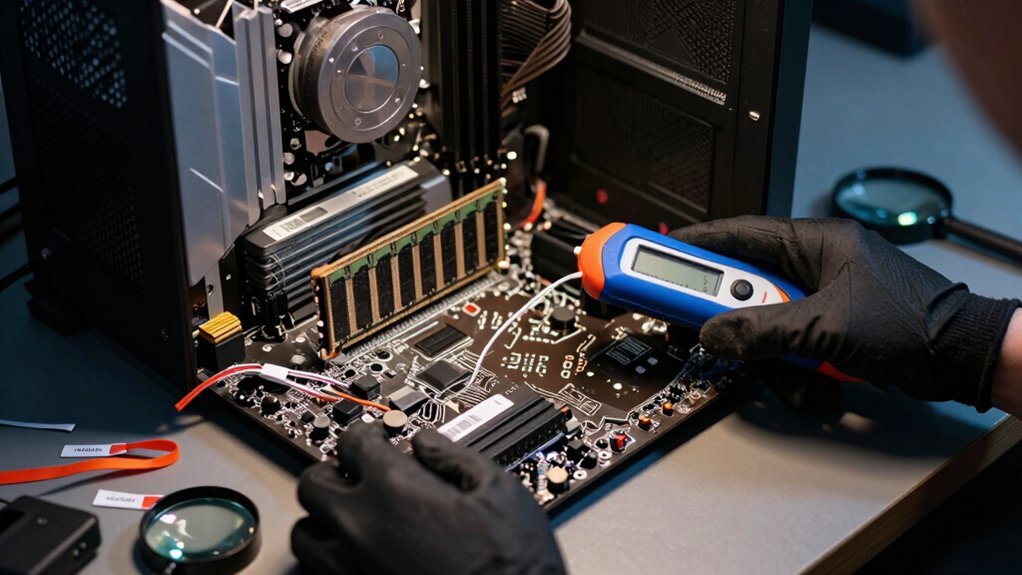
RAM Compatibility Issues When Upgrading a Refurbished PC
After checking PSU headroom, the next hurdle is whether the new memory will even work with the refurbished board. You must verify RAM compatibility by matching the motherboard socket and supported RAM speed to your modules. Even if you have spare sticks, mixing old and new RAM can trigger instability unless the BIOS/UEFI is updated and the system’s memory mixing limits are respected. Also, confirm that the board’s power delivery and cooling can handle the total memory load during gaming or streaming. Identify the exact motherboard socket type (DDR4, DDR5, etc.). Check the official RAM speed list for your CPU/motherboard combo. Update BIOS/UEFI to the latest version before installing new sticks. Avoid memory mixing unless the spec sheet explicitly permits it. Memory compatibility is crucial to ensure stable performance and avoid post-install failures.
PCIe Gen3 vs. Gen4 SSD Bottlenecks in Refurbished Builds
Ever wonder why your refurbished rig feels sluggish on load‑heavy games? You’re probably hitting PCIe Gen3 limits. Many refurbished builds reuse Gen3 NVMe SSDs, and their 3‑lane bandwidth caps sequential reads, creating SSD bottlenecks that drag load times and texture streaming. Upgrading to a Gen4/Gen5 SSD can slash those times by 50‑70 %, but you’ll need a compatible motherboard and CPU, which may push the upgrade cost higher. Even a high‑end Gen4 drive stalls if the slot stays Gen3, so lane constraints still apply. For long‑term performance, prioritize a Gen4/Gen5 PCIe SSD on a matching platform; it maximizes speed without demanding a full system rebuild Cross‑Platform Compatibility and researchers emphasize matching hardware to anticipated use to avoid bottlenecks.
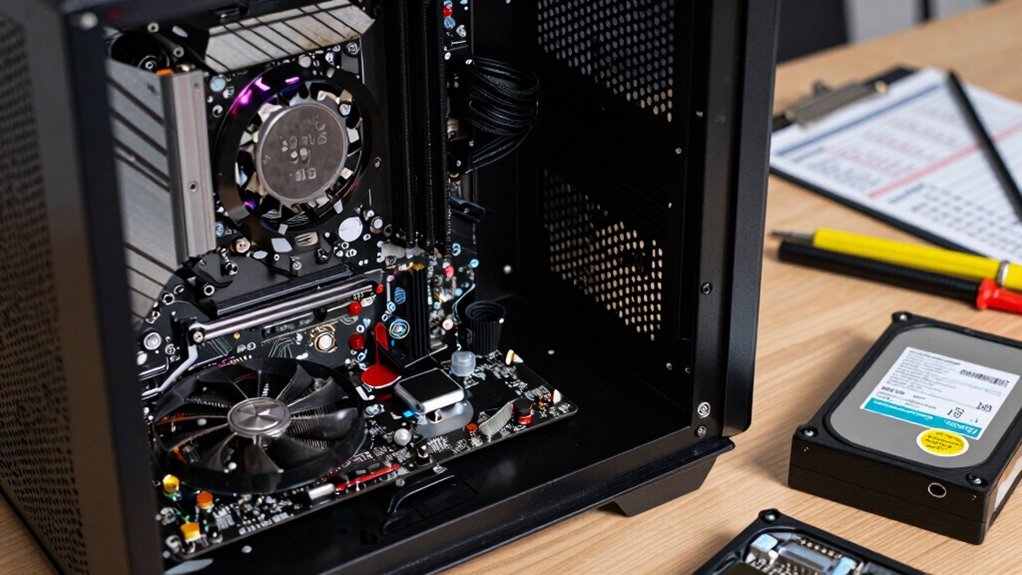
Cooling & Case Clearance Limits
You’ll quickly notice that cramped case clearance can push temps up, especially when you add a power‑hungry GPU or a bulky cooler. Make sure the new components fit without blocking RAM slots or airflow paths, or you’ll risk thermal throttling. Proper cable routing and enough space for intake and exhaust fans keep your refurbished build running cool and reliable.
Thermal Management Constraints
Wondering how limited case clearance can choke your upgraded GPU? You’ll notice thermal management slip the moment airflow stalls.
A cramped chassis forces you to choose a smaller radiator size, which reduces cooling efficiency and raises temps under load.
Dust maintenance becomes critical; clogged fans and heatsinks push temperatures higher, causing throttling and FPS drops.
- Measure internal clearance before picking an AIO cooler.
- Verify motherboard fan headers and PSU headroom for extra pumps.
- Prioritize high‑static‑pressure fans to push air through tight vents.
- Schedule regular dust cleaning to keep airflow optimal.
Component Fit Clearance
How much room do you actually have inside your case before a new GPU or cooler turns into a tight‑fit nightmare? You need to measure every clearance point before you buy. Check the case clearance for GPU length, ensuring the card won’t hit the front panel or interfere with power connectors. Verify radiator clearance on the top or front of the chassis, making sure tall air coolers don’t clash with RAM modules or motherboard heat sinks. Look at motherboard tray clearance and PSU length, because a cramped fit can block headers and cable routing, hurting airflow. When these dimensions line up, the component fit is clean, cooling stays efficient, and you avoid throttling or overheating risks.
Warranty & Support Considerations for Refurbished Gaming PCs
What’s the real cost of a refurbished gaming PC’s warranty and support? You’ll find the price tag isn’t just the hardware; it’s the peace of mind you get from a solid warranty and reliable support. Shorter terms—often 90 days to a year—mean you must scrutinize what’s covered and who handles repairs. Check the seller’s return policies and whether they offer certification that backs their testing and data‑wiping processes. A clear, written warranty protects you from hidden fees, while responsive support keeps your rig running smoothly.
- Verify warranty length and exact coverage.
- Confirm who performs repairs—refurbisher or third‑party.
- Review return policies for defects and satisfaction guarantees.
- Look for certification that validates quality testing and component replacement.
Cost‑Benefit of Swapping Parts vs. Buying New
You’ll notice that swapping a GPU or RAM in a refurbished rig can shave off a hefty chunk of the cost while still delivering solid performance.
At the same time, each new part introduces compatibility risks and may void existing warranties, so you have to weigh flexibility against potential headaches.
Ultimately, the decision hinges on whether the savings justify the added uncertainty.
Cost Savings vs. Performance
Ever wondered why a refurbished gaming rig can outshine a brand‑new budget build? You’re already tapping into cost savings while still getting solid performance, thanks to high‑end components sold at a fraction of the new price. Upgrades become a smart move when you can reuse RAM or NVMe drives, extending the system’s life without breaking the bank. Plus, a reputable warranty cushions you against unexpected failures, making the refurbished route financially safer than a blind used purchase.
- Component value – refurbished parts deliver premium specs for less.
- Upgrade leverage – swapping a GPU or SSD boosts performance without a full rebuild.
- Budget balance – you keep cash for peripherals or future upgrades.
- Warranty peace – return policies protect your investment, reducing risk.
Upgrade Flexibility vs. Risk
Because a refurbished gaming PC already contains a solid foundation, you can often boost performance by swapping a GPU or CPU without starting from scratch, yet each upgrade brings its own set of risks. Evaluate upgradability first: confirm the motherboard, PSU, and case can handle a newer GPU upgrade and a faster CPU. Check compatibility with PCIe version, power draw, and thermal headroom; otherwise you’ll hit bottlenecks.
Refurbishment risks include hidden wear, limited warranty, and stricter return policies, so weigh the cost‑benefit against buying new. Reuse high‑value parts like RAM and storage, but anticipate possible reseating or cooling upgrades. If the total expense approaches that of a fresh build, the safety of a full warranty and guaranteed compatibility may outweigh the allure of a modest performance bump.
How to Verify Upgrade Paths Before Buying a Refurbished PC?
Wondering whether a refurbished gaming PC will actually support the upgrades you have in mind? First, inspect the motherboard and CPU specs to confirm upgrade paths and compatibility with DDR4/DDR5 RAM, PCIe slots, and NVMe drives. Next, request warranty documentation that lists replaced components and return policies. Then, compare the system’s original GPU, RAM, and storage limits against your target configuration to gauge upgradeability. Finally, look for stress testing results that show stability under load and FPS benchmarks at your intended settings.
- Verify motherboard socket and supported CPU generations.
- Check PCIe slot count, version, and power supply headroom.
- Review warranty documentation for refurbished part details.
- Examine stress testing reports for stability and performance.
Practical Steps to Future‑Proof a Refurbished Gaming Rig
You’ll start by confirming that your CPU, GPU, RAM, and storage line up with the motherboard’s socket, PSU capacity, and cooling limits, ensuring optimized component compatibility.
Then map out a scalable upgrade pathway—swap the GPU first, add NVMe storage, and boost RAM later—so each step fits your budget and avoids bottlenecks.
Finally, choose a reputable refurbisher with a solid warranty to keep the whole process low‑risk.
Optimized Component Compatibility
How can you guarantee that a refurbished gaming rig stays upgrade‑ready for years to come? Focus on a motherboard that’s upgrade‑friendly, with BIOS compatibility that receives regular microcode updates. Choose an ATX motherboard to give you ample RAM/SO‑DIMM slots, NVMe slots, and room for a larger PSU. Verify the case offers good airflow and clearance for future GPUs or coolers.
- Check socket and chipset – ensure they support next‑gen CPUs and GPUs.
- Confirm BIOS updates – verify the vendor provides a clear update path for new hardware.
- Prioritize modular power – a modular ATX PSU simplifies swapping components.
- Assess cooling headroom – ample case space and airflow prevent bottlenecks when you upgrade.
Scalable Upgrade Pathways
Start by mapping out a three‑tier upgrade roadmap: keep the GPU, RAM, and storage as your primary focus, then only consider a CPU‑motherboard swap when those components hit a hard ceiling. First, reuse the existing refurbished RAM and NVMe drives if they meet your performance targets, and keep an eye on power‑supply headroom for a newer GPU. Next, schedule a GPU refresh every 3–4 years and a RAM/storage bump every 2–3 years to sustain 60+ FPS. When the platform shows a hard ceiling, check motherboard compatibility with the next‑gen CPU before swapping the board. Verify cooling, case clearance, and PSU capacity to maintain scalability. Finally, weigh regional price differences and total cost of ownership to decide whether a targeted upgrade beats a full rebuild.
When to Walk Away: Signs a Refurbished PC Isn’t Worth Upgrading?
Ever wonder when a refurbished PC is just a money‑sink? You’ll know it’s time to walk away if the deal fails any of these red flags.
- Warranty – A 30‑day or no warranty leaves you exposed to costly failures after purchase.
- Upgrade paths – No clear GPU, RAM, or NVMe expansion options mean you’ll hit a wall fast.
- Motherboard/CPU platform – An outdated board forces a full rebuild for modest gains, making incremental upgrades impractical.
- Cooling/PSU health & instability under load – Poor thermal performance or frequent crashes in stress tests signal deeper reliability issues.
If any of these conditions appear, the risk outweighs the reward, and you’re better off looking for a fresher, more future‑proof system.
Frequently Asked Questions
Is a Refurbished Gaming PC Worth Buying?
Yes, you’ll get solid performance for less money, especially if you verify the seller’s reputation, warranty, and upgrade potential. Just watch for older components, limited customization, and return‑policy details.
Can You Upgrade a Refurbished Gaming PC?
Yes, you can upgrade a refurbished gaming PC, but you must check the motherboard socket, BIOS support, and PSU capacity. Verify compatibility for RAM, GPU, and storage, and confirm warranty terms before swapping parts.
What Is the Lifespan of a Prebuilt Gaming PC?
You can expect a prebuilt gaming PC to stay viable for about four to five years before performance bottlenecks push you toward an upgrade, especially as GPUs refresh every three to four years.
What Should I Check Before Buying a Refurbished PC?
Check the seller’s reputation, ensure a manufacturer‑certified refurb, verify a 90‑day warranty and clear return policy, confirm core specs and upgrade potential, and make sure the OS is fresh, drivers are current, and data wiping was secure.
In Summary
By now you know that refurbished gaming PCs can be great value, but they come with hidden limits—BIOS locks, proprietary parts, and PSU constraints that can block future upgrades. Check upgrade paths, verify hardware specs, and weigh the cost of swapping parts against buying new. If the system’s upgrade ceiling is too low or the components are locked down, it’s better to walk away and invest in a platform that can grow with your gaming needs.
Leave a Reply