Undervolt your CPU and GPU with tools like ThrottleStop or MSI Afterburner, then set a custom power plan and cap FPS to your monitor’s refresh rate to cut unnecessary heat. crank up fan curves and keep vents clean, using a cooling pad for extra airflow. Lower in‑game graphics settings, resolution scaling, and disable ray tracing to reduce GPU load. Monitor temps in real time with HWInfo and adjust as needed. Follow these steps, and you’ll discover even more ways to keep your laptop cool.
Undervolt CPU & GPU for Gaming Laptop Cooling
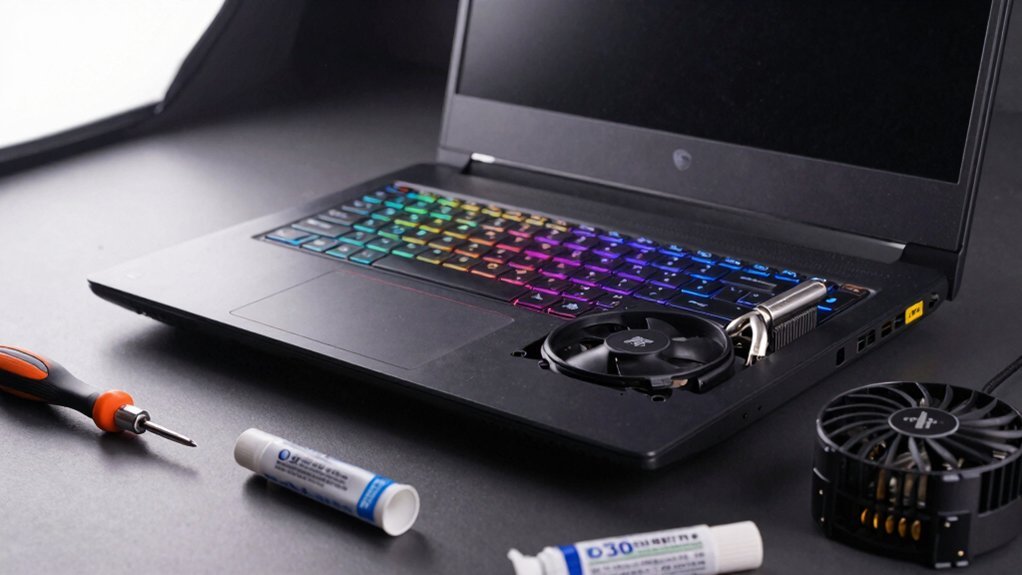
Ever wondered how a few millivolts can keep your gaming laptop cool? You can start by undervolting the CPU with ThrottleStop or XTU, dropping the voltage by –50 mV and testing stability. If it holds, push to –80 mV or –100 mV, watching for crashes. Pair this with a custom power profile that limits peak draw, which helps curb thermal throttling. For the GPU, use MSI Afterburner or Radeon Settings to lower core voltage or power limit, trimming heat without sacrificing clocks. Run a stress test after each tweak to confirm stability. By balancing modest voltage reductions with a tuned power profile, you maintain performance while improving cooling, keeping your gaming laptop running smoother for longer. Surface Compatibility and the removal-focused guidance from the clips can help you manage cable clutter around your setup, potentially reducing airflow obstructions and contributing to cooler operation.
Set Aggressive Fan Curves to Lower Temperatures
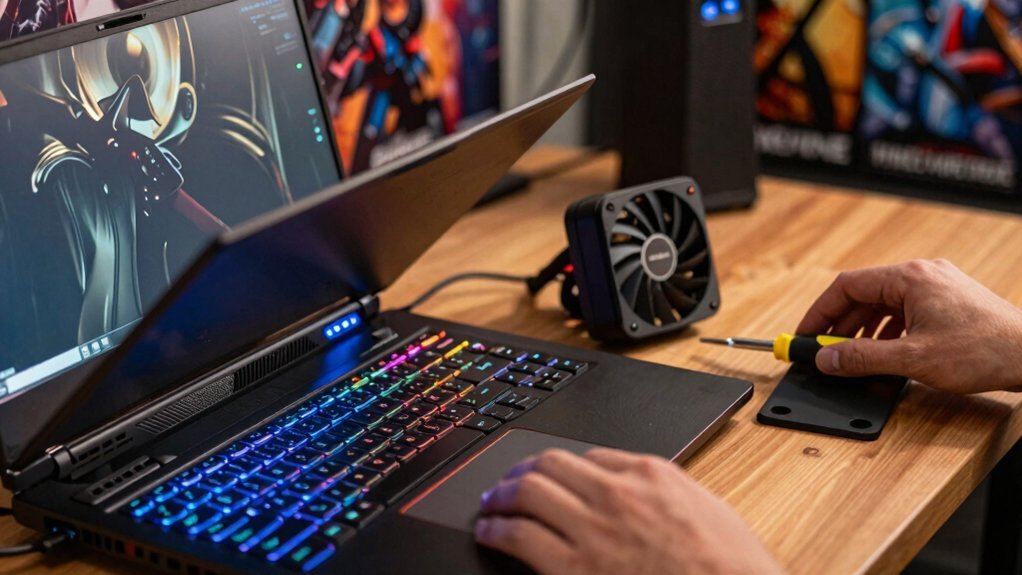
After you’ve trimmed voltages, crank up the fans. Aggressive fan curves boost cooling performance by pushing the fans to higher RPMs at lower temperature thresholds, pulling down CPU/GPU temps by several degrees during load. Use laptop fan control tools—MSI Afterburner, Notebook FanControl, or vendor utilities—to create a steeper speed ramp that kicks in before you hit 85 °C, keeping thermal throttling at bay and preserving sustained temperatures for longer sessions. Pair the curve with airflow optimization: clear vents, elevate the rear, and consider a cooling pad to maximize air intake. Expect louder noise, so balance acoustic comfort against temperature gains. This combo delivers lower sustained temps without extra power draw.
Pick a Power Plan and Cap FPS
Pick a the High‑Performance power plan and set the max processor state to 100 % so the CPU runs at full speed.
Then cap your FPS to match the monitor’s refresh rate or a stable target like 110–144 FPS using RTSS or MSI Afterburner.
This combination trims power draw and heat while keeping gameplay smooth. USB-C PD 20W
Choose High‑Performance Power Plan
When you switch to a high‑performance or ultimate‑performance power plan in Windows, your CPU and GPU stay at their boost clocks, giving you the full hardware potential while gaming. This High Performance power plan eliminates the idle‑state throttling that drags down thermal performance and keeps sustained performance steady. Setting the plan to Ultimate Performance on Windows 10/11 Pro, or High Performance on Home editions, then plug the laptop in to avoid battery‑imposed limits. Pair the plan with an FPS cap that matches your monitor’s refresh rate; tools like RTSS and MSI Afterburner enforce the cap, reducing unnecessary load and heat. After configuring, run a benchmark to verify that the CPU and GPU maintain boost without crashes, ensuring consistent, cool operation. Device Compatibility considerations from gaming‑subscription guidance also highlight ensuring that cross‑platform access and input methods align with your hardware setup to maximize consistent performance across devices.
Set Max Processor State 100
Switching to a high‑performance power plan gets your CPU and GPU to stay at boost clocks, but you still need to tell Windows how far it can push the processor. Set the Max Processor State to 100 % in the power plan settings so the CPU can hit full turbo when demand spikes. Pair this with an FPS cap that matches your monitor’s refresh rate; the cap reduces GPU load and CPU temp, easing strain on the cooling system. Lowering unnecessary frames prevents thermal throttling, letting the gaming laptop cooling stay efficient during long sessions. Remember to use a long‑term monitoring tool like HWInfo to verify that the 100 % state isn’t pushing temps into unsafe zones, and adjust the FPS cap if you notice spikes. This balance maximizes performance while protecting hardware. Power plan adjustments can also help sustain higher clocks for longer gaming sessions.
Cap FPS to Refresh Rate
Why not match your FPS cap to your display’s refresh rate? Doing so keeps the GPU and CPU from over‑working, curbing heat and preventing thermal throttling. Set a frame rate cap that mirrors your monitor’s refresh rate—say 60 Hz or 144 Hz—using RTSS alongside MSI Afterburner. This locks the output, smoothing power draw and temperature spikes. Pair the cap with a high performance plan so the system stays in a consistent power state while you game. When a title tries to push 140 FPS on a 110 Hz screen, the cap trims the excess, stabilizing wattage and keeping the laptop cooler during long sessions. Aligning FPS cap with refresh rate delivers smooth visuals without unnecessary heat. Power plans
Keep Vents Clean and Use a Cooling Pad
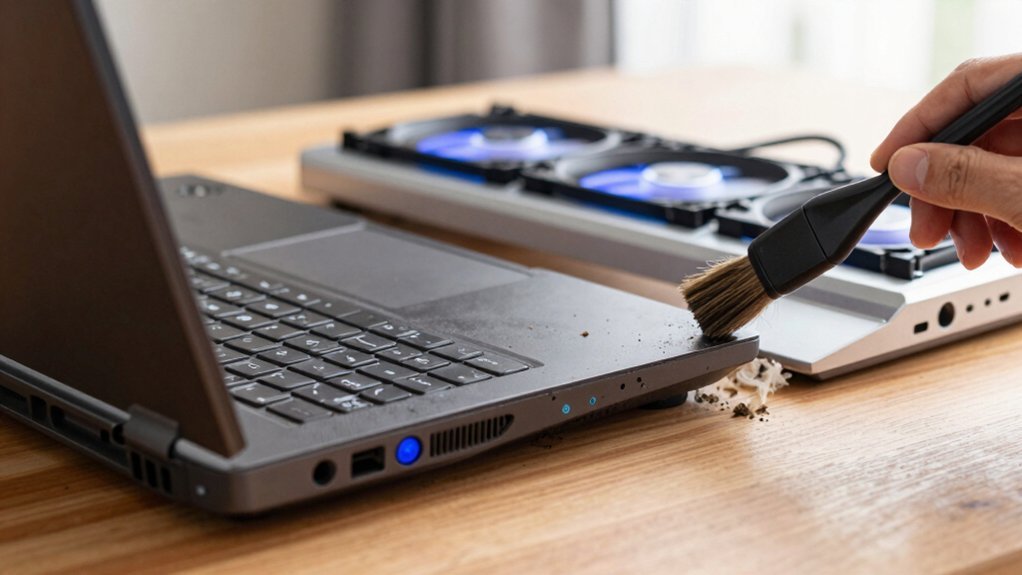
Ever notice how quickly your gaming laptop heats up after a few minutes of play? Dust buildup clogs laptop vents, choking airflow and sabotaging thermal management. A good cleaning pad restores proper intake, while a well‑matched cooling pad adds focused airflow right where you need it. Keep the machine off soft surfaces—beds, couches, or blankets—because they block vents and trap heat. Elevate the laptop or use a pad with built‑in height to improve convection and lower temps during intense sessions.
- Vent cleaning: use a soft brush or compressed air to dislodge dust weekly.
- Cooling pad: choose one sized 11.6″–16″ with foam sealing for leak‑free airflow.
- Avoid soft surfaces: they obstruct vents and reduce cooling efficiency.
- Elevate: a stand or padded height boosts convection and keeps temps in check.
Tweak Game Settings for Cooler Play
You can lower graphics settings like shadows and textures to cut GPU load and keep temps down. Cap the frame rate near your screen’s refresh limit to prevent the GPU from staying at max boost, reducing heat. Adjusting the resolution scale or using dynamic scaling lightens the workload during intense scenes, further cooling your laptop. USB-powered lighting reduces outlet use, and managing cable clutter can help maintain a tidy setup that promotes better airflow around the laptop when docked or used with external displays cable management.
Lower Graphics Settings
Looking to keep your laptop cool while gaming? Lower graphics settings are a quick, effective cooling solution. By dialing back resolution, shadows, textures, and anti‑aliasing, you cut GPU power draw, which drops GPU temperature and eases thermal performance strain. This lets you keep frame rates smooth without overheating, and it works with any cooling solutions you already have.
- Switch to a 1080p target if you’re at 1440p/4K.
- Choose the Low or Medium preset instead of Ultra.
- Disable ray tracing and reduce draw distance.
- Turn off excessive post‑processing effects.
- Overcharge protection is a feature highlighted in various charging solutions for devices, underscoring the broader importance of safe power management and system stability during intensive use overcharging protection.
Limit Frame Rate
Why not curb your GPU’s heat output by capping the frame rate? An FPS cap reduces GPU and CPU load, so power usage drops and cooling efficiency rises. Set a frame rate limit that matches your monitor’s refresh rate—60 Hz, 120 Hz, or 144 Hz—to avoid unnecessary work that fuels thermal spikes. Use RTSS with MSI Afterburner to lock the cap and sync fan curves, creating a smoother thermal management loop.
When you see occasional FPS spikes, a limit around 110–120 FPS tames brief heat bursts without hurting perceived smoothness. By throttling the frame output, you keep temperatures stable, prevent throttling, and enjoy quieter, longer gaming sessions.
Adjust Resolution Scale
Efficiency comes from scaling the image down, and lowering the resolution scale cuts the GPU’s pixel workload dramatically. When you drop the resolution scaling to 70‑90 % of native, you’ll notice a jump in FPS and a dip in GPU power draw, which eases temp management and prevents thermal throttling. Pair this with DLSS/FSR to keep the frame rate high while the GPU works less, and consider loosening anti‑aliasing or shadows for extra relief. Start at 80 % scaling, monitor temps, then fine‑tune until you hit a sweet spot between heat and visual fidelity.
- Feel the cool breeze as FPS soar.
- See smoother motion without sacrificing detail.
- Hear the fan spin less loudly.
- Enjoy longer gaming sessions without throttling.
Monitor Temps in Real Time With HWINFO
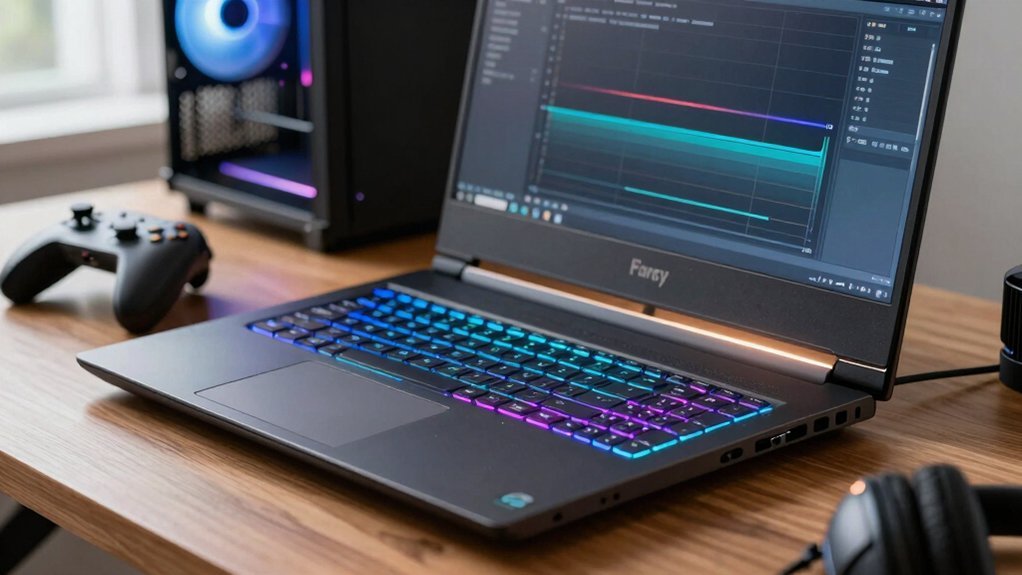
Ever wondered how to keep tabs on your laptop’s heat while you game? Install HWInfo and enable its on‑screen display to watch real‑time temps for CPU and GPU as you play. The overlay shows CPU temps, GPU temps, clock speeds, and voltages, letting you spot thermal throttling before it hurts performance. Pair HWInfo with RTSS for a clean, in‑game readout that coexists with FPS counters. Keep an eye on sustained high temps—85‑90 °C signals you need to adjust cooling tweaks. Log temperature data across sessions to gauge stability and compare results after undervolting or airflow improvements. This proactive monitoring is a core habit for effective gaming laptop cooling.
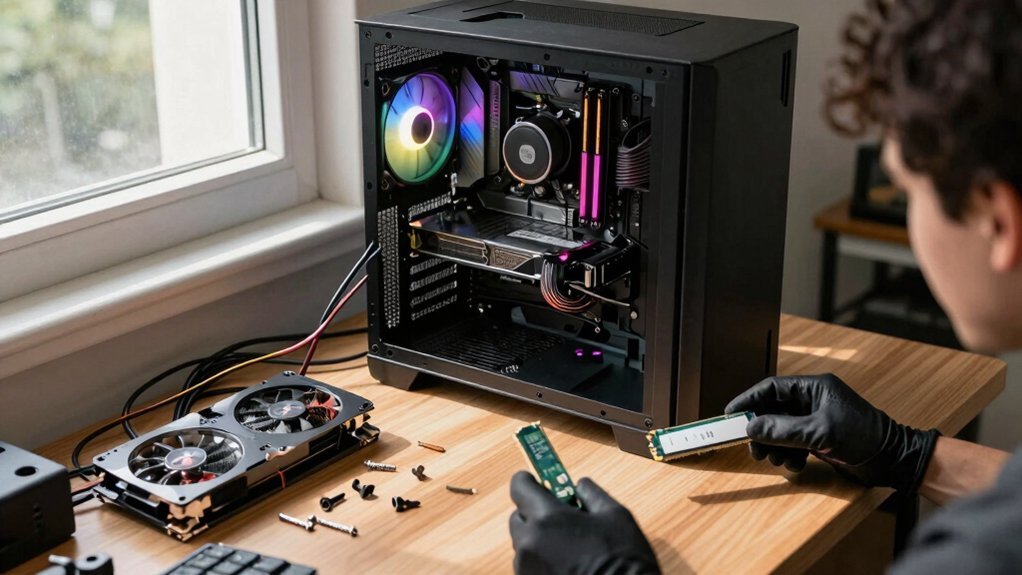
Choose a Laptop Model Designed for Better Airflow
After you’ve set up HWInfo to watch temps in real time, the next step is picking a laptop whose chassis and cooling architecture give the heat a clear path out. A solid airflow design can make the difference between smooth frames and throttling under heavy load. Look for models that pair high‑TGP GPUs with a robust cooling system and a multi‑fan setup, because that combo maximizes thermal headroom and keeps performance steady. Vendor warranty support adds peace of mind, ensuring the cooling solution stays reliable.
- Xidax XMT‑7: RTX 5070 Ti, 140 W TGP, dual‑fan, aggressive vents.
- XM‑10: RTX 5080, up to 175 W TGP, tri‑fan, spacious heat‑pipes.
- Customizable RAM/NVMe: Keeps CPU/GPU load balanced, easing the cooling burden.
- Expert warranty: Guarantees parts and service for your laptop cooling setup.
Frequently Asked Questions
How Often Should I Clean the Laptop’s Internal Fans?
You should clean the laptop’s internal fans every three to six months, depending on dust buildup and usage intensity. If you game heavily or use it in dusty environments, aim for the shorter interval.
Can External Cooling Pads Damage the Laptop’s Warranty?
No, using cooling pads won’t void your warranty as long as you don’t open the chassis or alter internal components. Keep the pad external, avoid physical damage, and follow the manufacturer’s usage guidelines.
What Ambient Temperature Is Optimal for Gaming Laptop Performance?
You’ll get peak performance around 68‑72 °F (20‑22 °C). Keep the room cool, avoid direct sunlight, and ensure airflow isn’t blocked, so the laptop’s fans and thermal paste work efficiently.
Does Using a Laptop Stand Improve Airflow Significantly?
Yes, a laptop stand lifts the chassis, creating space for air to circulate and reducing heat buildup. By tilting the device, it aligns vents with natural airflow, often dropping temperatures by several degrees.
Should I Disable Background Apps While Gaming to Reduce Heat?
Yes, you should disable background apps while gaming. Closing unnecessary programs cuts CPU and RAM usage, lowering power draw and heat output. This keeps your laptop cooler and helps maintain stable performance.
In Summary
By undervolting, setting aggressive fan curves, capping FPS, cleaning vents, using a cooling pad, tweaking game settings, and monitoring temps, you’ll keep your laptop cool and performance high. Choose a model built for airflow, and you’ll enjoy smoother gameplay without throttling. Follow these steps, and your gaming rig will stay chill even during marathon sessions.
Leave a Reply