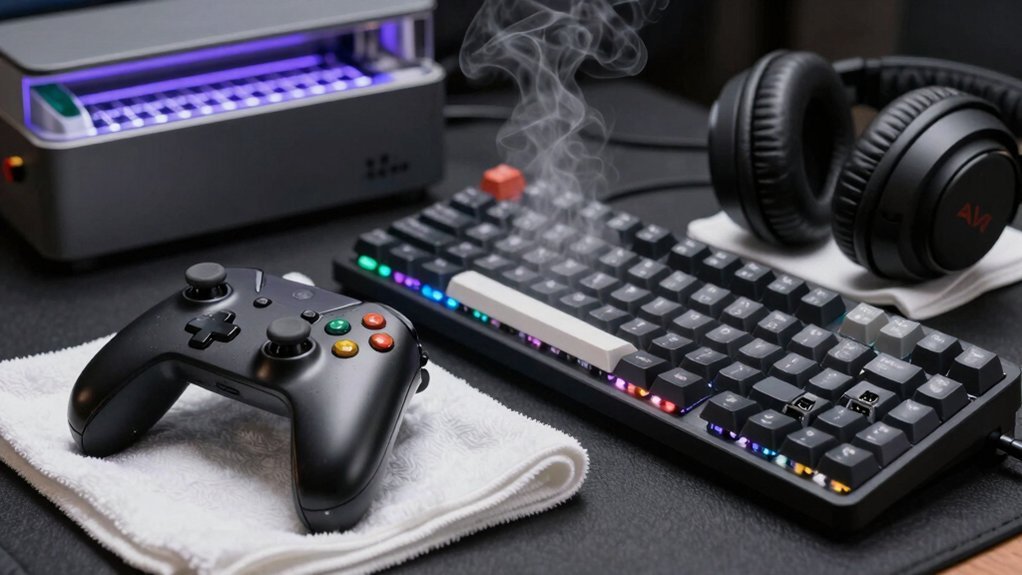
Unplug and power down your refurbished console before you start cleaning, then wipe the exterior with a plush, high‑pile microfiber cloth—avoid rough fabrics that could scratch. Use short bursts of compressed air to clear vents, ports, and crevices, tilting the device to let debris fall out, and follow with a dry brush or cotton swab for stubborn dust. Lightly dampen a microfiber with an alcohol‑free wipe for buttons and screens, never spraying directly. Keep the area dry, route cables away from airflow, and schedule regular firmware updates and battery checks to prevent overheating and extend lifespan, and the next steps will show you how to maintain optimal performance.
Power‑Down & Unplug Refurbished Gaming Gear
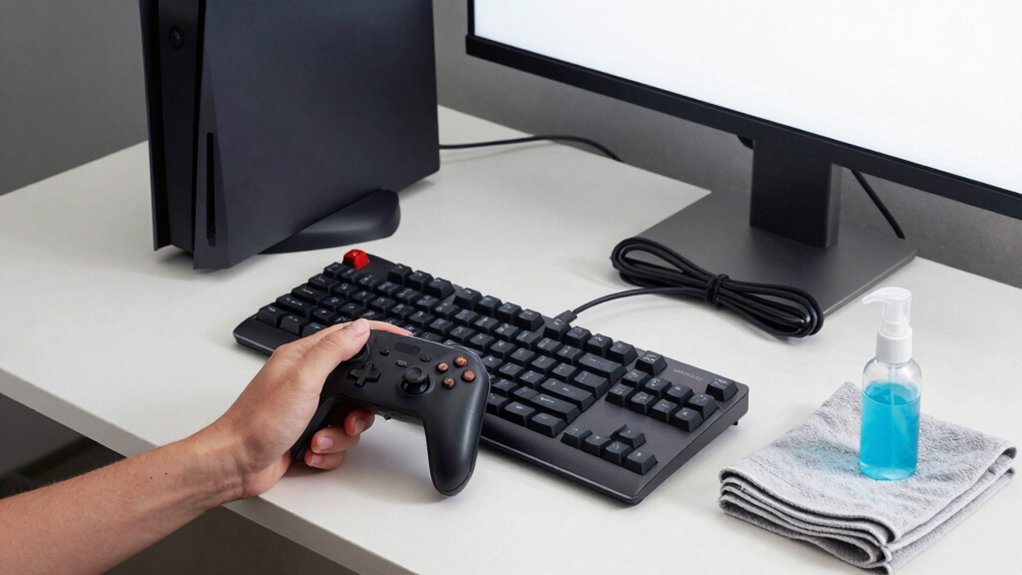
Why risk a shock? You always power‑down and unplug the refurbished gaming gear before you start cleaning. That simple step eliminates any electrical hazard and protects delicate circuitry. Always ensure the outlets are de-energized by unplugging from the wall and disconnecting any power strips proper power safety. Place the console on a clean, uncluttered surface, keeping liquids far from internal components. Grab a soft microfiber cloth for the outer shell, then use a tiny brush to reach vents and crevices. If you need a damp cloth, wring it out until it’s just barely moist—never dripping. Regularly sweep vents and ports with a soft brush or a burst of compressed air to preserve airflow and stop dust buildup. Following this routine ensures safe, effective maintenance without risking damage.
Pick the Right Microfiber Cloth for Screens & Casings
Which microfiber cloth should you choose for screens and casings? Opt for a plush, high‑pile cloth that feels soft to the touch and has a tight weave. The fibers should be dense enough to trap dust but gentle enough not to scratch glass or painted surfaces. Avoid rough or lint‑producing fabrics; they can leave streaks or micro‑scratches. Before you start, power down and unplug the device. Lightly dampen the microfiber cloth with water—no chemicals, no sprays. Then wipe in slow, circular motions, letting the cloth lift grime without dragging. For corners and vents, follow up with a cotton swab or tiny brush, keeping moisture off electronics. This routine preserves screen clarity and casing finish while preventing wear. The design features and stability aspects from corner desks can also inform a tidy setup, helping keep your workspace free of dust buildup and clutter monitor surfaces.
Use Compressed Air Safely on Vents & Ports
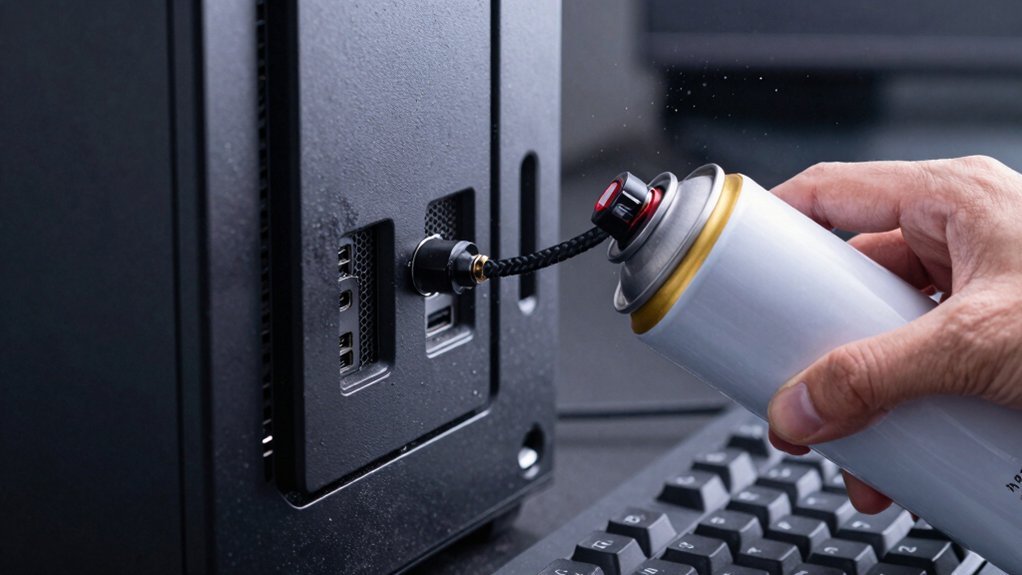
After wiping the screen with a plush microfiber cloth, turn your attention to the vents and ports. Power down the console and unplug it before you grab the can of Compressed Air. Hold the nozzle a few inches away and give short, controlled bursts, aiming directly at each vent and port instead of blasting blindly into crevices. If dust hides in hard‑to‑reach spots, tilt the device and repeat the brief bursts, letting gravity help dislodge debris without forcing it inward. Inspect the openings after each pass; if any buildup remains, repeat the process but avoid excessive force that could damage internal components. Keeping the device unplugged eliminates electrical hazards, and the careful, intermittent airflow ensures a clean, safe system. Regular maintenance can help prolong the life of your accessories and mounting hardware, which aligns with budget-conscious care of gear maintenance practices.
Apply Alcohol Swabs to Keyboard & Controller Buttons
You’ll start by wiping the keyboard’s high‑touch keys with an alcohol swab, making sure the surface stays dry afterward.
Then you target each controller button, using the same swab to disinfect without soaking the electronics.
Finally, give the treated areas a moment to air‑dry completely before you play again.
To help prevent residue and ensure safe cleaning, use VR-specific solutions that dry quickly and are designed for optical surfaces streak-free finish.
Control Keyboard Disinfectant
A quick swipe with an alcohol swab works wonders on keyboard keys and controller buttons, lifting oils and grime without soaking the electronics. You’ll notice the cleaning process is swift: glide the swab between keys, let the alcohol evaporate, then follow with a dry microfiber wipe to capture any residue.
Apply the same technique to controller buttons, being careful not to press too hard, which could detach a key or trigger a button.
After each pass, let the treated area air‑dry completely before reconnecting power to avoid shorts. This method removes oils, sweat, and surface germs while preserving delicate circuitry.
Consistently pairing alcohol swabs with a dry wipe ensures a thorough, residue‑free finish that keeps your refurbished gear hygienic and ready for play. Fireproof features in some surge protectors highlight the importance of protecting electronics in gaming setups while cleaning and maintaining them.
Target Controller Buttons
Where should you start when cleaning controller buttons? Grab a pack of alcohol swabs and focus on the gaps between each button. Press gently—no need to force anything—then move the swab in a small circular motion to lift grime without shoving it into crevices. After you’ve treated every space, wipe the surface dry with a clean cloth to keep moisture away from the delicate springs and tactile mechanisms of your refurbished electronics.
- Use light pressure to protect button springs.
- Circle the swab around each button for thorough grime removal.
- Finish with a dry wipe to avoid residue or moisture damage.
Ensure Dry Surface
Wondering how to keep your refurbished keyboard and controller completely moisture‑free after cleaning? First, grab an alcohol swab and press it into each key gap and button crevice. The swab evaporates quickly, but you still need a dry surface. Take a slightly dampened microfiber cloth, wipe the edges, then follow with a completely dry microfiber wipe to absorb any lingering damp. For tighter spots, use a cotton swab, then pat the area dry. Let everything air‑dry for several minutes before reassembling or powering on. This routine kills germs, prevents liquid from seeping into circuitry, and leaves your gear hygienically spotless. Modern privacy screen filters for 24/27/32 inch monitors can also help keep sensitive information secure during cleanup and use, offering various viewing angles and blue light protections to suit different setups. Blue light protection can reduce eye strain during long sessions.
Clean Crevices With Cotton Swabs (No Moisture)
Ever wonder how to get rid of dust in those tiny gaps without risking a short circuit? When you’re handling refurbished devices, a dry cotton swab is your best friend for those hard‑to‑reach crevices. Gently glide the swab along seams, ports, and vents, letting the fibers lift debris without leaving any moisture.
Pair the swab with a barely damp microfiber cloth for extra precision, but be careful that no liquid seeps into the openings. Apply light pressure only, and let everything dry completely before you power the system back on.
- Use a dry cotton swab for dust removal in tight gaps.
- Follow with a slightly damp microfiber cloth, ensuring no liquid drips into ports.
- Allow the cleaned area to dry fully before reconnecting power.
Note on panel customization Key surfaces and LCD-enabled keys can benefit from focused, dry wiping to preserve display clarity and avoid moisture-related issues.
Deploy Anti‑Static Cleaners & Soft Brushes on Speakers & Grilles
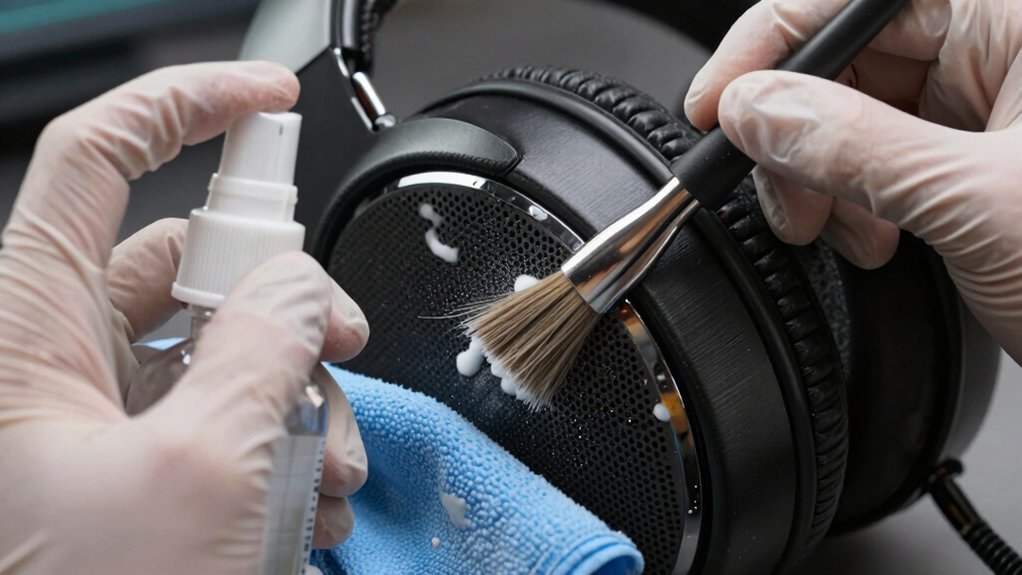
How can you keep speaker grills and vents free of dust without damaging delicate drivers? First, unplug the unit and keep moisture away from any internal parts. Grab a soft brush—preferably a natural‑hair or nylon one—and sweep gently in circular motions across the grille and vents of your refurbished products. The brush lifts loose particles without scratching the delicate drivers. Follow with a lightly dampened anti‑static cleaner on a microfiber cloth; the static‑reducing formula repels future dust and prevents buildup on the console casing. Wipe lightly, never pressing hard, and let the surface dry before plugging the system back in. Regular, light cleaning preserves sound quality and stops dust‑induced overheating.
Set Up a Dust‑Free Console Area
Where can you position your refurbished console to keep dust at bay? Choose a flat, spacious surface away from windows and direct sunlight. Make sure the vents stay exposed so airflow isn’t blocked, and keep the area around the console clear of clutter. Regularly sweep the floor and wipe surrounding shelves to prevent dust from settling on the unit.
- Use a soft brush or compressed‑air can to clear vents and ports after each gaming session.
- Schedule a deep cleaning break after long play periods, focusing on hard‑to‑reach crevices.
- Keep a small dust‑proof cover handy for when the console isn’t in use, but never seal the vents while it’s running.
Protect Screens With Manufacturer‑Approved Wipes
You should stick to manufacturer‑approved wipes and skip any harsh chemicals that could damage screen coatings. Gently move the wipe in circular motions, applying just enough pressure to lift smudges without scratching. Keep the cloth slightly damp, never spray liquid directly on the display, and follow the device’s specific guidance for vents and ports.
Approved Wipes Only
Use only the manufacturer‑approved wipes to clean your gaming screens, because third‑party solutions can damage coatings and void warranties. When you’re caring for refurbished tech, you’ll notice that the right wipes keep the display pristine without risking the delicate anti‑glare layer. Pair each wipe with a soft microfiber cloth, dampen it just enough, and glide in gentle circles. Test a small spot first, then wipe the whole screen, never spraying liquid directly onto the panel.
- Choose wipes labeled for display use; they’re formulated to lift smudges without residue.
- Apply a light, even pressure in circular motions to avoid micro‑scratches.
- Store wipes in a sealed bag to keep them from drying out between cleanings.
Avoid Harsh Chemicals
Because harsh chemicals can strip anti‑glare coatings and void warranties, stick to the manufacturer‑approved wipes that are specially formulated for screen cleaning. When you care for refurbished gaming equipment hygiene, avoid household cleaners or abrasive solvents that could degrade the coating. Use a slightly dampened microfiber cloth for gentle wipes, keeping moisture away from ports. Test any wipe on a tiny, hidden spot first to confirm it won’t react with the finish. Let the screen dry completely before powering the console to prevent moisture‑related issues.
| Item | Recommended Action |
|---|---|
| Wipe type | Manufacturer‑approved screen wipe |
| Cloth | Lightly damp microfiber |
| Test spot | Small, inconspicuous area first |
Gentle Circular Motions
Ever wondered why a gentle circular motion works best for screen cleaning? You’re protecting delicate coatings and extending refurbished longevity by keeping pressure low and evenly distributing wiping force.
First, power down the device and grab a manufacturer‑approved wipe. Lightly dampen a soft microfiber cloth—never spray directly on the screen. Then, glide the cloth in small circles, letting the wipe do the work without scrubbing.
- Use only approved wipes to avoid harsh chemicals.
- Pair wipes with a slightly damp microfiber, never a wet spray.
- Keep the cloth smooth, avoiding rough fabrics or edges.
This non‑abrasive, circular approach reduces moisture risk, prevents scratches, and helps your refurbished gaming gear stay pristine longer.
Organize Cables, Cases, and Storage to Prevent Strain
When you keep cables tidy, you protect connectors and ports from strain while also cutting wear during cleaning and storage. For refurbished consoles, use cable ties or Velcro straps to bundle cords loosely, avoiding sharp bends that could fray conductors.
Route each cable away from vents to preserve airflow and keep temperatures down.
Store controllers and accessories in a padded case that cushions impacts, preventing dents that might stress internal ports. Keep your gaming area dry and dust‑free; wipe down surfaces regularly and check that storage bins stay sealed.
Run Software & Firmware Updates on Refurbished Gaming Gear
Keeping your cables and cases organized sets the stage for smooth software maintenance, and the next step is to keep the firmware and system software up to date. You should install updates as soon as they appear; waiting only risks bugs, performance drops, and security holes. Trust only official sources or reputable refurbishers, and enable automatic updates whenever the hardware supports them. After each patch, launch a few games and test online features to confirm everything runs smoothly.
Keep firmware current, verify sources, enable auto‑updates, and test games after each patch.
- Install updates promptly to avoid compatibility issues.
- Verify source authenticity to prevent compromised firmware.
- Test game launches and online features after each update.
Manage Battery Life & Temperature for Longevity
You should set your charger to the ideal voltage and cut‑off point, so the battery never overcharges or sits at a low state of charge.
Keep an eye on thermal throttling alerts and pause gameplay when temperatures climb too high.
Finally, plug only high‑quality power supplies and use a protective case to prevent strain on the battery and its connections.
Optimize Charging Settings
Because overheating shortens battery life, you should keep the console’s temperature in check while charging. Keep the room between 32–90 °F (0–32 °C) and block direct sunlight. Before you plug in, give the unit a quick wipe with a soft, dry microfiber cloth and clear dust from vents using a brush or compressed air—Regular Cleaning helps airflow stay optimal.
Schedule short breaks after long sessions so the system can cool down, and install firmware updates promptly to benefit from improved power management.
- Charge to 80 % for daily use, avoid 100 % when not needed.
- Enable any built‑in “eco” or “slow charge” mode to limit heat.
- Use the original charger; third‑party adapters can draw excess current.
Monitor Thermal Throttling
Optimizing charging habits already helps keep the console cool, but you also need to watch for thermal throttling to protect battery health and sustained performance. Keep vents exposed and unblocked, and place the device on a spacious, flat surface away from direct sunlight. Regularly install software updates and use surge‑protected outlets to maintain stable temperatures. Take short breaks during long sessions; letting the system cool reduces prolonged high‑temperature operation that accelerates throttling. Use built‑in diagnostics or third‑party tools to monitor temperature trends and catch spikes early. When temps rise, adjust workloads or improve airflow with a fan or cooler. By staying proactive, you’ll prevent performance drops, extend battery life, and keep your refurbished console running smoothly.
Use Quality Power Supplies
Ensuring a stable power supply is essential for protecting your refurbished console’s battery and keeping temperatures in check. When you use a quality power supply, you maintain consistent voltage, reduce stress on the battery, and keep heat generation low. Pair that with a microfiber cloth to keep connectors clean, preventing resistance spikes. Regularly check battery health, calibrate as the manufacturer advises, and keep the console out of extreme temperatures. Surge protectors and a reliable power strip guard against spikes that could fry internal components.
- Use a high‑quality, certified power adapter for consistent voltage.
- Keep the power brick and console vents dust‑free with a microfiber wipe.
- Plug into a surge‑protected strip and schedule firmware updates for optimal power management.
Follow a Routine Cleaning Checklist for Refurbished Gear
Ever wondered how to keep your refurbished console looking and performing like new? Start by unplugging it, then grab a microfiber cloth and gently wipe the exterior to erase fingerprints and dust. Use a slightly dampened cloth only if needed, never soaking the surface. Next, blast ports and vents with compressed air, and sweep speakers and crevices with a soft brush to stop buildup. For keyboards and screens, swipe alcohol‑based swabs on keys and use screen wipes on displays, then dry with a lint‑free cloth. Reach tight spots with cotton swabs, applying light pressure. Set a weekly schedule: dust removal, ventilation checks, and clear space around the unit to prevent overheating. Apply the same routine to your refurbished iPad for consistent hygiene.
Why Hygiene Extends Refurbished Gear Life
Keeping your refurbished console clean isn’t just about looking good—it directly protects the hardware. When you wipe away dust buildup, you keep vents clear, maintain airflow, and prevent overheating that shortens component life. Regular cleaning also reduces wear on connectors and fans, so you avoid costly replacements. By unplugging before you start, you eliminate electrical hazards and keep moisture away from sensitive parts.
- Use a microfiber cloth for exteriors, avoid liquids, and spray compressed air into ports and vents.
- Reach crevices with cotton swabs or a soft brush, minimizing moisture contact.
- Set a routine cleaning schedule tied to usage to sustain performance and extend your gear’s lifespan.
Frequently Asked Questions
Are Refurbished Products Clean?
Yes, they’re clean if you verify the refurbisher removed dust, dried interiors, used anti‑static measures, and documented professional cleaning steps. Check for thorough vent, port, and accessory cleaning.
What Are the Risks of Buying Refurbished?
You risk hidden defects, limited warranties, missing accessories, inconsistent cleaning, and potential performance degradation, so you should verify the seller’s certification, inspect the item thoroughly, and confirm return policies before purchasing.
How Often Should Gaming PCS Be Cleaned?
You should clean your gaming PC every three to six months, depending on dust levels and usage intensity, using a microfiber cloth, soft brush, and compressed air while keeping the system powered off.
Is It Better to Buy Preowned or Refurbished?
You’ll usually get more reliability and warranty coverage with refurbished gear, while pre‑owned units can be cheaper but often lack guarantees, so refurbished is the safer, more dependable choice.
In Summary
By keeping your refurbished gaming gear clean, you’ll avoid grime, germs, and wear that can sap performance. Regular power‑downs, gentle microfiber wipes, careful air bursts, and precise alcohol swabs protect screens, buttons, and vents. Cotton swabs clear out stubborn crevices without moisture, while firmware updates and battery care keep the system running smoothly. Stick to a routine checklist, and you’ll extend your gear’s life, enjoy better gameplay, and stay healthier while you play.
Leave a Reply