When inspecting a used Nintendo Switch, you’ll want to test the Joy-Con controllers for drift by moving analog sticks and checking attachment mechanisms for secure clicks. Examine the screen under good lighting for cracks, scratches, or dead pixels using solid color displays. Test the docking station’s fit and HDMI output, verify battery life during gameplay, and confirm the console has been factory reset to remove previous owner accounts. This thorough evaluation will reveal everything you need to make an informed purchase decision.
Joy-Con Controller Functionality and Attachment Testing
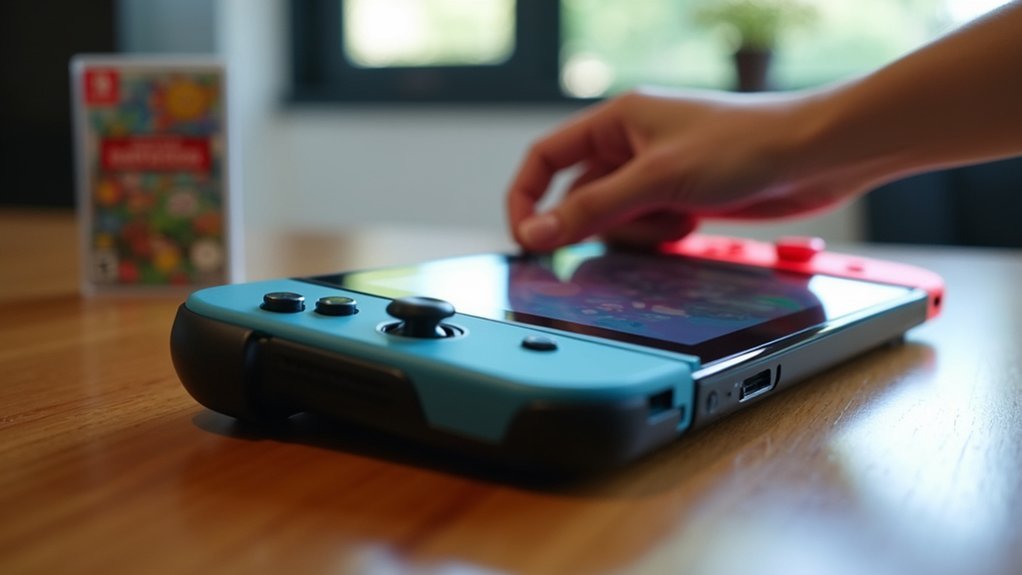
First, test the Joy-Con controllers’ attachment mechanism by pushing them from underneath until you hear a distinct click. This guarantees they securely connect and detach from the console properly.
During your inspection, press each button multiple times to check for responsiveness and detect any looseness that could indicate wear.
Test button responsiveness by pressing each one repeatedly to identify any looseness or wear that could signal controller damage.
Power on the console and move both analog sticks to verify functionality. Watch the on-screen cursor carefully—if it moves without your input, you’ve detected drift issues.
Check the Joy-Con controllers’ battery life by maneuvering to the console’s settings and monitoring charge status during gameplay sessions.
Remember that replacement costs range from $60 to $80 per controller, making thorough functionality testing essential before purchasing any used Nintendo Switch system.
Screen Quality and Display Performance Assessment
Examine the Nintendo Switch screen under good lighting conditions to spot any cracks, scratches, or blemishes that could compromise your gaming experience. These defects directly impact screen quality and visibility during gameplay. Test for dead pixels by displaying solid colors—white, red, green, and blue backgrounds will reveal unresponsive spots that don’t change color.
| Test Category | What to Check | Expected Result |
|---|---|---|
| Physical Damage | Cracks and scratches | Clean, intact surface |
| Dead Pixels | Color responsiveness | All pixels change color |
| Touch Functionality | Menu navigation | Accurate, lag-free response |
Adjust brightness settings to confirm display responsiveness and check calibration. Navigate through menus to verify touch functionality works smoothly. Look carefully for hairline cracks that aren’t immediately obvious but could worsen over time.
Docking Station Compatibility and TV Output Verification
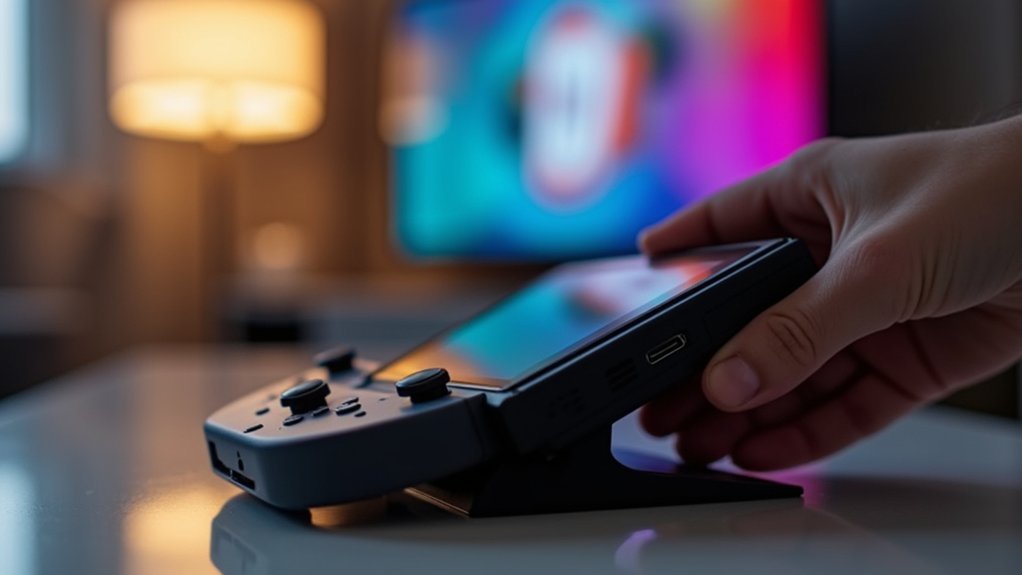
You’ll need to test the Switch’s ability to connect properly with its docking station and verify that it outputs video to your TV.
Start by carefully sliding the console into the dock to check for a secure fit, then confirm it powers on and charges correctly.
Next, verify the HDMI output works by ensuring the game displays properly on your television screen.
Dock Connection Testing
Testing the dock connection reveals critical functionality that affects your gaming experience across multiple platforms. Start by sliding your console into the dock—it should move smoothly without resistance, confirming proper alignment and compatibility.
Once docked, verify the console powers on automatically and seamlessly shifts display output to your TV screen.
Test HDMI functionality by checking both video and audio quality. Games should display clearly without lag or visual distortion.
Monitor the battery icon while docked to confirm effective charging is occurring. Inspect the dock’s internal connectors for visible wear, as damaged connectors compromise both charging efficiency and performance stability.
These connection tests guarantee your used Nintendo Switch will deliver reliable docked gaming sessions.
HDMI Output Functionality
Proper HDMI output verification requires connecting your Nintendo Switch dock to a television and confirming seamless video transmission.
You’ll need to verify the console powers on and displays the home screen when docked, indicating successful HDMI functionality. Check for any lag or display issues during gameplay to ascertain the output operates correctly.
Inspect the HDMI cable and ports for debris or damage, as these defects affect signal quality. If you’re experiencing problems, test with a different television to rule out compatibility issues with specific HDMI ports or settings.
The dock must be properly powered and connected via HDMI cable for accurate testing. This verification process guarantees the used Nintendo Switch’s docking capabilities function as intended for TV-based gaming sessions.
Audio System Quality and Sound Output Evaluation
You’ll need to thoroughly test the Nintendo Switch’s audio system to ascertain it delivers clear, crisp sound without any glitches or distortion.
Start by playing various games and listening carefully through both the console’s built-in speakers and an external TV setup to verify consistent audio quality across different outputs.
Test the volume control functionality by adjusting sound levels during gameplay, making sure it responds accurately while checking for proper separation between background music and sound effects.
Testing Audio Clarity
Audio quality serves as a critical indicator of your Nintendo Switch’s overall condition, as sound problems often signal deeper hardware issues that aren’t immediately visible.
Begin testing by playing games with diverse audio styles to evaluate how your Nintendo Switch handles different sound frequencies and effects. Listen carefully for crisp, distinct audio where background music and sound effects maintain proper balance without distortion.
Test both the console’s built-in speakers and HDMI output to your TV, ensuring consistent quality across formats. Adjust volume levels throughout the range, checking for static, crackling, or interruptions that indicate hardware problems.
Verify the audio settings respond correctly to changes, as misconfigured options can mask underlying issues during your evaluation process.
Volume Control Functionality
Volume adjustments reveal essential details about your Nintendo Switch’s internal audio circuitry and overall system responsiveness. Test the volume control during active gameplay to guarantee smooth, lag-free adjustments without audio distortion. You’ll want to verify that changes respond immediately and don’t interfere with other controls.
Check audio output quality across all connection methods – internal speakers, HDMI, and headphone jack. Listen for crisp, clear sound without static or interruptions. The volume control should function seamlessly whether you’re using handheld mode or docked configuration.
| Test Method | Expected Result | Red Flags |
|---|---|---|
| Internal speakers | Clear, balanced audio | Crackling, distortion |
| HDMI output | Distinct game sounds | Audio lag, imbalance |
| Headphone jack | No static/interruptions | Connectivity issues |
| Volume buttons | Immediate response | Delayed reaction |
| Gameplay testing | Smooth adjustments | Control interference |
Battery Life and Charging Port Inspection
Power management represents one of the most critical aspects when evaluating a used Nintendo Switch console. Start by fully charging the device and monitoring battery life during gameplay – healthy batteries last 4.5 to 9 hours depending on the game.
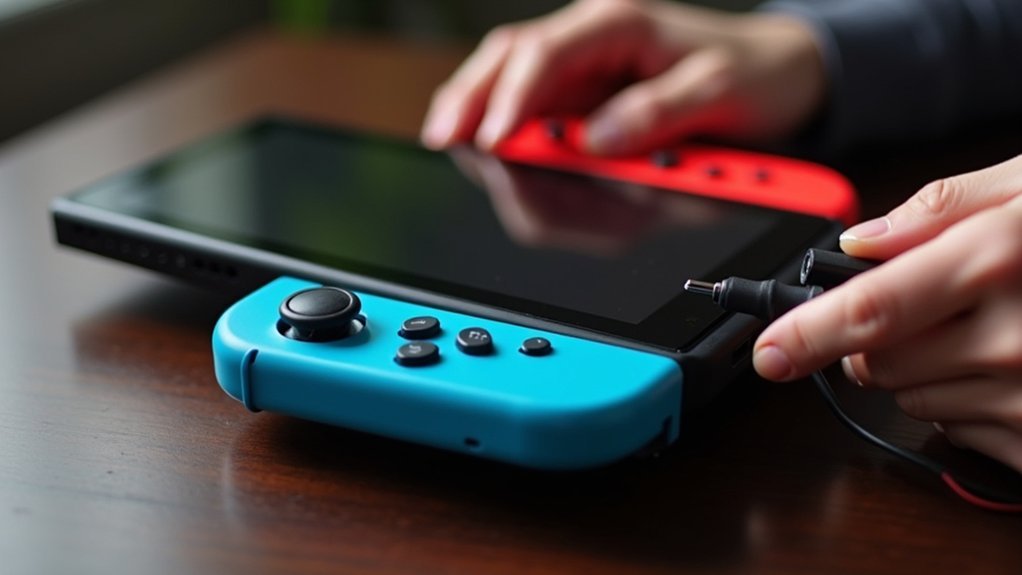
Next, inspect the USB-C charging port for debris or damage, ensuring it’s clean and intact for proper functionality.
Test the charging cable with the console to confirm uninterrupted charging, as faulty cables cause inconsistent performance.
If possible, use third-party software to check battery health by comparing current capacity to original specifications.
Remember that battery replacements cost $50 to $100, so factor these potential expenses into your purchasing decision when evaluating the console’s overall condition.
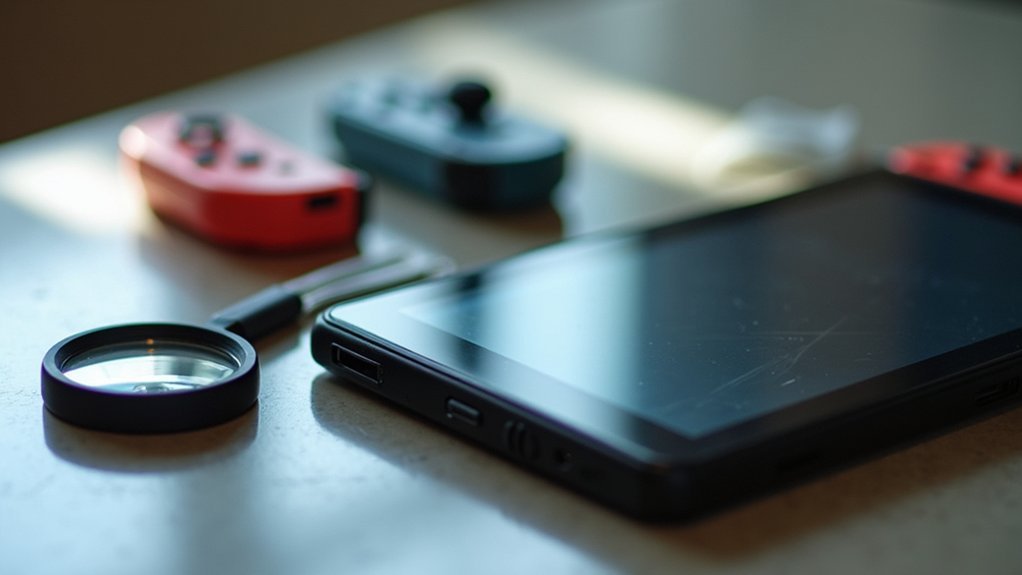
Physical Condition and Structural Integrity Check
When examining a used Nintendo Switch, you’ll want to scrutinize the console’s exterior for telltale signs of wear or damage that could affect performance.
Start by inspecting the main casing for cracks, dents, or scratches, especially around buttons and vents where mishandling often leaves marks.
Check the screen thoroughly by adjusting brightness levels to spot dead pixels or hairline cracks while testing touch responsiveness.
Test the Joy-Con attachment points carefully—they should slide in securely with an audible click and remain firmly connected during use. Any looseness here indicates significant wear.
Examine the kickstand’s durability by testing its stability at various angles.
Finally, inspect all ports including the USB-C charging port and HDMI output for damage, ensuring they function properly when connected.
Original Accessories and Cable Completeness Verification
Beyond evaluating the console’s physical condition, you’ll need to verify that all original accessories are present and functional. Confirm the AC adapter, HDMI cable, and Joy-Con straps are included with your purchase.
Examine each accessory’s condition carefully, checking for frayed cables or damaged connectors that could affect performance. The dock deserves special attention since it’s essential for charging and TV connectivity—make sure it’s included and working properly.
Ask sellers about additional accessories like screen protectors or carrying cases that might add value to your purchase. When buying online, request clear photos of all accessories to avoid unpleasant surprises.
Don’t assume everything’s included; verify each component’s presence and functionality before finalizing your transaction to make certain you’re getting complete value.
Account Status and Digital Game Ownership Concerns
While physical components matter, digital ownership presents equally important considerations that could affect your purchase’s long-term value.
Digital games on used Nintendo Switch consoles remain linked to the original owner’s account, creating potential access issues if the seller later reclaims their account. You must verify the console’s been factory reset to eliminate any ties to the previous owner’s account.
Communicate with the seller about transferring digital content ownership and make certain their account isn’t set as the primary account.
If you plan on purchasing digital games, consider buying new titles rather than relying on the previous owner’s library. Understanding account ownership implications is vital—mismanaging this aspect could result in losing access to digital games you thought came with your purchase.
Performance Testing and System Functionality Validation
After addressing account concerns, you’ll need to thoroughly test the console’s core functionality to confirm it performs as expected.
Performance testing begins with powering on the device and verifying the screen displays correctly. Adjust brightness settings and test touch responsiveness across different areas.
- Run a demanding game to assess performance, watching for lag issues or unexpected crashes
- Test the USB-C port by connecting the charger and confirming proper battery charging without interruption
- Examine HDMI output by connecting to a TV, confirming games display without distortion or visual artifacts
- Check Wi-Fi reception by connecting to your network and testing online functionality for stable connectivity
- Verify system functionality through menu navigation, confirming all buttons respond appropriately during gameplay
These thorough checks confirm you’re purchasing a fully operational console.
Frequently Asked Questions
What to Look Out for When Buying a Used Nintendo Switch OLED?
Check the OLED screen for dead pixels and scratches, test Joy-Con drift, verify docking functionality with HDMI output, inspect for cracks around vents, and confirm you’re getting all original accessories.
How to Check Nintendo Switch History?
You’ll check Nintendo Switch history by maneuvering to Settings, then Users and Data Management. Check eShop download history, test online features for bans, and contact Nintendo support using the serial number.
How to Tell if a Used Switch Is Banned?
Test the console’s internet connection by accessing the Nintendo eShop. If you’re banned, you’ll see an error message indicating online restrictions. Ask the seller to demonstrate successful eShop access before purchasing.
Can I Check if a Nintendo Switch Is Stolen?
You can’t directly check if a Nintendo Switch is stolen through an official database. However, you should ask sellers for purchase receipts, inspect for tampering signs, and contact Nintendo support with suspicious serial numbers.


Leave a Reply