You’ll save up to 30 % by picking each part yourself, so you can hit the exact resolution and frame‑rate you want without overpaying for unwanted features. Tailor the CPU‑GPU combo—like an i5‑13400F with an RTX 3050—to your budget, then choose a compatible motherboard, 16 GB DDR5 RAM, and a fast NVMe SSD for snappy loads. A well‑planned case, cooling, and power supply keep temps low and upgrades easy. Keep reading and you’ll discover the exact steps to assemble and fine‑tune the perfect affordable build.
Set Your Budget and Decide What Gaming Performance You Need
How much can you spend while still hitting the gaming performance you want? Start by setting a clear budget and defining the resolution and frame‑rate you expect. If you target 1080p high‑settings, a modest budget can suffice; 1440p or 4K will push you to allocate more or lower visual fidelity. Use PCParts tools like PCPartPicker to balance costs and ensure hardware compatibility. Aim for at least 16 GB RAM, and consider 32 GB if you multitask heavily or want future‑proofing. Choose a fast NVMe SSD for the OS and games to cut load times, keeping the drive size modest to save money. Shop OEM deals, compare warranties, and verify that each component fits your motherboard, power supply, and case. This disciplined approach lets you hit the gaming performance you need without overspending. Durability and reuse considerations from bulk organization materials can inform you to choose components with good warranty coverage and reliable compatibility in your build, helping ensure long-term value.
Select a CPU‑GPU Pair for an Affordable Gaming PC
After setting your budget and target frame‑rate, the next step is picking a CPU‑GPU combo that delivers the performance you need without blowing the bank. A solid, affordable pair is the Intel Core i5‑13400F paired with an RTX 3050.
The i5‑13400F offers six performance cores and four efficiency cores, handling modern titles at 1080p and respectable 1440p settings while staying well under a modest budget.
The RTX 3050 supplies enough graphics horsepower and 8 GB VRAM for smooth gameplay, and its power draw fits typical mid‑range PSUs.
Verify compatibility—check the i5’s LGA 1700 socket, ensure the motherboard supports the GPU’s PCIe slot, and confirm the PSU can handle the combined load.
This combo gives you a reliable foundation and room for future upgrades, like a 16 GB VRAM GPU, without breaking the bank, upgrading potential and the balance of performance per dollar.
Choose a Motherboard With the Right Chipset and Expansion Options
Looking for a motherboard that won’t bottleneck your Intel i5‑13400F and RTX 3050 build? Choose a board whose chipset and socket match your CPU, then check that its expansion options cover your needs. Verify the form factor fits your case—ATX, Micro‑ATX, or Mini‑ITX—and make sure you get at least two M.2 slots, enough PCIe lanes for a GPU, and a solid VRM for stable power. Prioritize connectivity you’ll actually use, like USB‑C front panels or PCIe 5.0 support, while keeping an eye on price and warranty. PCIe 5.0 provides future headroom for expansion and faster data transfer, aligning with the growing needs of mid-range builds.
Pick Gaming‑Grade RAM at the Sweet Spot of Speed and Price
Your motherboard’s chipset and M.2 slots set the stage, but the next piece that really decides performance is memory. For a gaming‑grade build, aim for 16 GB of DDR5‑6000 as the baseline; it hits the sweet spot where speed meets price. If you stream or run VR, bump to 32 GB for smoother multitasking. Make sure your board supports the proper profile—XMP for Intel or EXPO for AMD—so you can hit the advertised frequencies without manual tinkering. Pairing high‑speed RAM with a compatible CPU avoids paying for marginal gains and keeps the overall cost in check. XMP/EXPO profiles help ensure you achieve the rated speeds reliably.
Install an NVMe SSD for Fast Loads on a Tight Budget
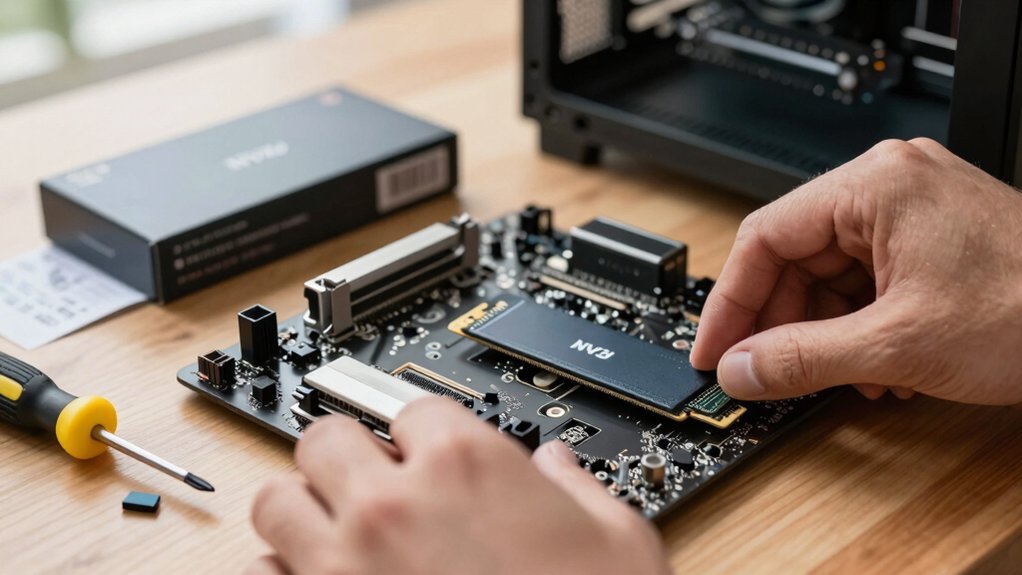
Why sacrifice loading speed when a modest NVMe SSD can slash wait times without breaking the bank? You’ll notice instant responsiveness as the PCIe 3.0/4.0 drive boots Windows, launches apps, and loads game worlds in seconds. In addition, choosing a durable, 3/4-inch-grade drive can help maintain performance over time as data grows storage durability.
Select a Certified 80 PLUS PSU That Fits Your Power Needs
First, calculate your system’s total wattage and add a comfortable buffer so the PSU isn’t stretched.
Next, aim for at least an 80 PLUS Gold rating to keep power loss low and temperatures down.
Finally, double‑check that the unit supplies the right 12V rails and PCIe connectors for your GPU and motherboard.
To ensure safe operation on a budget, consider the protection suite (OVP, OCP, OTP, SCP) and verify that the chosen PSU comes from a reputable brand with a solid warranty. Protection features help guard components during transient loads and faults.
Determine Wattage Requirements
A good starting point is to calculate the total wattage your components will draw, then add a 20‑30 % safety margin for peak loads and future upgrades. You’ll first list the CPU, GPU, RAM, storage, and any peripherals, then sum their rated power draws to get your system wattage. Adding headroom protects against spikes when gaming or overclocking and leaves space for future upgrades. Once you have that number, match it to a certified 80 PLUS power supply that meets or exceeds the requirement, ensuring stable voltages and efficient operation. Also consider selecting a PSU with modular cabling to reduce cable clutter and improve airflow cable management and reliability.
Prioritize Efficiency Rating
After you’ve nailed down the wattage, the next step is picking a PSU with a solid efficiency rating. Aim for an 80 Plus Gold (or higher) unit; its PSU efficiency means less heat and lower electricity bills, which is essential in a budget build. Choose a modular PSU to keep cables tidy and airflow strong, and always leave a little power headroom—about 10‑20 % above your estimated draw—to accommodate future upgrades without stressing the rails.
| Feature | Why It Matters |
|---|---|
| 80 Plus Gold | Guarantees ≥87 % efficiency at 50 % load |
| Modular PSU | Reduces clutter, improves cooling |
| Power headroom | Prevents throttling and eases upgrades |
Verify Connector Compatibility
Need to sure your PSU carries an 80 PLUS rating before you even think about wattage, because that certification guarantees efficient power delivery and lower heat. When you pick a certified ATX power supply, check that its wattage exceeds your PCPartPicker total plus headroom for spikes and future upgrades. Verify PSU compatibility by confirming the presence of the required PCIe power connectors for your GPU and the 8‑pin/4+4‑pin CPU connector on the motherboard. Opt for modular cables to reduce clutter, improve airflow, and make cable management painless. Reputable brands like Corsair, EVGA, NZXT, and Cooler Master often ship with reliable modular options and solid efficiency under load.
- 80 PLUS rating (Gold or higher)
- Wattage ≥ system estimate + 20 % headroom
- Sufficient PCIe 6‑pin/8‑pin connectors for GPU
- Modular ATX power supply with clean cable routing
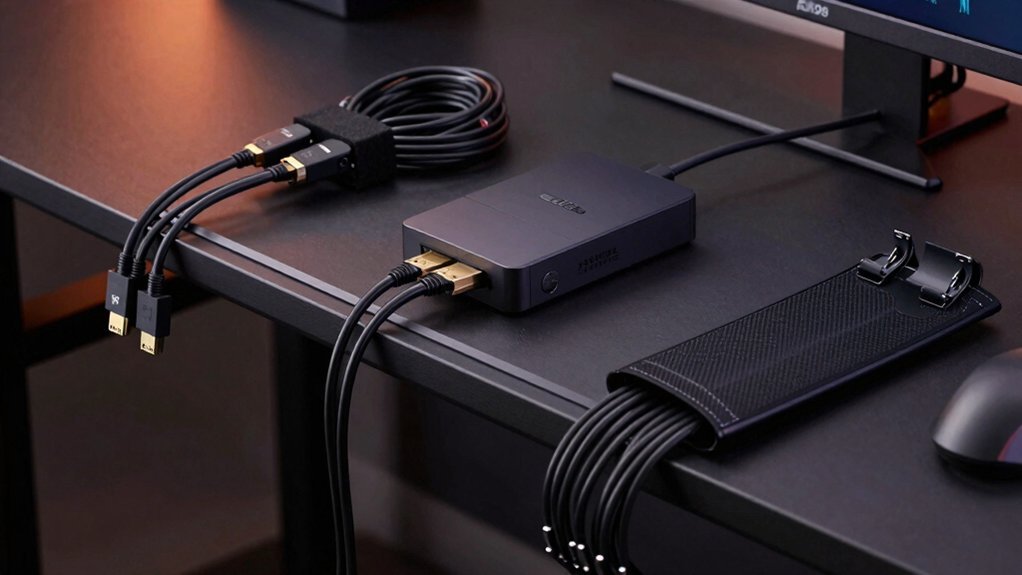
Choose a Compact Case That Accommodates Your Cooling Strategy
Choosing a compact case that fits your cooling strategy means checking dimensions, airflow paths, and mounting options before you buy.
Choosing a compact case requires checking dimensions, airflow paths, and mounting options before purchase.
First, measure the GPU clearance; most mid‑range cards need at least 260 mm of space, so verify the case specs.
Next, evaluate airflow management: look for front and top fan mounts, mesh panels, and unobstructed vents to keep cool air moving.
Ensure the case supports your motherboard form factor and PSU size, and that the internal layout lets you route cables cleanly without blocking airflow.
If you plan to use a slim AIO or high‑efficiency air cooler, confirm the radiator or fan dimensions fit the designated spots.
Plan Your Cooling: Air or Budget Liquid, and Install the Cooler Properly
A solid cooling plan starts with deciding whether air or a budget liquid loop best matches your performance goals and noise tolerance. Air cooling offers quiet, cheap simplicity, while budget liquid cooling can shave degrees off high‑end CPUs at the cost of extra parts and careful routing. Whichever you pick, verify that the cooler matches your socket, apply a thin layer of thermal paste, and secure the mounting brackets during cooler installation. Then, manage cables so the front intake stays clear and set up BIOS fan profiles to balance temperature and sound.
- Choose a 240 mm or larger closed‑loop for mid‑to‑high‑end CPUs
- Position intake fans at the front and exhaust at the rear/top
- Run cables away from airflow paths for unobstructed ventilation
- Tweak BIOS fan profiles to keep temps low without screaming fans
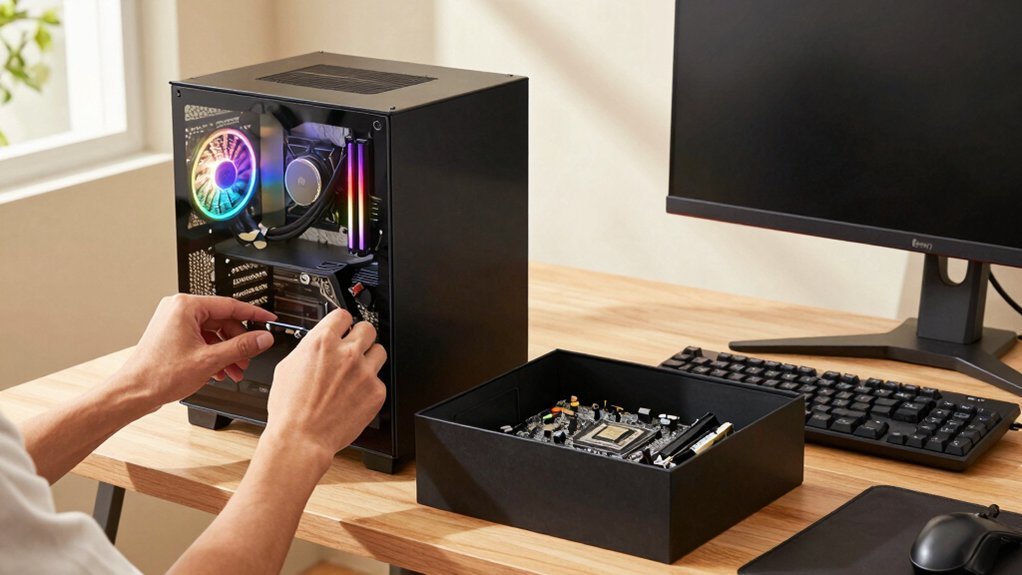
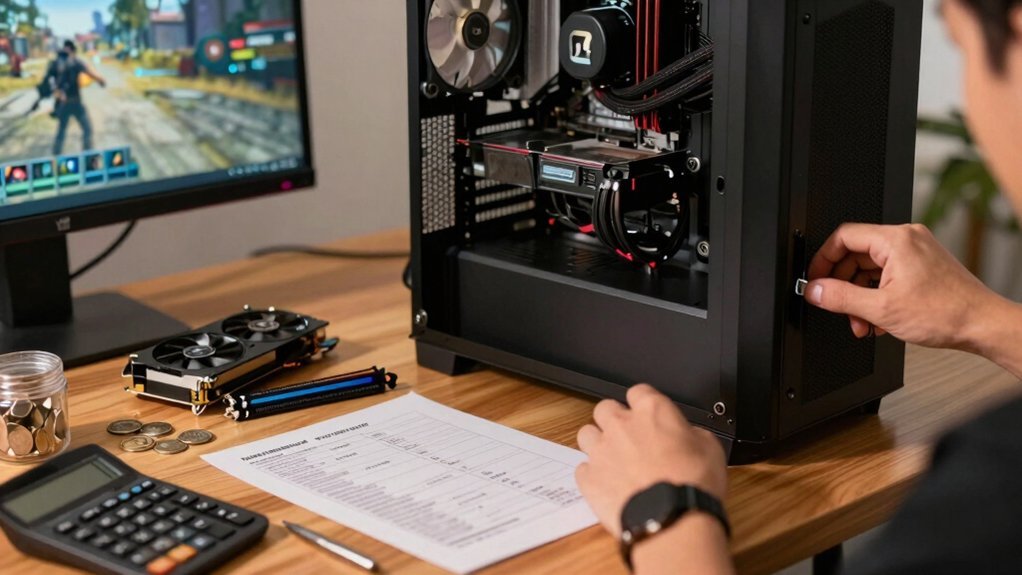
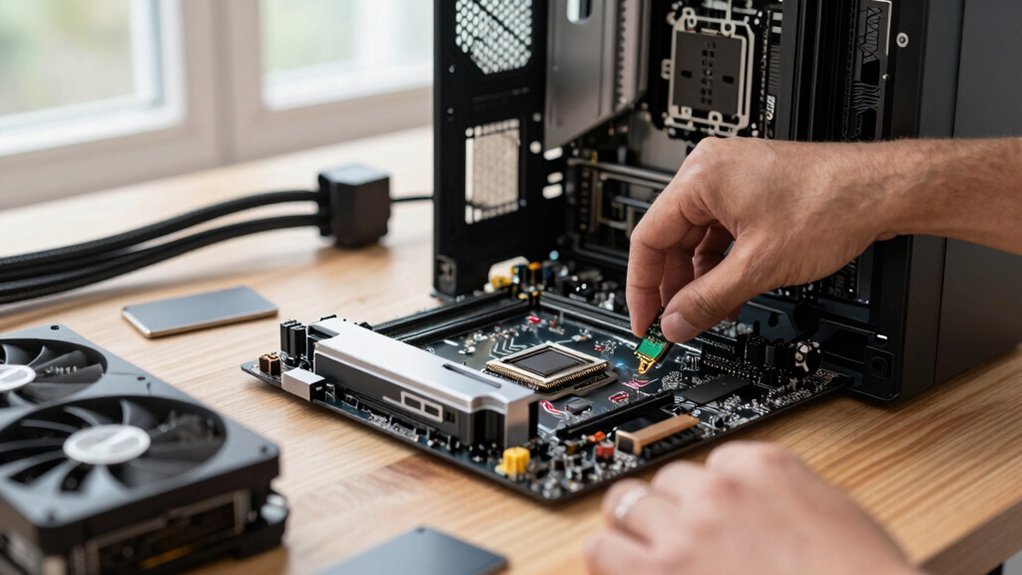
Assemble Components Efficiently to Avoid Mistakes
How can you keep the build process smooth and error‑free? Start by checking every component on PCPartPicker for compatibility, then lay out the motherboard, CPU, RAM, and cooler on a clean, static‑free surface. Organize screws and brackets in labeled trays, and follow each step‑by‑step guide to cut down on troubleshooting later. Keep a screwdriver, zip ties, and thermal paste handy, and double‑check that the power supply cables match the motherboard connectors before you click anything in place. A tidy workspace and a clear parts list let you focus on the assembly rather than hunting for missing pieces, saving hours and preventing costly mistakes.
| Step | Action | Tip |
|---|---|---|
| 1 | Verify compatibility on PCPartPicker | Use the “Check Compatibility” button |
| 2 | Prepare workspace | Anti‑static mat, good lighting |
| 3 | Organize hardware | Label trays for screws, brackets |
| 4 | Install CPU & cooler | Follow motherboard manual precisely |
| 5 | Connect power & peripherals | Double‑check cable orientation |
Optimize BIOS & Windows Settings for Gaming Performance
After your components are securely assembled, turn your attention to the BIOS and Windows settings that can extract every ounce of performance from your rig. BIOS optimization lets you enable RAM XMP/EXPO profiles, pushing memory to its rated speed and widening bandwidth for smoother frame delivery. Keep Windows performance tuning tight: run DISM and SFC, disable unnecessary startup apps, and ensure you have the latest BIOS and driver updates for compatibility with new CPUs, GPUs, and NVMe drives. Store the OS on a fast NVMe, separate game files on another drive, and monitor temps and fan curves to avoid throttling. These steps collectively boost gaming performance without extra hardware.
- Enable XMP/EXPO profiles in BIOS
- Update BIOS and chipset drivers
- Run DISM/SFC and clean startup in Windows
- Use a dedicated NVMe for OS, separate drive for games
Future‑Proof Your Build With Easy Upgrades and Warranty Planning
When you plan your budget build with future upgrades in mind, you’ll avoid costly overhauls later and keep performance headroom for newer games. Focus on upgradeability by choosing an AM5 or LGA1700 motherboard with multiple M.2 slots, so adding a second NVMe SSD or expanding RAM to 64 GB is painless. Pair it with a high‑quality modular PSU; the cables stay tidy and you can swap wattage without rewiring. Map out warranty planning early: note each component’s coverage, keep receipts, and prioritize parts with longer, transferable warranties. This strategy supports future‑proofing, letting you drop in a newer GPU or CPU without a full system rebuild. Document the upgrade path, balance cost against performance, and you’ll enjoy a resilient, adaptable rig for years.
Frequently Asked Questions
What’s the Point of Building Your Own PC?
You get exactly the performance you need, avoid mark‑ups, and learn how each component works; plus you can upgrade later, control warranties, and enjoy the satisfaction of a truly personal machine.
Is It Still Cheaper to Build Your Own PC?
Yes, you can still save by building your own PC—shop smart, compare prices, and avoid unnecessary extras; the DIY route usually undercuts pre‑built costs while letting you pick exactly what you need.
How Long Should a $1000 PC Last?
You’ll get roughly five to seven years of solid performance if you start with a 16 GB RAM, a PCIe 4.0 SSD, and a decent GPU, then upgrade the GPU or RAM as games demand.
Is It Better to Get a Prebuilt PC or Build One Yourself?
You’ll likely enjoy more control and lower cost by building yourself, but if you value convenience, warranty, and instant readiness, a prebuilt saves time and hassle—choose based on your priorities.
In Summary
By setting a realistic budget, picking a balanced CPU‑GPU combo, and choosing the right motherboard, RAM, and NVMe SSD, you’ll get solid gaming performance without breaking the bank. Proper cooling and careful assembly keep things stable, while BIOS tweaks and smart Windows settings squeeze out every frame. Plan for future upgrades and warranty coverage, and you’ll enjoy a reliable, affordable PC that grows with your gaming needs.

Leave a Reply