
You’ll find cheap cases cram everything into a tiny box, so the front panel is thin, fan mounts are limited, and radiator clearance is barely a few millimetres. That forces you into low‑profile coolers or slim radiators, and the cramped space blocks airflow, causing hot spots. The tight cable routing and small brackets also restrict fan size and placement, cutting your cooling headroom. Keep reading and you’ll discover how to work around those limits.
Why Budget Cases Limit Cooler Choices
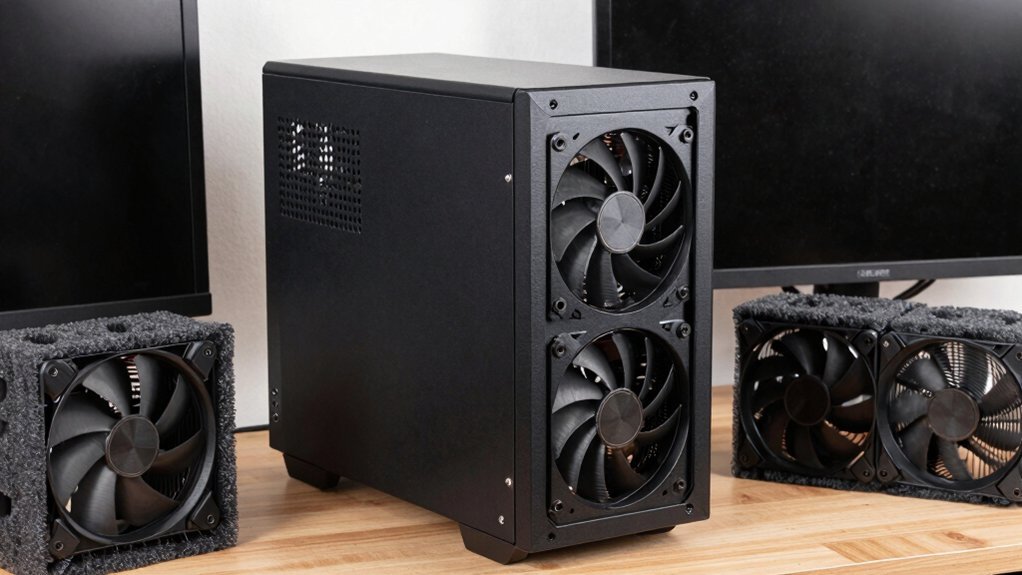
Ever wonder why your cheap case feels like a dead end for cooling? You notice the cramped case volume restricts radiator length, so you can’t mount a large liquid‑cooling loop. The solid front panel chokes airflow, forcing the few stock fans to work harder while intake stays limited. Because budget designs cut corners on fan size and count, heat can’t be expelled efficiently, and any tall heatsink or air cooler quickly runs into clearance issues. Tight cable routing further blocks the already sparse airflow, creating hot spots around the CPU and GPU. As a result, you’re forced to settle for smaller, less effective coolers, and your high‑performance parts stay hotter than they should. Upgrading to cases with up to 360mm radiator support and better panel designs helps improve airflow and cooling potential radiator compatibility.
How Tight Clearances Block Large Air Coolers
Why do tight clearances make large air coolers impossible to install?
In a cramped case you’ll only have 120–140 mm of vertical space between the RAM and motherboard, so a bulky air cooler can’t fit. The limited height and width force you to choose a low-profile cooler or a dual-stack design. Shallow cases also crowd the GPU and RAM, creating clashes with oversized heatsinks and mounting brackets. Cable bundles and drive bays further eat into the usable height, turning the interior into an airflow bottleneck. Sometimes you’ll have to mount the cooler sideways, which hurts performance and may void the warranty. The result is a forced compromise: you settle for a smaller air cooler that fits, sacrificing optimal cooling. Modular design can help by allowing two-piece configurations that adapt to tighter layouts and maintain better airflow.
Small Fan Brackets Reduce Airflow Efficiency
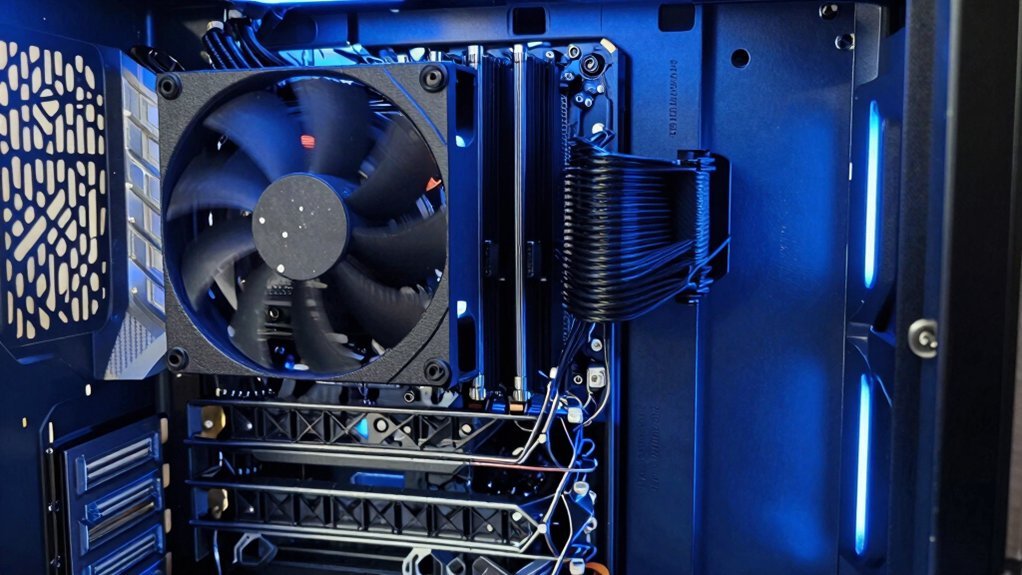
How do tiny fan brackets end up throttling your cooling? You’ll notice that small brackets often sit too close to the fan blades, creating airflow restrictions that turn smooth streams into turbulent eddies. The obstruction forces air to recirculate, so the heatsink or radiator sees less fresh air and more hot exhaust. Vibration rises, noise spikes, and dust gathers in micro‑gaps, all of which degrade performance.
By selecting mounts and configurations that optimize outlet spacing and reduce blockage, you eliminate those small brackets that choke your cooling system. UEFI-compatible design considerations can also influence how effectively your case mounts support airflow-oriented layouts, further supporting stable cooling performance.
Tight Cable Routing Prevents Radiator Installation
You’ll find that cramped cable routing eats up the space you need for a radiator, forcing you to choose smaller or fewer fans.
The tangled wires also block airflow, so even if you squeeze a radiator in, cooling performance suffers.
In budget cases with few tie‑downs, you often have to reroute or remove components just to get a decent liquid‑cooling setup, and poor chassis ventilation can exacerbate heat buildup during long gaming sessions, making thermal throttling more likely cable management
Cable Management Constraints
Ever tried to squeeze a 240 mm radiator into a budget case, only to discover a maze of cables blocking the top mount? In cheap chassis, cable management is an afterthought, so power leads and front‑panel wires jam together in the limited space. Those bundled cables become airflow obstruction, forcing air to swirl around the radiator instead of passing cleanly through it. Without dedicated channels or grommets, you end up routing cables over fan blades or against the radiator frame, which narrows the intake path and reduces cooling efficiency. The result is a cramped interior where every extra inch of cable eats away at clearance, making it almost impossible to fit a full‑size radiator without compromising airflow. Under-Desk Cable Management Tray provides a no-drill solution that helps keep cables organized and out of the radiator’s intake path, which can improve airflow and ease future upgrades.
Limited Radiator Mounting Space
Where does the radiator go when your budget case barely offers a single top or rear mount? You’ll find yourself juggling tight cable routing, cramped clearances, and a limited radiator mounting area that forces compromises on cooling performance. The case budget often dictates a slim 25‑30 mm radiator, and any extra tubing or pump can clash with the narrow mount, leaving you with a sub‑optimal loop. Independent port protection and auto-shutoff can also be compromised in cramped builds case design limitations.
Why Thin Front Panels Hurt Budget‑Case Intake Air
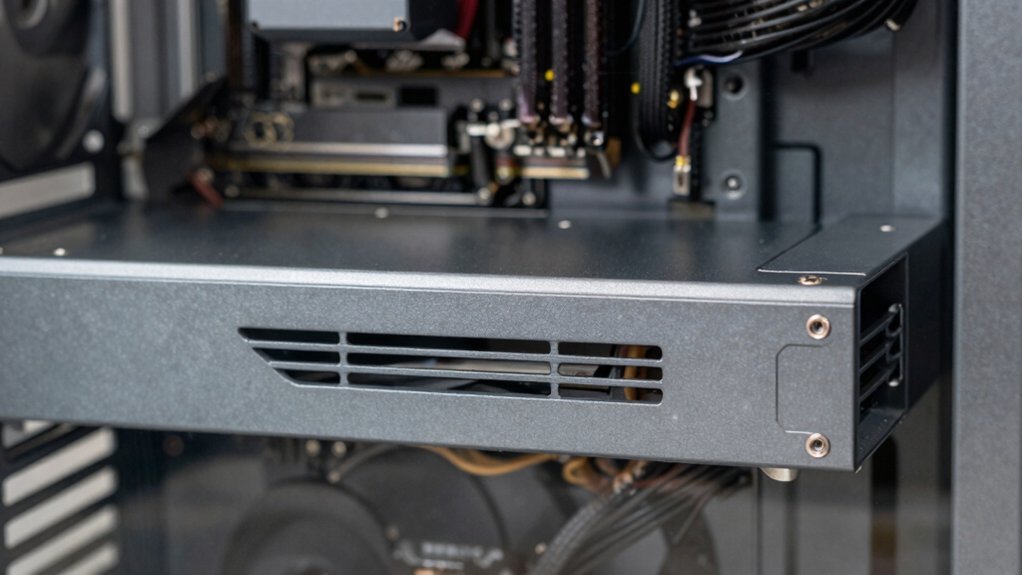
Why do thin front panels choke a budget case’s airflow? You’ll notice that a rigid, narrow front panel limits the air flow entering the chassis. The panel’s small openings and sharp edges create turbulence, slowing the fan’s pull. Without a proper mesh, dust builds up faster, further restricting intake. Cheap mounts often block larger, high‑CFM fans, so you’re stuck with low‑volume ports that bottleneck cooling.
Panel thickness reduces opening size. Mesh presence improves airflow, but is often absent on budget builds. fan size support often limits CFM to 120 mm only. dust filter prevents blockage is missing or thin.
How Motherboard Size Affects Cooling in Budget Cases
You’ll notice that the tiny PCB real estate of a micro‑ATX or mini‑ITX board leaves you fewer spots for fans and radiators, and the cramped layout often blocks the usual fan mounts. Those restricted fan mounts force you to settle for smaller, less effective coolers, which can cause heat to linger around the CPU and VRMs. As a result, your cooling options shrink dramatically in budget cases.
Limited PCB Real Estate
How does a smaller PCB change your cooling game? On a budget case the limited PCB real estate forces you into tighter component placement, which directly trims your cooling options. You’ll notice fewer tall heatsinks, cramped VRM clearances, and memory modules that block airflow, creating hot spots that spread quickly.
- Reduced heatsink height – low‑profile coolers replace bulky towers, lowering thermal headroom.
- Obstructed airflow paths – dense component clusters divert air, forcing you to rely on a single fan.
- Closer component proximity – GPU and add‑ons sit near voltage regulators, increasing thermal coupling and raising temperatures.
These constraints mean you must prioritize efficient, low‑profile cooling solutions or accept higher operating temperatures in your budget build.
Restricted Fan Mounts
Ever wonder why a tiny micro‑ATX board feels suffocating in a cheap case? You’ll notice the fan mounts are tucked behind PCIe brackets, leaving barely any clearance for airflow. Those cramped spots force you into low‑CFM, small‑diameter fans, and they block push/pull setups that could boost CPU and GPU cooling. In budget cases the mounting points are often non‑standard, so you can’t slap a larger radiator or a high‑performance fan where you want it. Cables and drive bays crowd the remaining space, creating bottlenecks that further limit cooler choices. The result is a build that overheats faster, forcing you to settle for weaker cooling solutions despite your best intentions.
Which Budget Case Sizes Conflict With 240 mm Radiators?
Which budget case sizes clash with 240 mm radiators? You’ll find that compact micro‑ATX towers, entry‑level mid‑towers, and cheap cube designs often lack the internal height or depth needed for a full‑size 240 mm radiator. Their front panel thickness and cramped layouts cut down clearance, and they usually provide only 120 mm or 140 mm fan slots. Without dedicated mounts, you may have to relocate HDD cages or settle for slim radiators, compromising cooling performance.
Compact micro‑ATX, entry‑level mid‑towers, and cheap cubes lack the height and mounts for full‑size 240 mm radiators.
- Micro‑ATX “mini‑tower” – height under 30 mm, front panel blocks radiator space.
- Budget mid‑tower – 120 mm fan slots, misaligned mounting holes.
- Cube‑style case – shallow depth, no radiator compatibility features.
Improper Dust Filter Placement Hurts Cooling
Budget cases often force you to compromise on radiator size, and the same shortcuts show up in airflow design. When you mount a dust filter behind a drive cage or beside a cable bundle, you block intake airflow and force the fan to pull air through a narrow gap. That reduced suction creates uneven cooling and hot spots, while dust sneaks past the filter and settles on heat sinks and radiators. A poorly placed filter also encourages recirculation, letting warm exhaust air re‑enter the intake path and raising component temperatures. Position the dust filter where it faces unobstructed fresh air, and keep it easy to clean. Proper placement maintains consistent airflow, prevents dust buildup, and keeps your system running cool.
Low‑Profile CPU Coolers for Tight Spaces
If you’re building a compact PC, low‑profile CPU coolers are the go‑to solution for tight vertical clearance—typically under 70–125 mm—so they won’t clash with RAM, motherboard heatsinks, or the case roof. Their short heat sinks and smaller fans trade raw cooling power for a slim footprint, making them perfect for low‑to‑moderate TDP CPUs in tiny case size. You’ll still get decent temps if the cooler uses quality contact plates, efficient heat pipes, and a well‑tuned fan.
- Check RAM clearance – ensure the cooler doesn’t overhang memory modules.
- Mind PCIe access – verify the cooler leaves enough room for graphics cards.
- Measure case dimensions – confirm front‑to‑back and top‑to‑bottom clearance before buying.
Fit AIO Pumps & Radiators in Small Mounts
You’ll quickly notice that cheap, small‑mount cases only give you about 25–30 mm of radiator thickness, so any thicker AIO will clash with the chassis. The limited clearance forces you to pick a pump and tubing layout that fits within a tight 50 mm envelope, often restricting you to top or rear mounts. Before you buy, measure the exact internal dimensions and run a dummy‑fit test to avoid costly surprises.
Space Compatibility Constraints
How can you squeeze a 240 mm radiator into a case that only offers a 120 mm mounting slot? Cheap cases bite you with space constraints that choke radiator clearance. The motherboard tray often sits too close, leaving just a few millimeters for tubing and cables. You’ll find yourself juggling RAM height, power‑cable routes, and fan thickness, all while trying to keep the pump stable without dedicated brackets or anti‑vibration mounts.
- Measure the exact distance from the motherboard to the rear panel; subtract the thickness of the radiator and any required tubing.
- Check the side‑panel clearance for RAM and GPU shrouds, ensuring the radiator doesn’t block them.
- Verify that the case’s front or top fan holes can accommodate the radiator’s fan size without obstructing airflow.
Limited Radiator Clearance
Space constraints that forced you to juggle RAM and cables now tighten the room for any AIO pump or radiator you try to fit. Cheap cases shove the motherboard tray and PSU shroud so close that even a 120 mm radiator with a 25 mm thickness barely clears. The internal bracing or drive cages bite into the space, forcing fans outward and choking airflow, which defeats your air cooling goals. You’ll often end up with 120–240 mm limits and a hard cap at 30 mm thickness, meaning thicker radiators or full‑size pump blocks need drilling or custom mods. Skipping those tweaks leaves you with poor radiator clearance and a compromised cooling loop.
| Component | Typical Max Size |
|---|---|
| Front Radiator | 120 mm × 25 mm |
| Top Radiator | 240 mm × 30 mm |
| Pump Block | 30 mm height |
| Drive Cage Intrusion | 5–10 mm reduction |
Pick Slim, High‑Static‑Pressure Fans for Tight Airflow
Wondering why slim, high‑static‑pressure fans are a must in cramped builds? You need airflow that punches through tight meshes and dense components without stalling. Slim models keep clearance tight while static‑pressure pushes air through thin radiators and cluttered panels, preventing dead zones and recirculation. By stacking a few of these fans, you can match the cooling of a larger case without sacrificing space or raising noise.
Slim high‑static‑pressure fans deliver powerful airflow through tight meshes, ensuring efficient cooling in cramped builds.
- Choose fans with 0.8–1.6 mm H₂O rating for strong push.
- Align blades to direct air straight through radiators and heatsinks.
- Pair multiple slim units to balance intake and exhaust flow.
Upgrade the Case or Optimize Your Cooling Layout?
Ever considered whether swapping the case or tweaking your cooling layout yields better temps? If your budget case crams components, you’ll hit radiator size limits and fan placement headaches. Upgrading to a larger chassis gives you flexible mounting spots—top, front, bottom—so you can spread airflow and avoid bottlenecks. It also lets you install higher‑CFM fans and larger radiators, improving air movement and cooling efficiency. But if a new case isn’t in the budget, you can still optimize: remove restrictive panels, add dust filters, and re‑route tubing to clear obstructed paths. Replace stock fans with high‑static‑pressure models, and position them to create a straight‑through flow from intake to exhaust. Small adjustments often disclose noticeable temperature drops without a full case upgrade.
Frequently Asked Questions
Is There a Phone Case That Prevents Overheating?
You won’t find a phone case that entirely stops overheating, but you can choose one with heat‑dissipating materials, ventilation slots, or built‑in thermal pads that help keep temperatures lower during heavy use.
Is 11 Fans in a PC Overkill?
You’ll likely find 11 fans overkill; they consume power, add noise, and rarely improve temperatures beyond what three to well‑placed fans already achieve in a typical build.
How to Tell if a CPU Cooler Will Fit in a Case?
Check the case’s maximum cooler height and radiator thickness, measure internal depth behind the motherboard tray, compare those numbers to the cooler’s dimensions, and verify RAM and VRM clearance before buying.
Is It Okay to Cheap Out on a PC Case?
You can cheap out on a case, but expect tighter space, poorer airflow, louder fans, and limited upgrade paths. It’ll work for modest builds, yet high‑performance parts may overheat or be hard to install.
In Summary
So, when you stick with a cheap case, you’re basically forced into a tighter cooling game—small air coolers, low‑profile AIOs, and high‑static‑pressure fans become your go‑to options. If you want bigger radiators or more airflow, you’ll need to upgrade the case or get creative with component placement. Otherwise, you’ll be stuck managing heat with the limited, cramped solutions budget cases provide.


