You’ll know a controller’s past its prime when stick drift stays over 15°, buttons feel mushy or won’t register, battery drains in hours or won’t charge despite a clean port, and you see cracks, swelling, or loose parts. If cleaning, calibration, firmware updates, and basic DIY fixes don’t fix these issues, the hardware is likely failing. Keep an eye on wireless drop‑outs and abnormal heat, and you’ll discover more details on deciding whether to repair or replace.
Spot the 5 Common Controller Issues Before Deciding on Repair

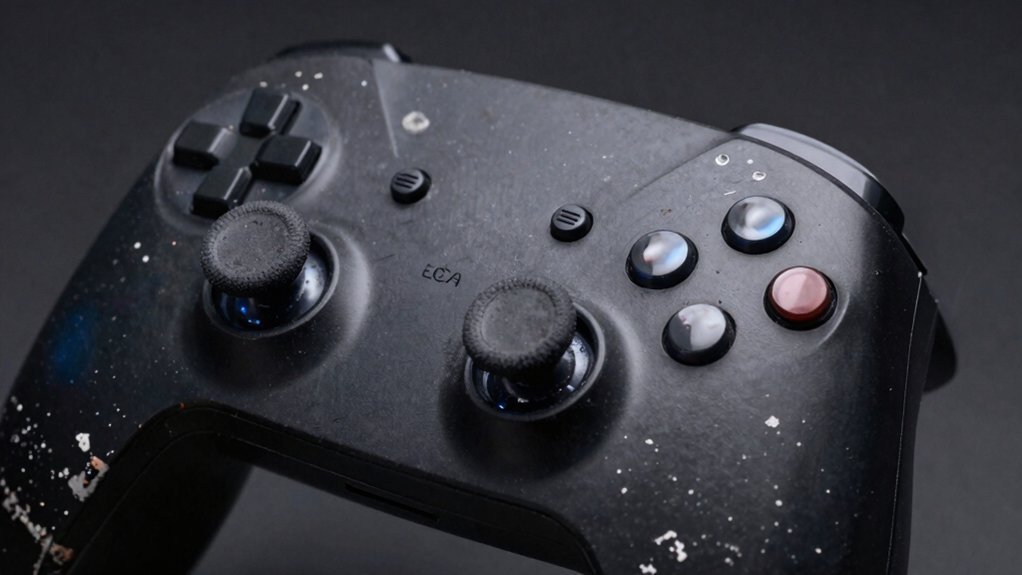
Ever wonder why your controller feels off? You might be dealing with stick drift, button issues, or disconnection problems. First, check the analog sticks: a 15‑degree drift on the right stick shows up as unintended movement even when centered. Next, test every button; unresponsive or sticky buttons feel odd or make strange noises, indicating internal wear. Then, notice any wireless hiccups—random drop‑outs at about six feet often point to a damaged Bluetooth antenna. Also, monitor battery life; rapid drain or failure to charge with multiple cables suggests an aging lithium cell that’s past its 300‑500 cycle lifespan. Finally, look for visible wear like cracked casings or frayed cables. Spotting these five issues helps you decide whether repair or replacement makes sense. The same careful checks apply when evaluating whether your gaming setup benefits from upgrading to a more adjustable and portable tablet stand to improve ergonomics and comfort during long sessions.
How to Test Stick Drift, Sticky Buttons, and Latency for Controller Repair
You’ll start by measuring stick drift with a test tool—15 degrees on the right stick is a clear sign it needs attention. Then press each button repeatedly, listening for odd clicks and feeling for sticky or mushy feedback to gauge responsiveness. Finally, compare input timing in‑game or in menus across wired and wireless setups to spot any latency and decide if the issue is hardware‑wide or console‑specific. Magnetic lock components can influence durability and long‑term performance in some controllers and accessories adhesive type varies.
Test Stick Drift Accurately
Wondering how to pinpoint stick drift before deciding on a replacement? Grab an Xbox‑style controller test tool and run a quick controller testing session. Note the offset—15‑degree right‑stick drift is a common benchmark.
Then perform a tactile and functional check: press each button slowly, then rapidly, hold for five seconds, and compare response consistency across both sides.
Next, calibrate the joysticks in your system settings and repeat the test to see if the drift persists.
If it does, rule out software issues first; update firmware, try a different console, and clean around the sticks and buttons.
Only after these steps should you consider hardware replacement. This method isolates true stick drift from temporary glitches.
Tri‑mode compatibility considerations can help determine whether the problem is cross‑platform or device‑specific, guiding your next steps without prematurely replacing parts.
Check Button Responsiveness Quickly Measure Input Latency Efficiently Identify Physical Wear Signs
After confirming whether stick drift is genuine, turn your attention to button responsiveness and latency. Press each button slowly, then quickly, holding for five seconds; feel for mushiness or uneven resistance compared with the opposite side. Next, run a built‑in test or visit a gamepad tester website to gauge input latency—watch whether your press registers instantly or lags behind on‑screen action. Visually inspect for physical wear signs: loose caps, bent USB ports, cracked housing, or swollen batteries. Test sticky or intermittent buttons on multiple surfaces and consoles to rule out software glitches. If you notice delayed response, uneven feel, or any wear signs, the controller likely needs repair or replacement. Also consider using a split or zip-up sleeve to protect the controller cables from pets or wear as part of preventative maintenance cat-protect.
DIY Fixes That Can Save Your Controller From Replacement
You can start by cleaning the thumbsticks and running a quick calibration to see if drift disappears.
If sticky or worn parts are the culprit, swapping them out often restores full responsiveness.
Finally, make sure the firmware is up to date and adjust the settings, because a simple update can eliminate many issues without a new controller.
To help prevent future controller issues, consider using a surge-protected power strip with multiple USB ports and proper outlet spacing to keep your gaming setup organized and reduce power-related glitches USB-C Power Delivery.
Thumb Clean & Calibrate
Ever notice your thumbsticks drifting or feeling sticky? You can usually fix that without a new controller. First, grab a microfiber cloth and gently wipe the stick caps; a toothpick removes grime from the gaps, and a quick swipe with an alcohol swab clears residue that causes thumbstick drift.
Next, run a calibration routine in your console or PC settings to reset the center point and sensitivity. Use the built‑in controller test (Control Panel → Devices and Printers → Game Controller Settings → Properties) to confirm the sticks return to zero and buttons respond consistently.
If one stick feels looser or lagging, it may hint at internal damage, so a professional diagnostic can save you from unnecessary replacement.
- Wipe caps with cloth
- Clean gaps with toothpick
- Swab with alcohol
- Run calibration in settings
- Test via controller properties panel
Replace Worn Parts
When the cleaning and calibration routine still leaves a stick wobbling or a button sticking, it’s time to replace the worn parts. You can tackle most wear and tear yourself—tighten loose screws, swap out cracked grips, and replace a mushy joystick with a fresh module. A quick visual check and a five‑second hold test reveal which components need attention, letting you follow clear replacement guidance before a full controller repair becomes inevitable.
| Issue | DIY Fix |
|---|---|
| Sticking button | Clean contacts, replace spring |
| Wobbly stick | Re‑calibrate, install new joystick |
| Cracked housing | Unscrew, swap housing shell |
These steps extend lifespan and keep costs down.
Update Firmware & Settings
Why ignore a simple firmware update when it could instantly revive a lagging controller? You can often fix drift, lag, or disconnects without buying a new unit. Start by checking the console or official app for a firmware update; applying it usually boosts stability and patches Bluetooth bugs. Next, explore on‑device calibration or sensitivity settings—recalibrate sticks and triggers to eliminate drift. After each change, test every button, stick, and trigger to confirm the issue is gone and no new quirks appear. If nothing helps, a professional diagnostic may be your next step before deciding on replacement. Locate the latest firmware update in the app. Install the update and reboot the controller. Open calibration menus and run a full recalibration. Adjust sensitivity sliders to match your play style. Verify all inputs work smoothly after changes. Open calibration menus to ensure precise input alignment across all controls.
Battery and Charging Problems That Signal a Controller Replacement
Do you notice your controller draining faster or shutting down unexpectedly? That’s often a battery issue. Lithium controller batteries survive roughly 300–500 charge cycles before they start losing capacity. If you see rapid drain or sudden power loss, test the battery health and inspect the charging port. Try a different cable and clean the port; if the controller still won’t charge, the fault is likely the battery itself. When basic checks fail, a battery replacement or professional inspection can prevent total failure. Don’t ignore these signs—addressing them promptly keeps your controller reliable and avoids costly downtime. In addition, consider verifying the screen cleaning kit’s anti-static properties to prevent dust buildup on sensitive components during maintenance anti-static properties.
Evaluating Cracks, Wear, and Internal Damage for Repair Decisions
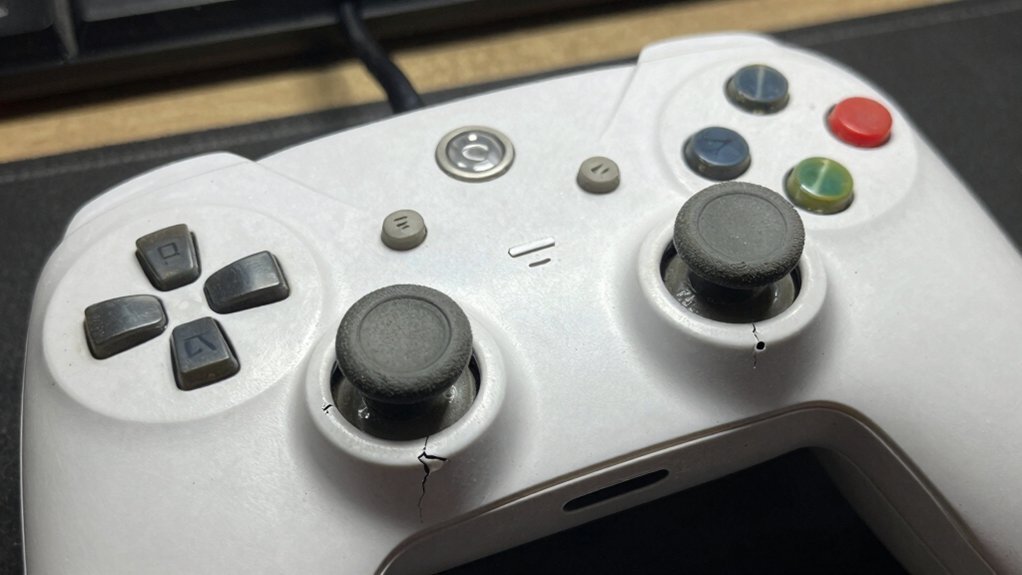
Ever notice a hairline crack along the trigger or a loose button that feels wobbly? That’s often the first sign that external damage may be hiding deeper problems. You should run a quick feel test—check weight distribution, flexibility, and any unusual temperature changes. If the controller feels unusually soft or you hear grinding, internal damage could be at play. Use these cues to decide between repair vs replacement before the issue worsens.
- Look for external cracks near triggers, grips, or USB ports.
- Test button stability and feel for wobble.
- Assess weight balance and rigidity while moving the sticks.
- Listen for grinding or unusual noises during operation.
- Check for internal signs like battery swelling or looseness.
Calculate Repair vs. Replacement Costs for Your Controller
Wondering how much you’ll actually spend to get your controller back in shape? Start by getting the free diagnostic most shops offer; it tells you whether the repair cost will stay under the replacement cost. Add up parts, labor, and any service fees, then compare that total to buying a new unit. Remember that battery degradation is a hidden expense—lithium cells survive only 300‑500 cycles, so a cheap fix might leave you with a dying battery soon. If the issue is progressive, like stick drift spreading, factor in future repairs. Check warranty availability for replacement parts; a backed‑up component can lower long‑term risk. Ultimately, weigh immediate expense against the controller’s remaining lifespan.
Frequently Asked Questions
What Is the Average Lifespan of a Controller?
You’ll typically get three to five years out of a controller, though careful users sometimes push it past six. Battery health drops after 300‑500 charges, and stick drift or button lag signal it’s nearing end‑of‑life.
How Do You Tell if You Need a New Controller?
You’ll know you need a new controller when drift, sticky or unresponsive buttons, frequent disconnections, rapid battery loss, swelling, or visible damage appear—each sign shows wear that repair can’t fix.
How Often Should You Change Controllers?
You should replace controllers roughly every 2‑4 years, unless you notice persistent stick drift, unresponsive buttons, or frequent disconnects that cleaning and firmware updates can’t fix. Regular maintenance can extend that interval.
Is It Worth Repairing a Controller?
Yes, you should repair it if the issue’s minor—like stick drift or unresponsive buttons—because diagnostics are cheap, fixes are quick, and you’ll avoid the higher cost of a full replacement.
In Summary
If you’ve spotted drift, sticky buttons, latency, battery woes, or visible cracks, weigh the repair cost against a new controller. Simple DIY fixes can extend life, but once internal damage or recurring issues stack up, replacement is cheaper and more reliable. Trust your testing, calculate the price difference, and choose the option that keeps you gaming smoothly without breaking the bank.


Leave a Reply