You can fix stick drift with a quick recalibration or a cheap DIY swap instead of buying a brand‑new controller, saving you hundreds of dollars. A couple of calibration passes usually align the sensors, and if that doesn’t work a £10 potentiometer replacement takes only 20 minutes. Repairing extends the device’s life, reduces waste, and keeps you gaming without downtime. Keep going to discover the step‑by‑step process and cost breakdown.
Fix Stick Drift Instead of Replacing the Controller
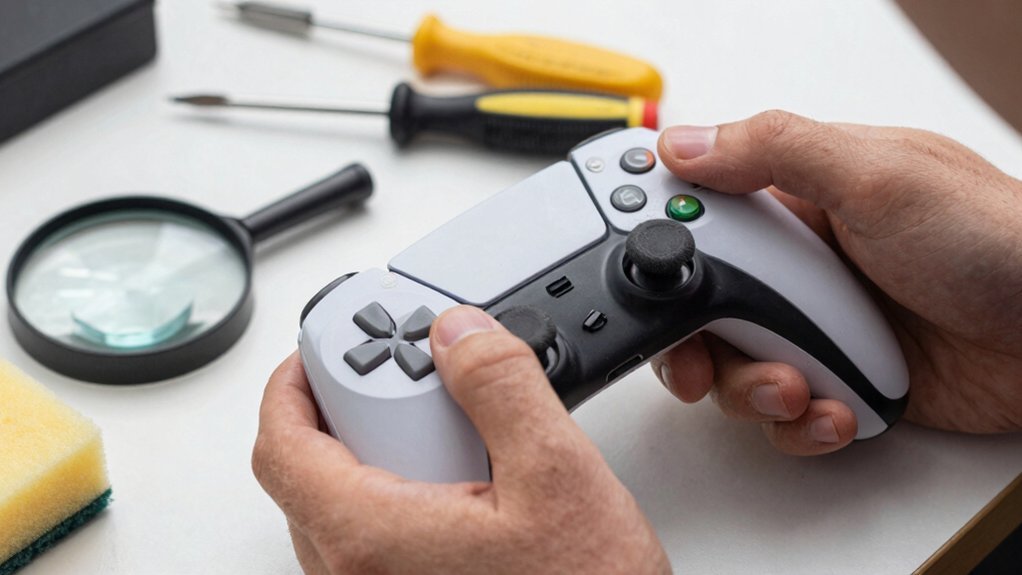
Ever notice your analog sticks drifting toward one side? You can tackle that stick drift with a simple recalibration instead of tossing the whole controller. Open the settings menu, navigate to Controller > Settings, and run the built‑in calibration routine. It’s a non‑hardware fix that often aligns the sensors after one or two attempts, and many users report it worked for them.
Because the process uses only software adjustments, it’s a cost‑saving move that spares you from buying a replacement. Even if the drift is intermittent, this method keeps the device functional while you decide whether deeper cleaning or hardware repair is necessary. By trying recalibration first, you reduce waste and preserve your budget.
If you’re using a setup with LED lighting and accessories, ensure those powered features don’t interfere with the calibration process, and consider reviewing any documented troubleshooting steps from the manufacturer to verify compatibility with your specific model LED lighting features and settings.
Recalibrate Your Controller to Stop Drift in 2‑3 Attempts
If recalibration didn’t fully fix the drift, you can usually nail it down with just a couple more attempts. Head into the controller settings, locate the recalibration option, and run the software fix. Most users report that a second or third pass eliminates stick drift without opening the device. Because this is a non‑hardware solution, you avoid soldering or part replacement, saving time and money. Start by centering the sticks, confirm the on‑screen prompts, then repeat the process if the drift persists. Keep a log of each attempt’s outcome; the incremental adjustments often converge quickly. With patience and the built‑in firmware tools, you’ll restore precise control in two to three rounds. Anti-static/ESD
DIY Repair Cost vs. Buying a New Controller: A Real Comparison
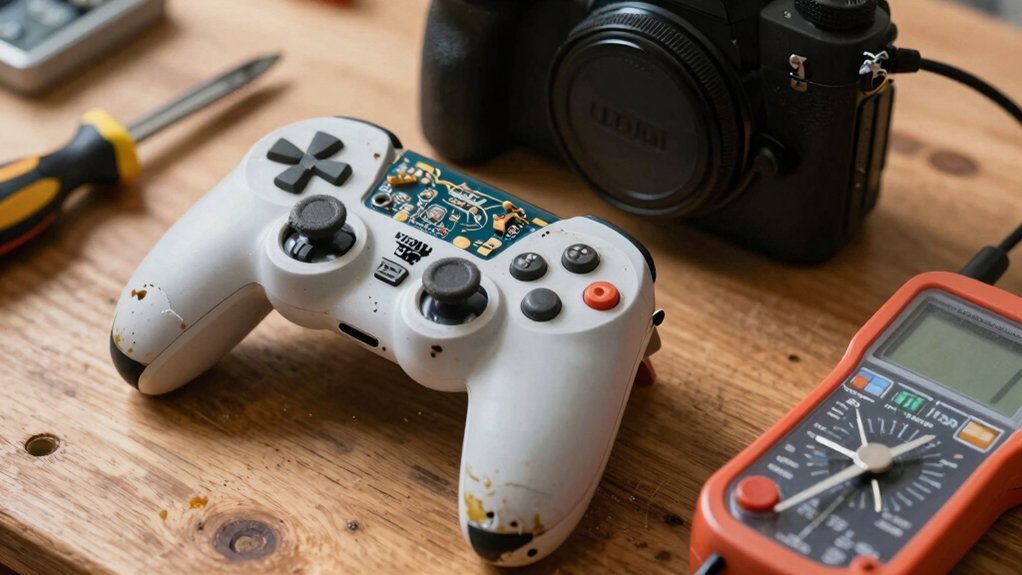
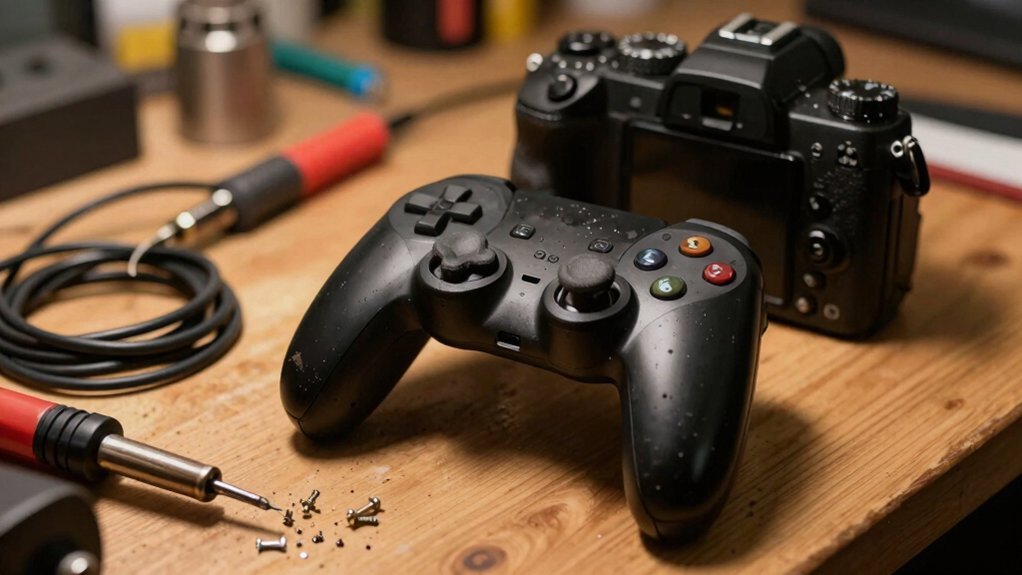
When you weigh a DIY stick‑drift repair against buying a new controller, the numbers speak for themselves: a few pounds for parts and twenty minutes of soldering versus a few hundred dollars for a brand‑new unit. A cost‑effective approach is reinforced by the fact that a typical potentiometer swap costs about £10 in parts, and with basic DIY soldering you can finish the job in roughly twenty minutes. You’ll also avoid the downtime of waiting for a shipped unit. The skill you gain lets you tackle multiple sticks, and the tools you acquire—precision screwdrivers, hot‑air pens—pay off across future fixes. In short, the DIY route saves money and keeps you in control. Budget bias lighting
Long‑Term Benefits of Repairing Your Controller
Because a repaired controller can keep functioning for years, you’ll not only dodge the hefty price of a brand‑new unit but also stretch the life of a device that might otherwise be tossed after six years of drift. You’ll see real drift repair value when a pot replacement eliminates the root cause, delivering long‑term durability and noticeable cost savings. DIY upgrades—cleaning, soldering, Hall‑effect sticks—extend performance without the expense of a fresh board. Community forums even show enthusiasts turning repair into a side hustle, proving the model scales beyond a single fix. durability and warranty
Frequently Asked Questions
Is It Worth Repairing a Controller?
Yes, you’ll likely save money and reduce waste by fixing it first; a quick recalibration or pot replacement often restores performance, and only if those attempts fail should you consider buying a new controller.
When to Repair Vs Replace?
You should repair when the drift stops after a few recalibrations, the cost is under $30, and you’re comfortable opening it; replace once attempts fail, the price exceeds a reasonable repair budget, or the hardware is severely damaged.
What Is the Lifespan of a Controller?
You’ll typically get about six years of solid performance, though with good maintenance you can stretch it to eight or ten. Pot wear, stick drift, and calibration issues usually dictate when you’ll need a fix or replacement.
Will Gamestop Accept Broken Controllers?
You should call your local GameStop first, because policies differ; many stores will take broken controllers for trade‑in or recycling, but credit and acceptance depend on location and condition.
In Summary
By fixing your controller instead of tossing it, you’ll save cash, cut waste, and keep your gaming setup humming. A quick recalibration can banish stick drift in just a few tries, and DIY repairs often cost a fraction of a brand‑new unit. Over time, you’ll enjoy a longer‑lasting device, fewer replacements, and the satisfaction of a job well done—all while keeping your budget and the planet happy.


Leave a Reply